Assign CE
What is CE
CE stands for Customer Edge or Customer Equipment. It refers to the router used by users that connects to their ISP (Internet Service Provider) lines. A CE device serves as a router and firewall, providing various functionalities to the users.
Why we need to CE
CE devices play a crucial role in establishing and managing the network connection between the user's premises and the ISP. They are responsible for routing network traffic, implementing network security measures, and providing network address translation (NAT) functionality.
How to Register CE
-
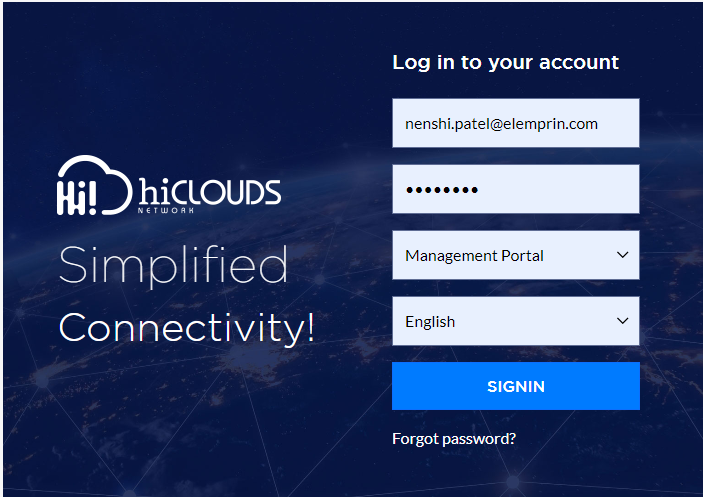
Go to beta1. hi-clouds (https://beta1.hi-clouds.com/login) and SIGN IN by entering the admin permission username and password.
-
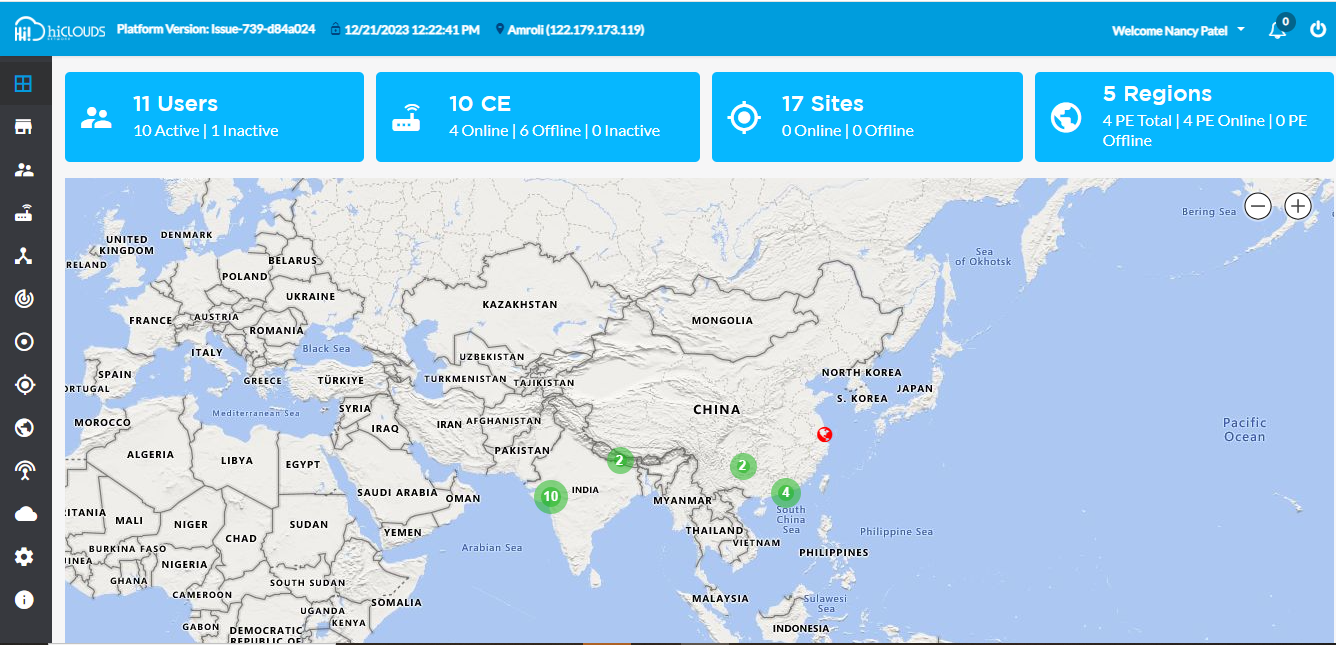
When you SIGN IN, you will reach the dashboard by default.
-
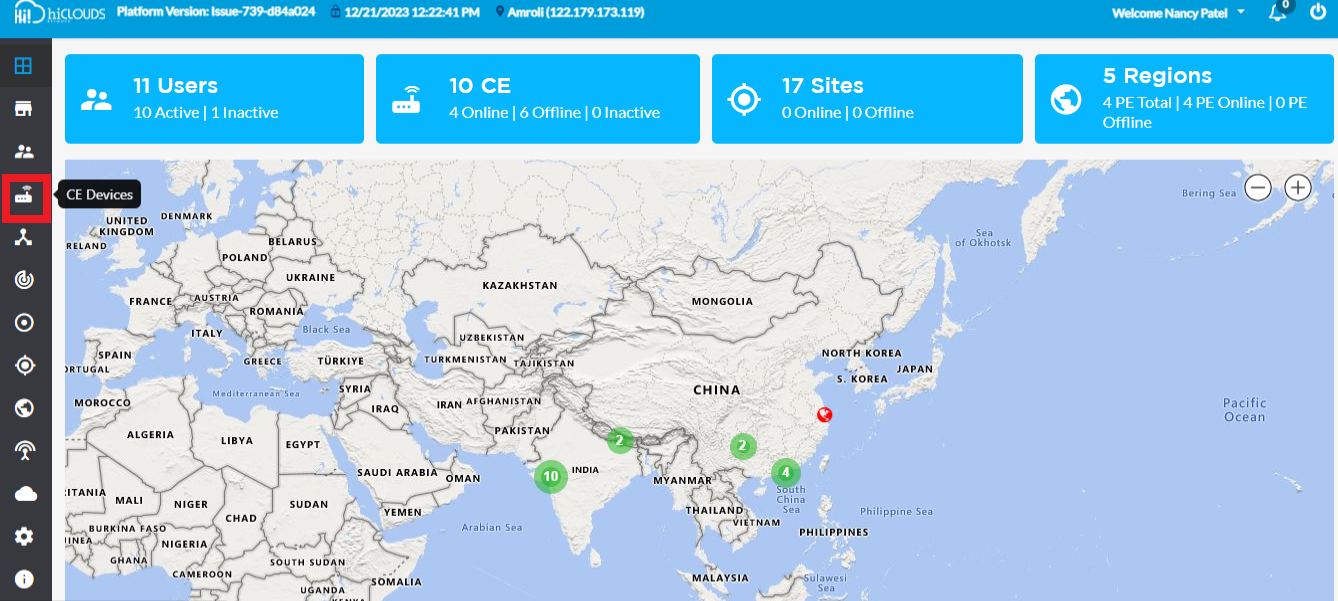
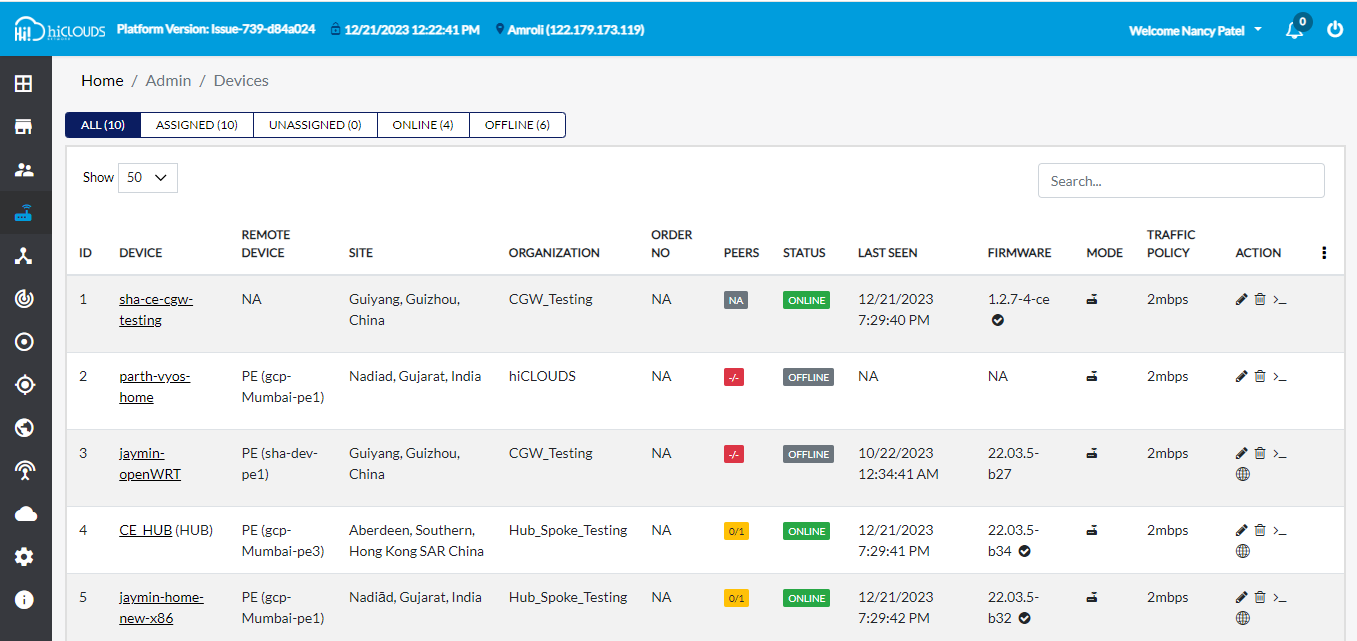
Then Click on the CE Devices menu located on the left side.
-
You will click on CE Devices, and there you will see a list of Devices.
-
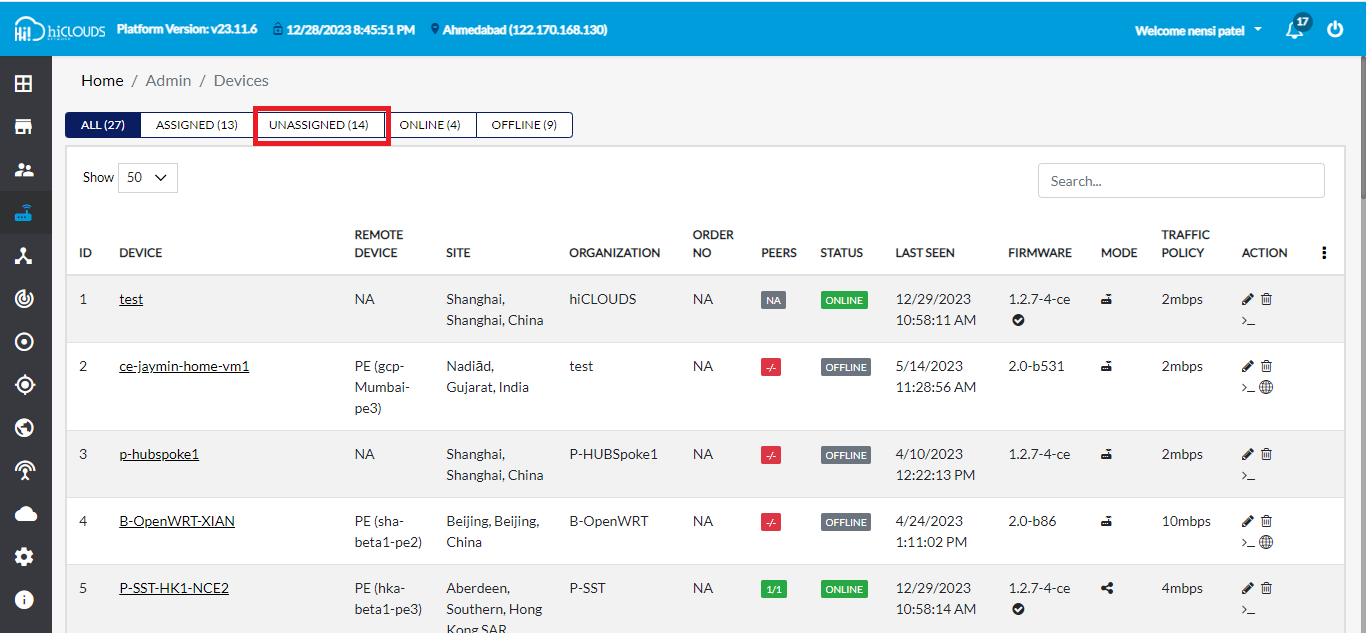
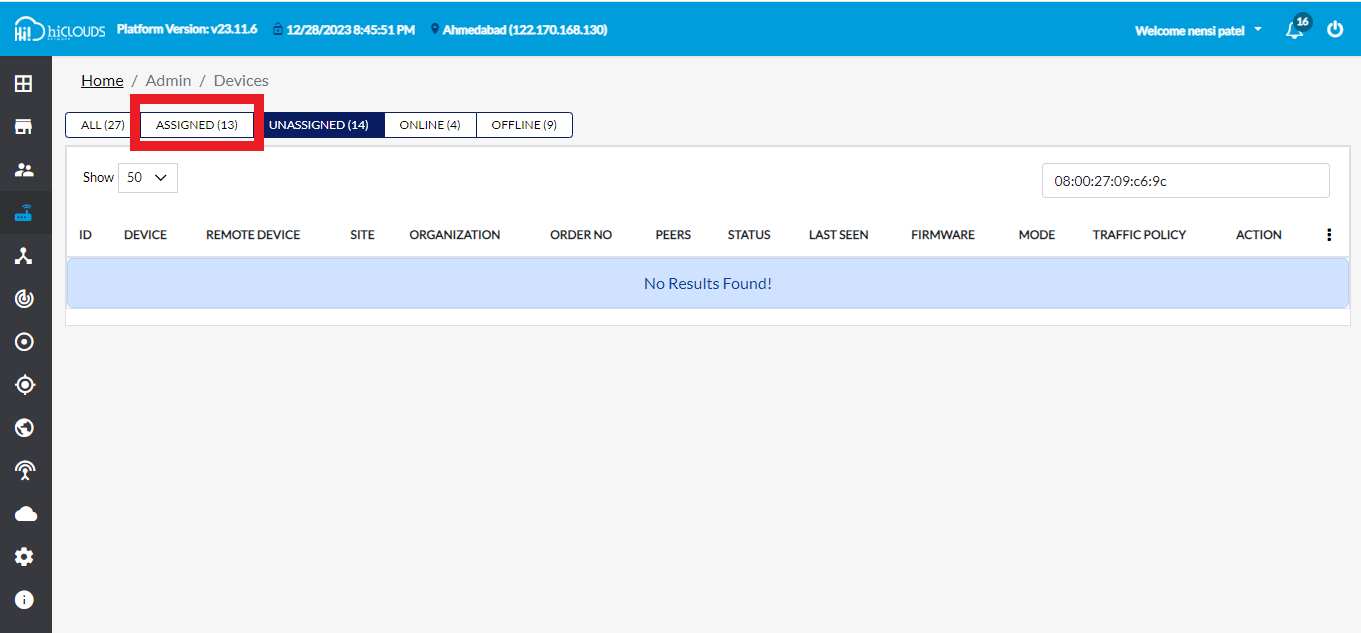
Go to UNASSIGNED and click.
-
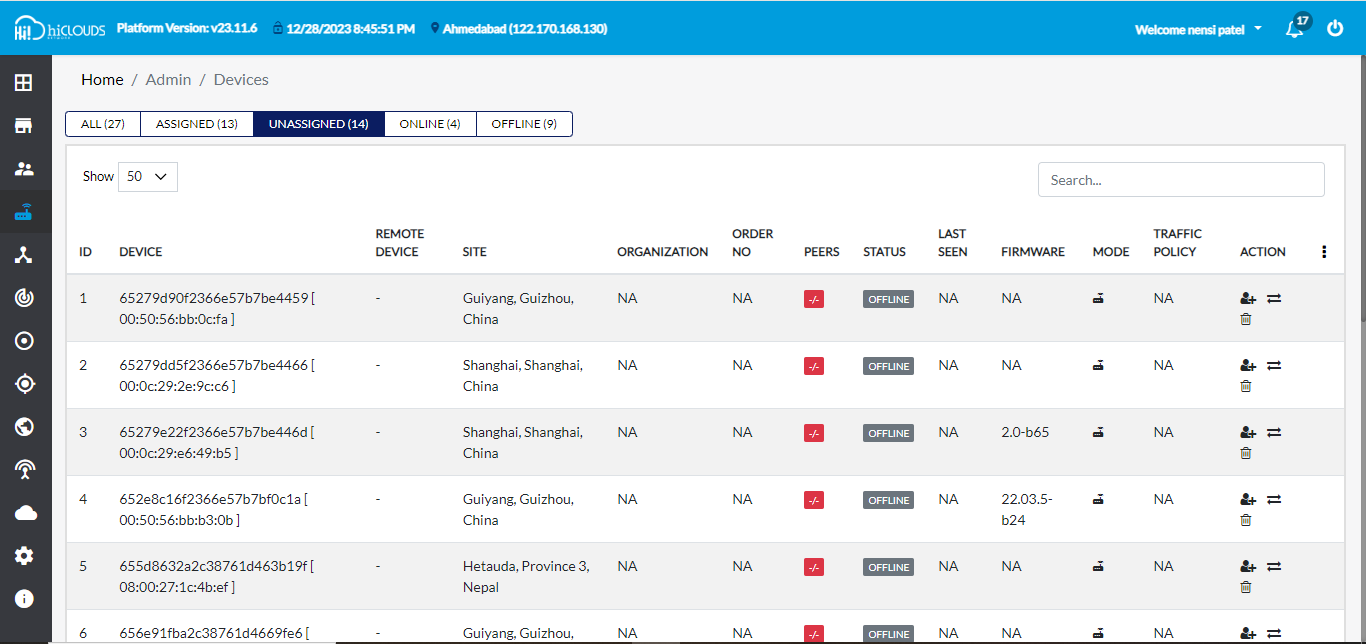
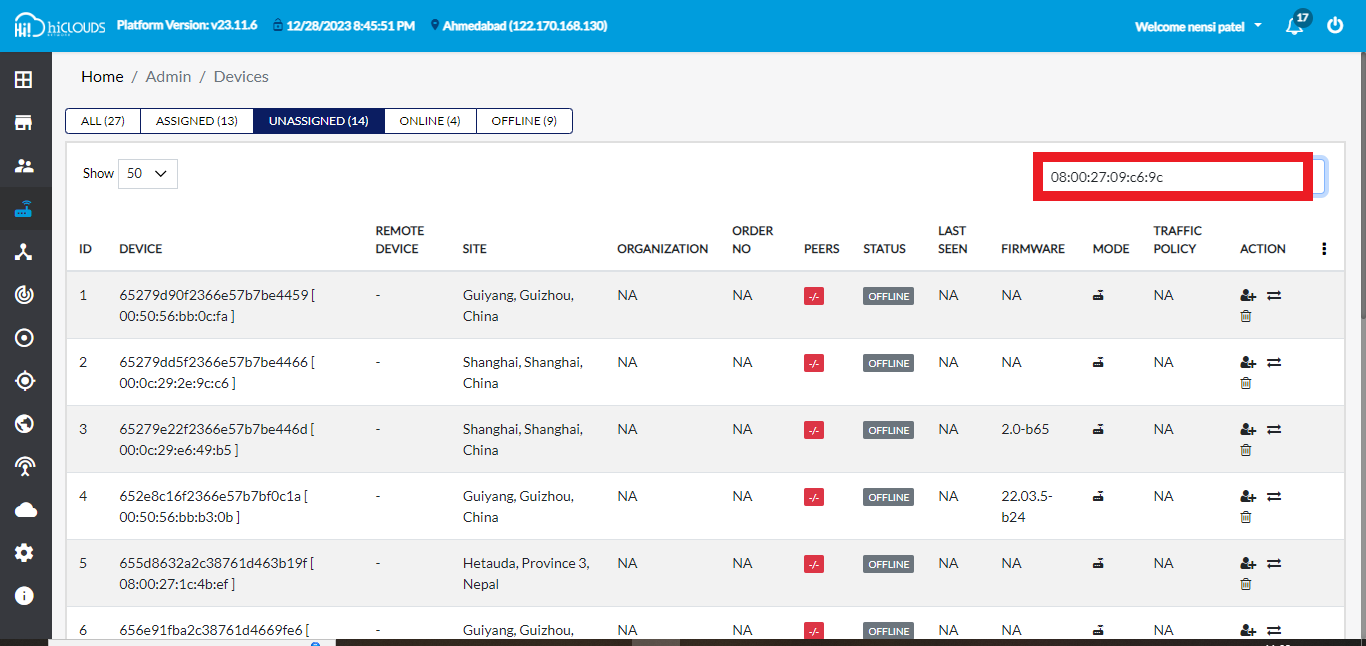
After clicking on UNASSIGNED, the summary of DEVICE will appear.
-
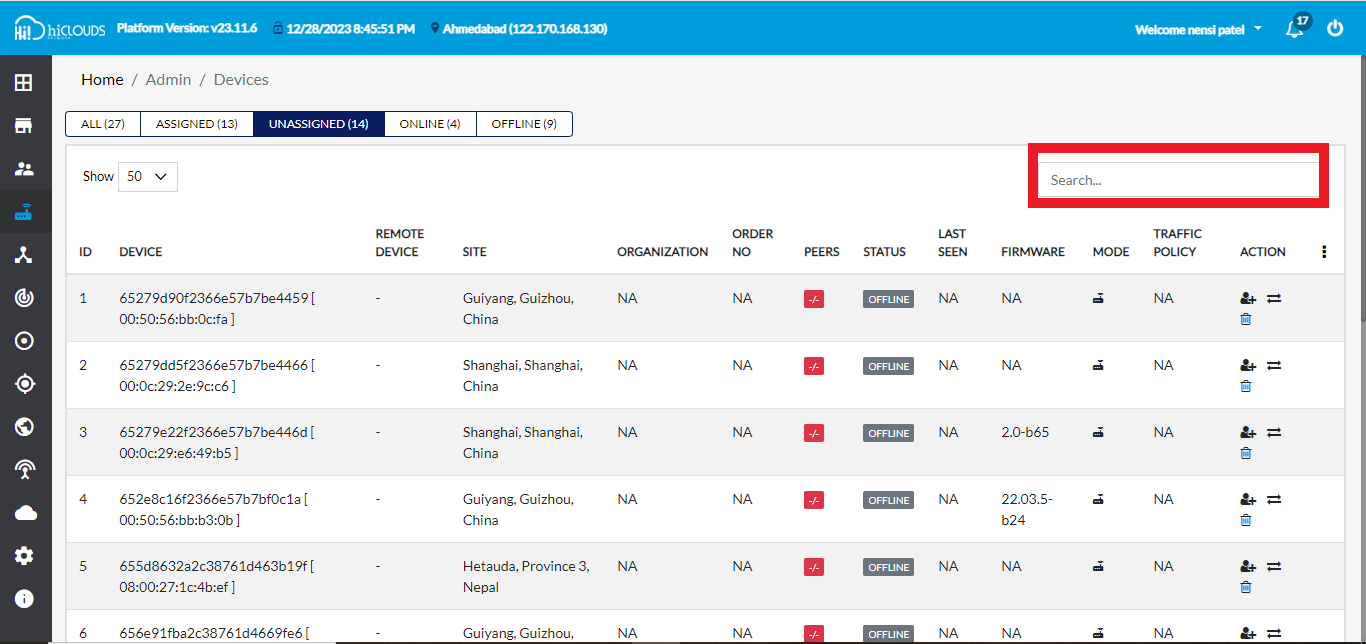
Go to the search tab located on the right side.
-
Go there and search your MAC address. For Ex: 08:00:27:09:c6:9c.
-
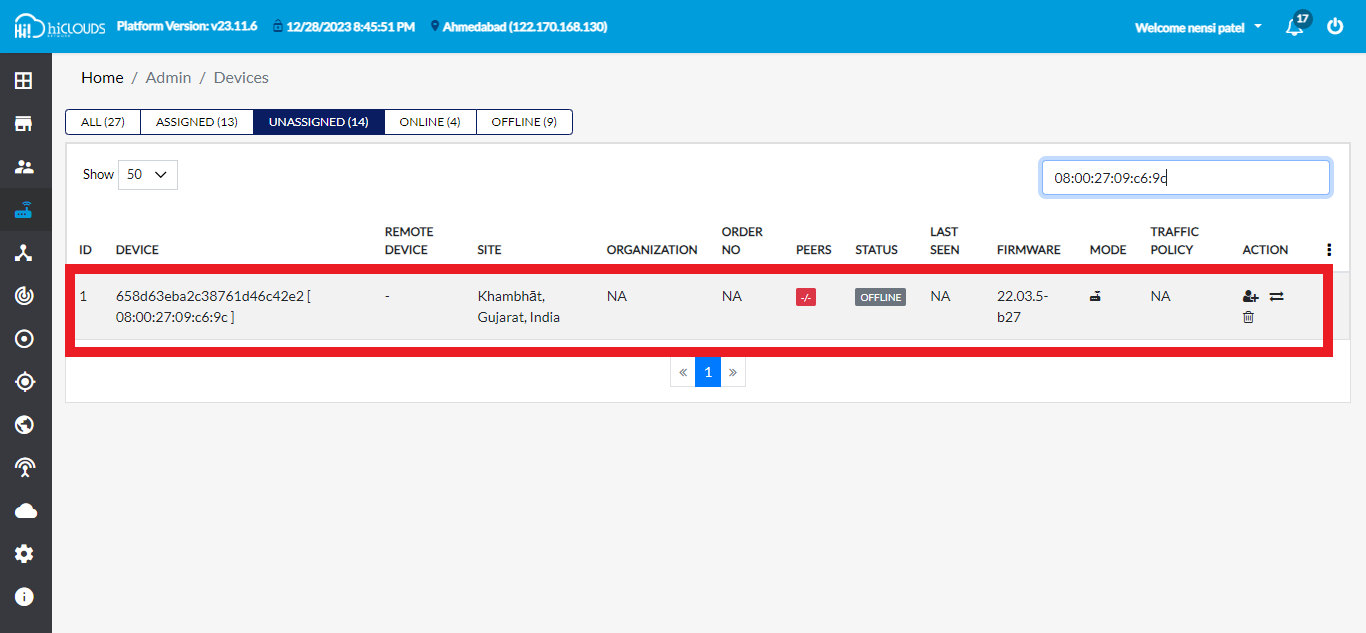
After that you will enter, and there you will find your MAC address.
-
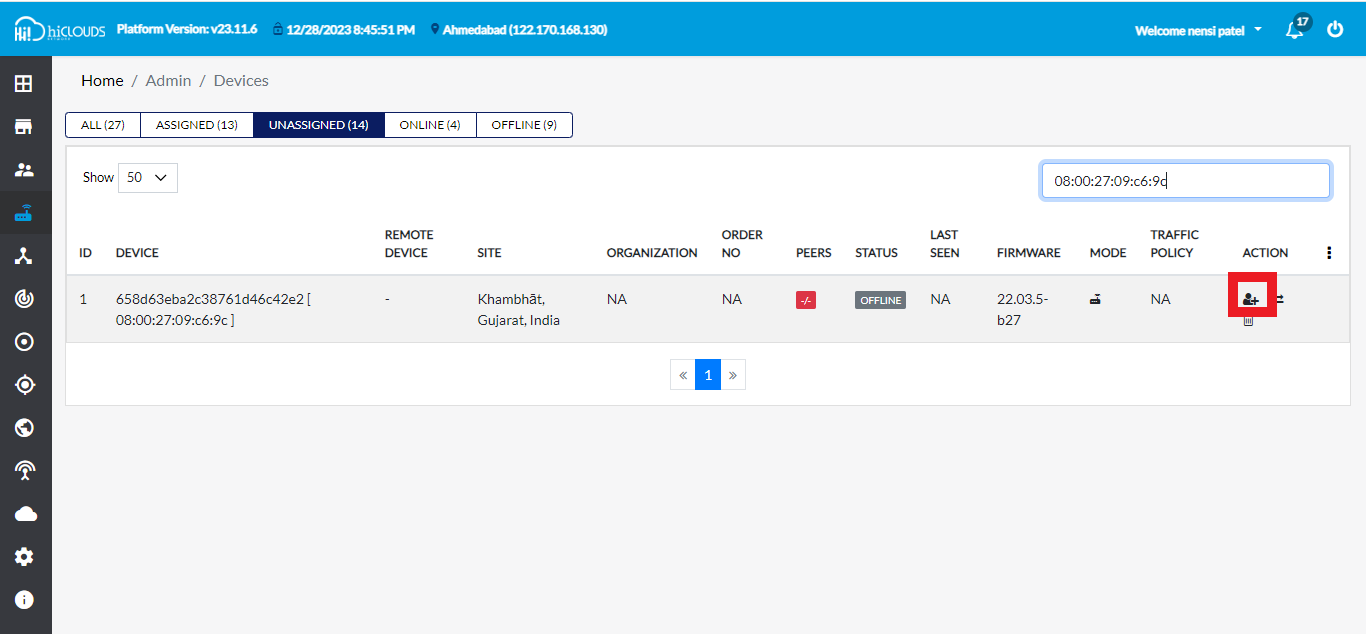
Click on Assign Device button.
-
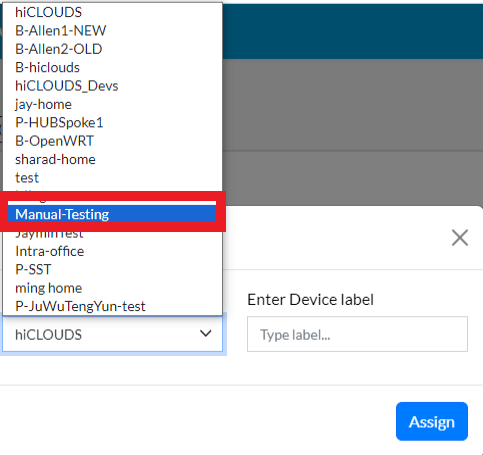
After clicking the Assign Device button, a new window will open.

-
Choose a select Organization for Ex: Mannual-Testing.
-
Enter Device label for Ex: LAN-CE.

-
Click on Assign button.

-
After you click on the Assign button, you will get a message on the screen that the Device is assigned successfully.

-
Click on ASSIGNED tab.
-
After Assigning the Device. Wait for 5 to 10 minutes, and then you will see your Device there.

How to edit Register CE
-
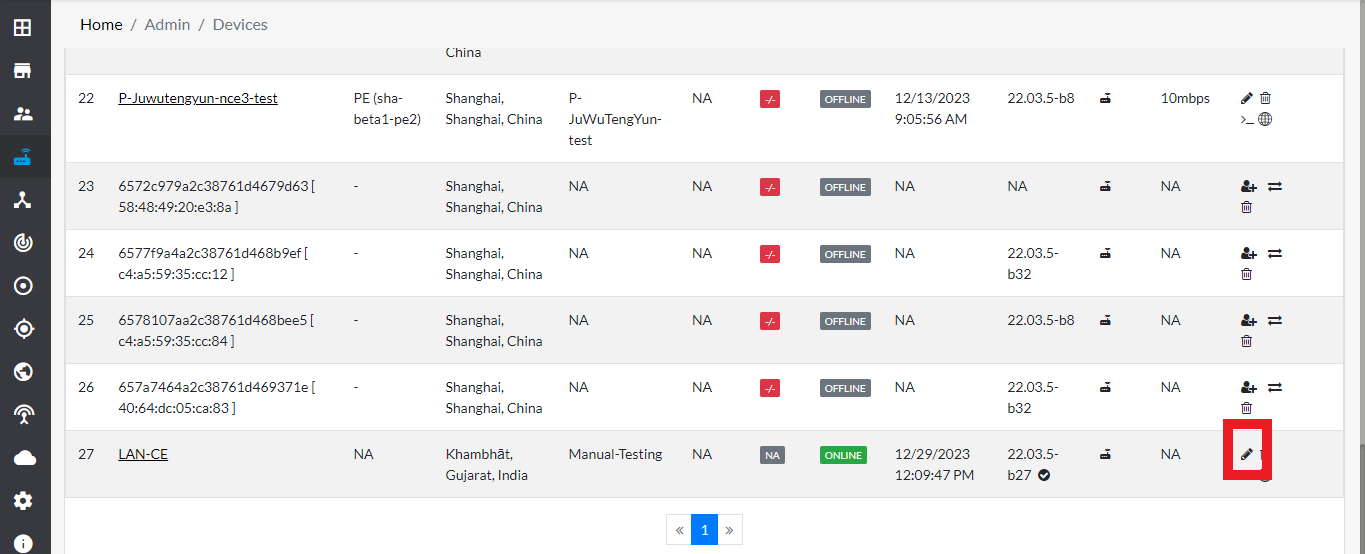
Click on the pen located on the right side of your Device.
-
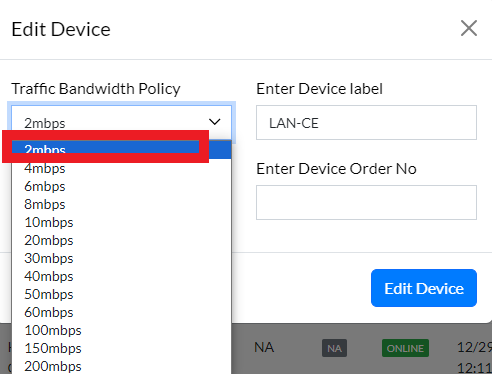
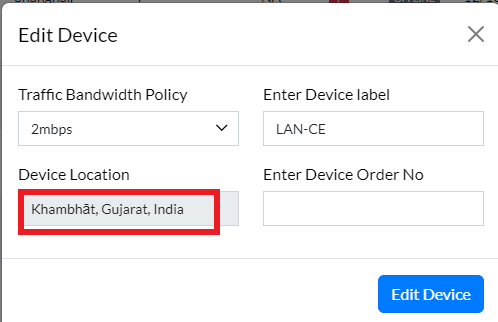
After clicking, a new window will open.

-
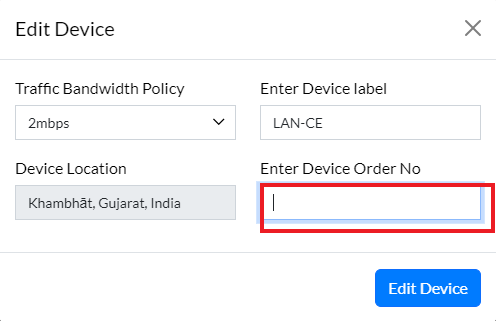
If you want to change the Traffic Bandwidth Policy, you can do it from there.
-
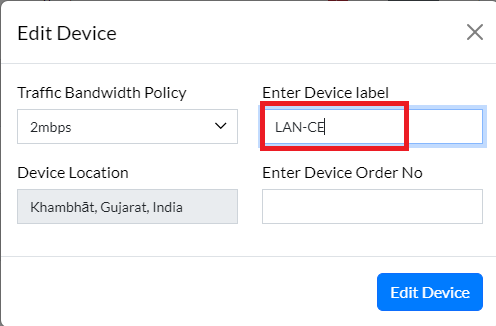
In Enter Device Label you can change Device Label.
-
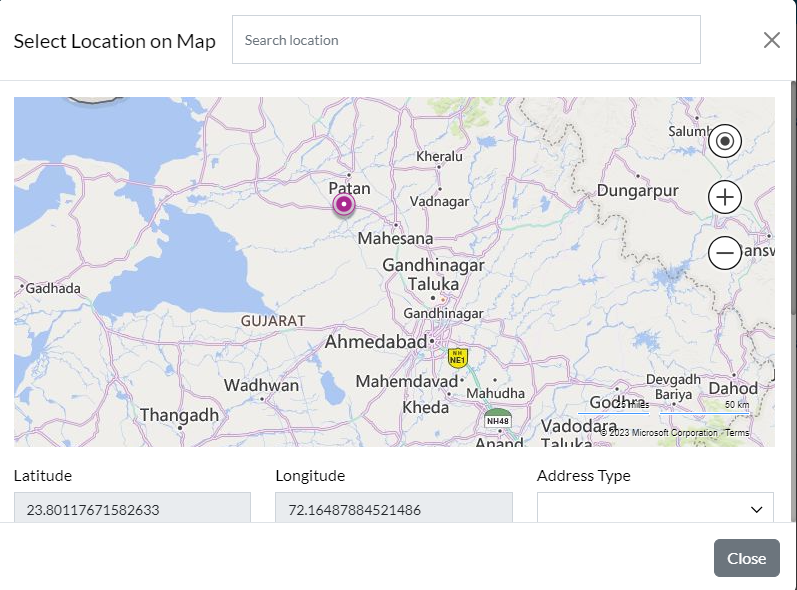
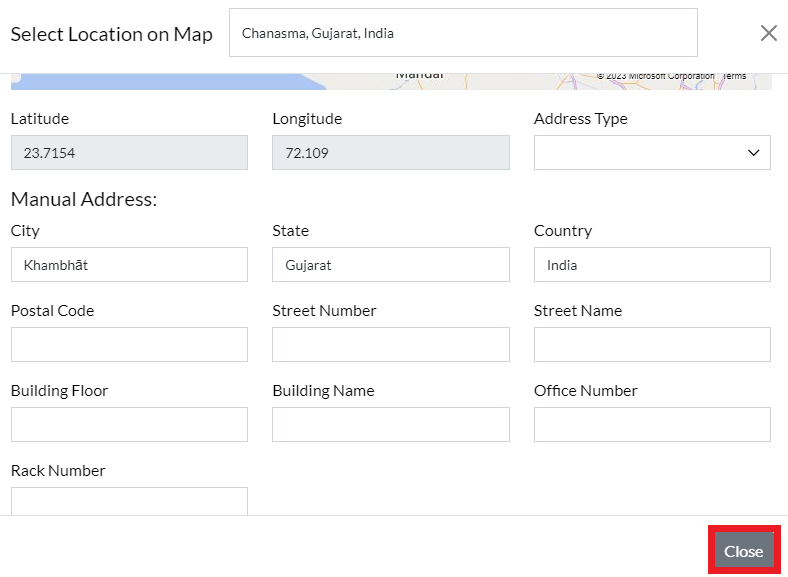
Click on Device Location to change location.
-
After clicking on it the Map will open.
-
Go to the search tab there.

-
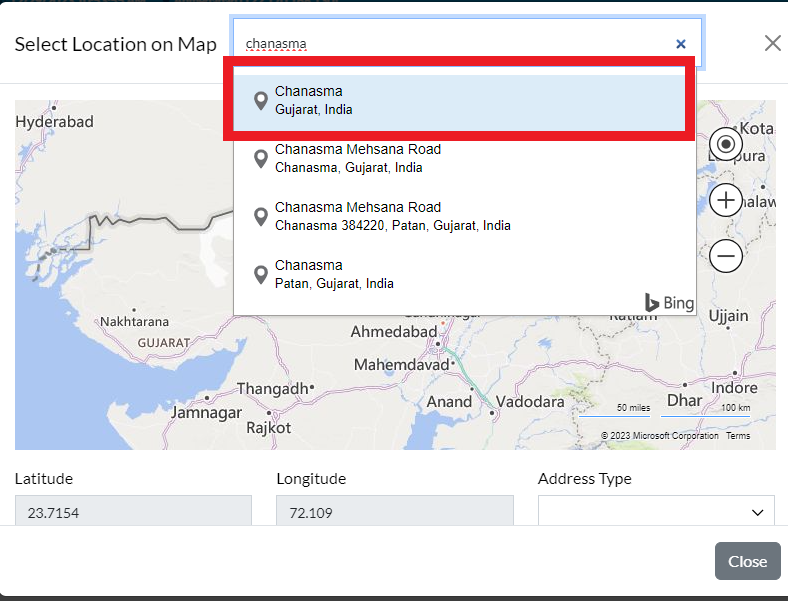
Go there and search your Location. For Ex: chanasma.
-
So there you will see chanasma in the Location Map.

-
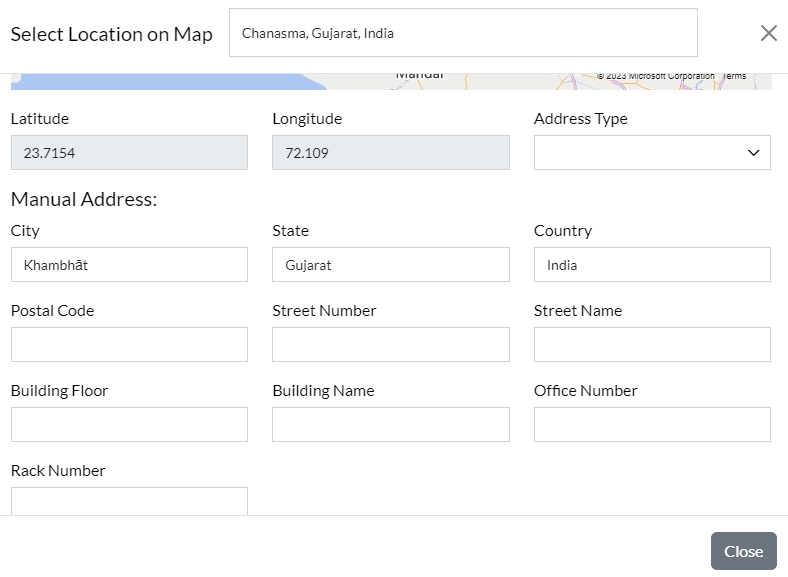
Here you can also set the location by manually filling in the details.
-
Click on Close button.
-
If the order is numbers, enter it in Enter device Order No.
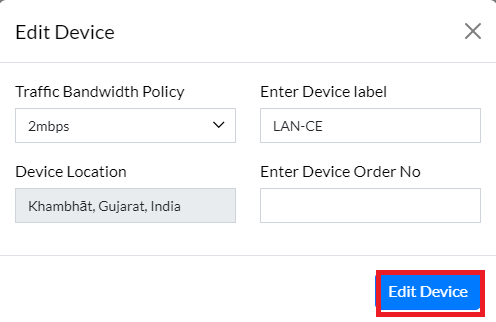
13 Click on Edit Device.
-
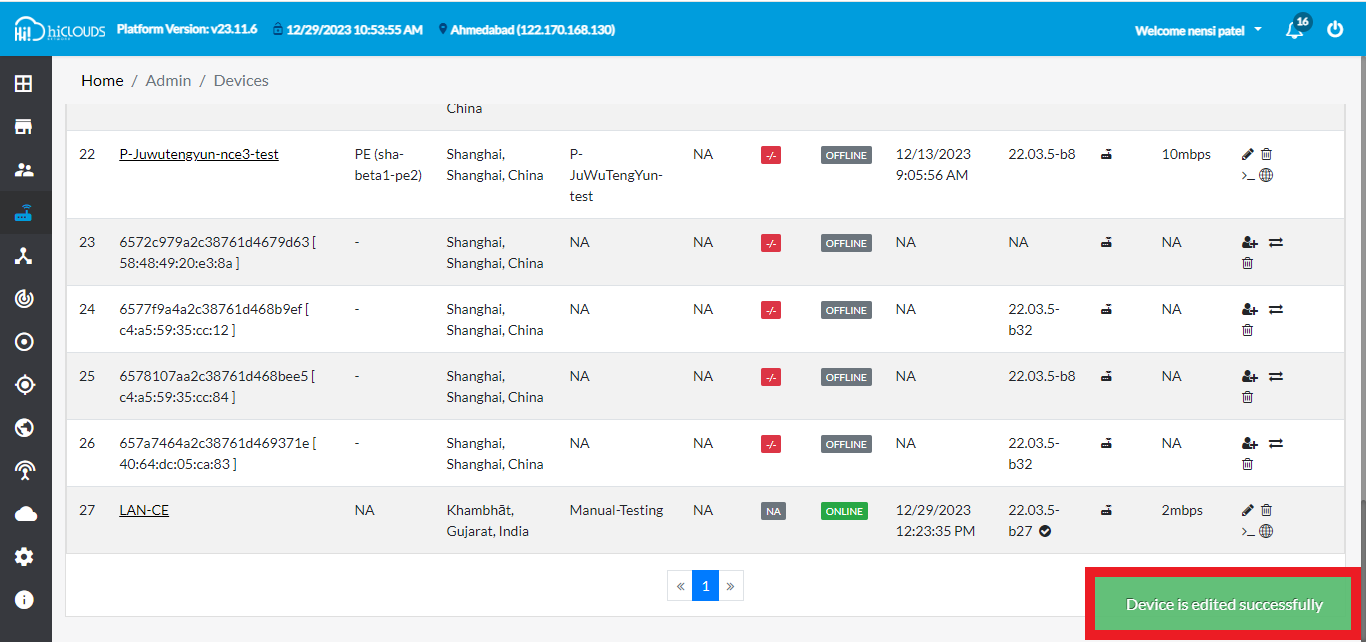
As soon as you click on Edit Device, you will get a message on the screen that the Device is edited successfully.
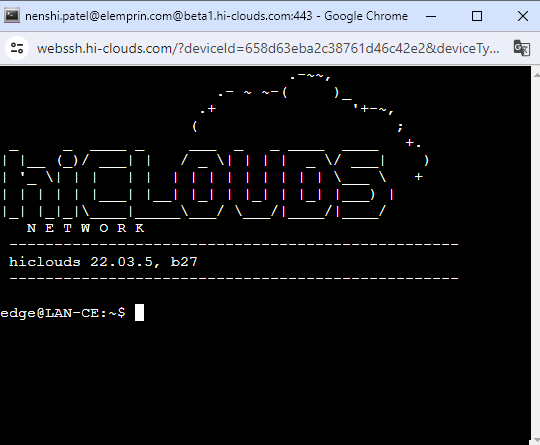
How to open terminal
A command has to be written to connect to CE and a terminal is required for that.
-
Click on the pen located on the right side of your Device.
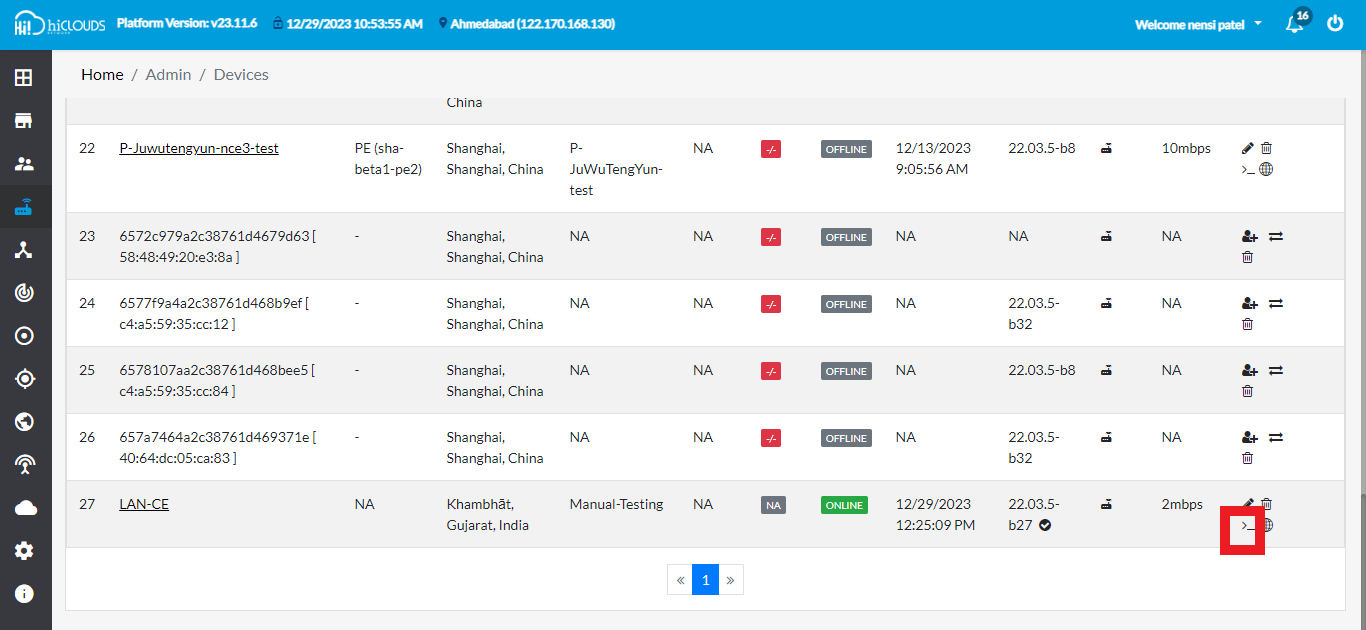
-
Click on it and the terminal will open.
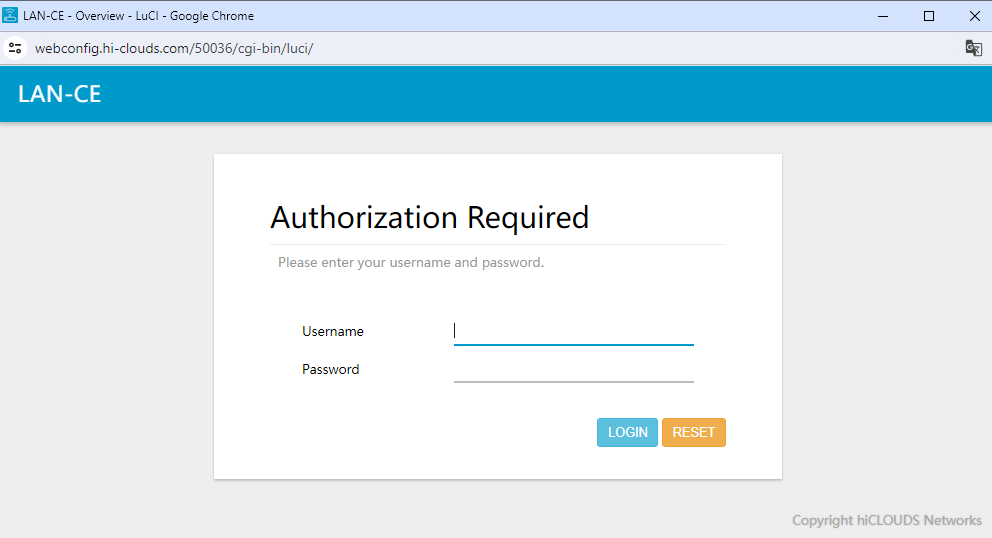
How to open web terminal
Lusy: While OpenWrt can be managed completely using SSH and the terminal, the LuCI WebUI makes many administration tasks easier. The OpenWrt full releases, such as the current 21.02.x series, ship with the LuCI WebUI installed. But for lower-memory devices, such as those with 4MBytes Flash and/or 32MBytes of RAM, the full install may fail because of lacking sufficient Flash memory so you will have to build your own image with LuCI included. More info on this can be obtained here.
-
Click on the earth located on the right side of your Device.
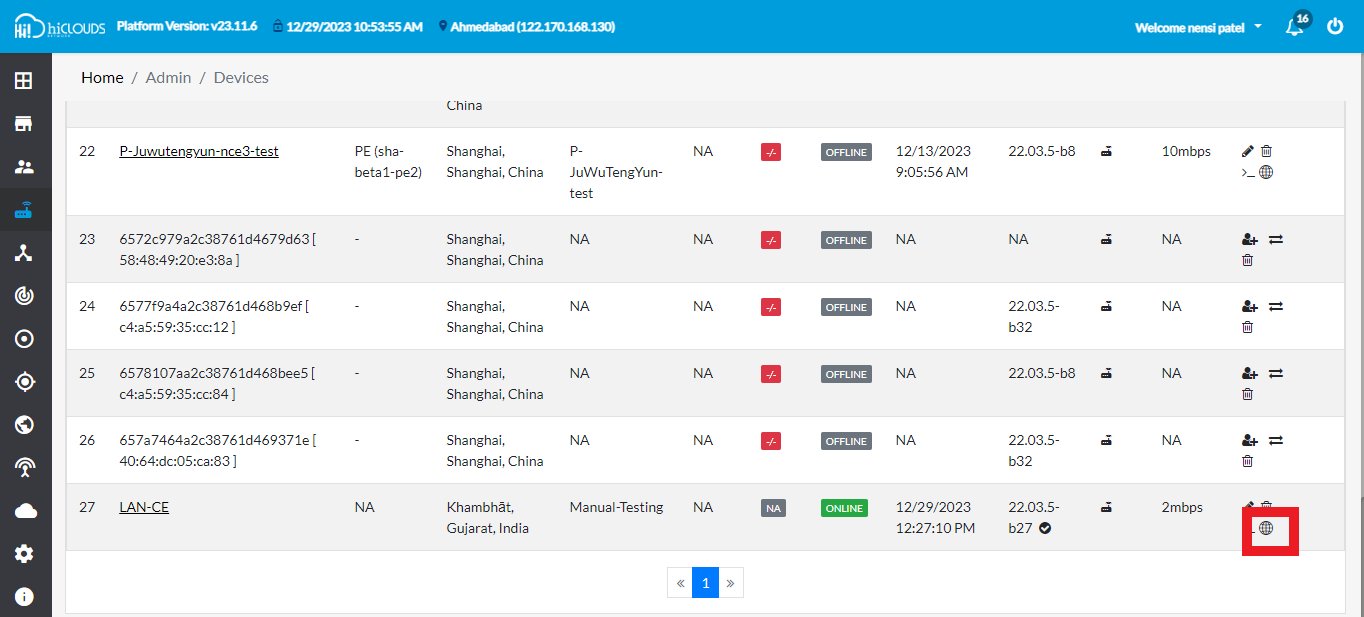
-
Click on it and the web terminal will open.
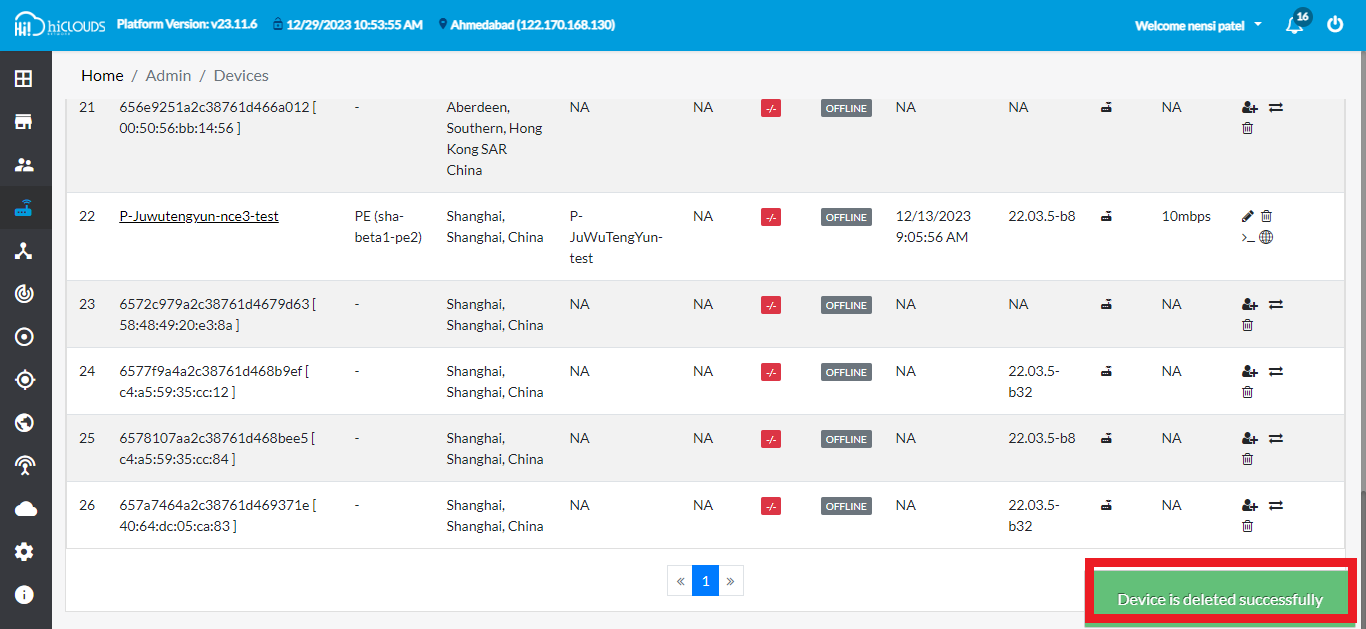
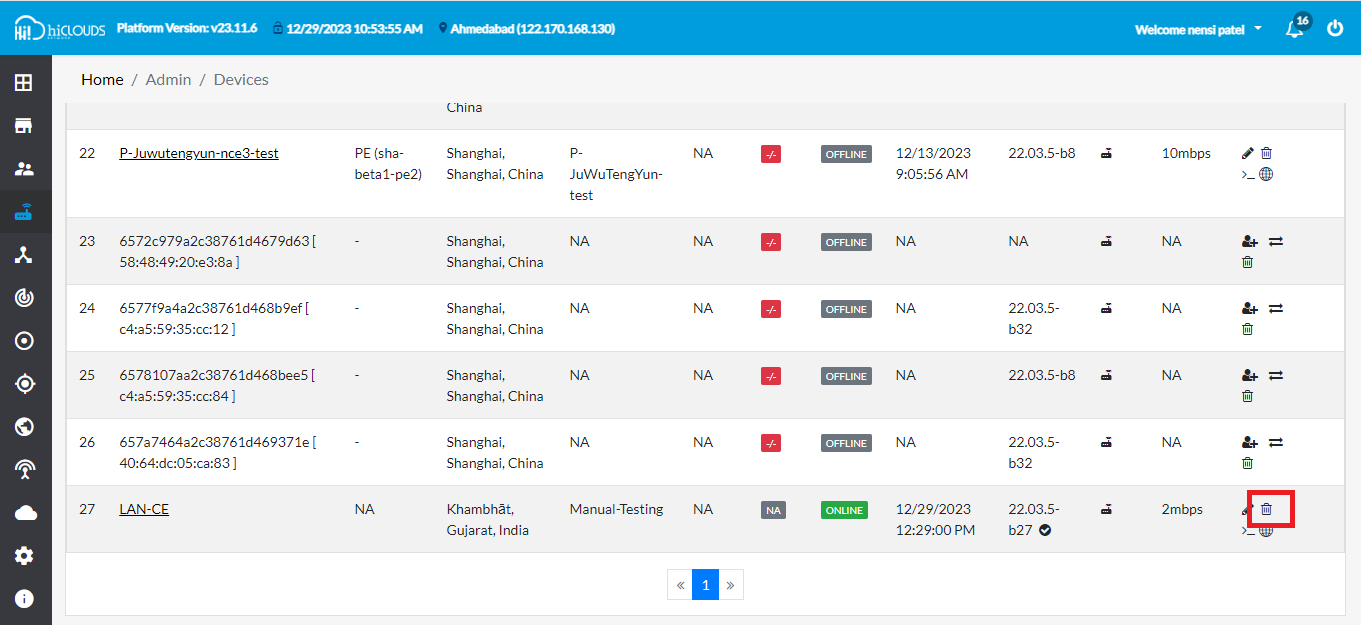
How to Delete Register CE
-
Click on the dustbin located on the right side of your Device.
-
After click, a new window will open. There you will get a confirmation message.

-
Click on Yes button.

-
As soon as you click on yes, you will get a message on the screen that the Device is deleted successfully.