Templates
This guide provides a step-by-step process for configuring, editing, and deleting templates within the application. Templates allow users to define and save specific monitoring configurations for targets.
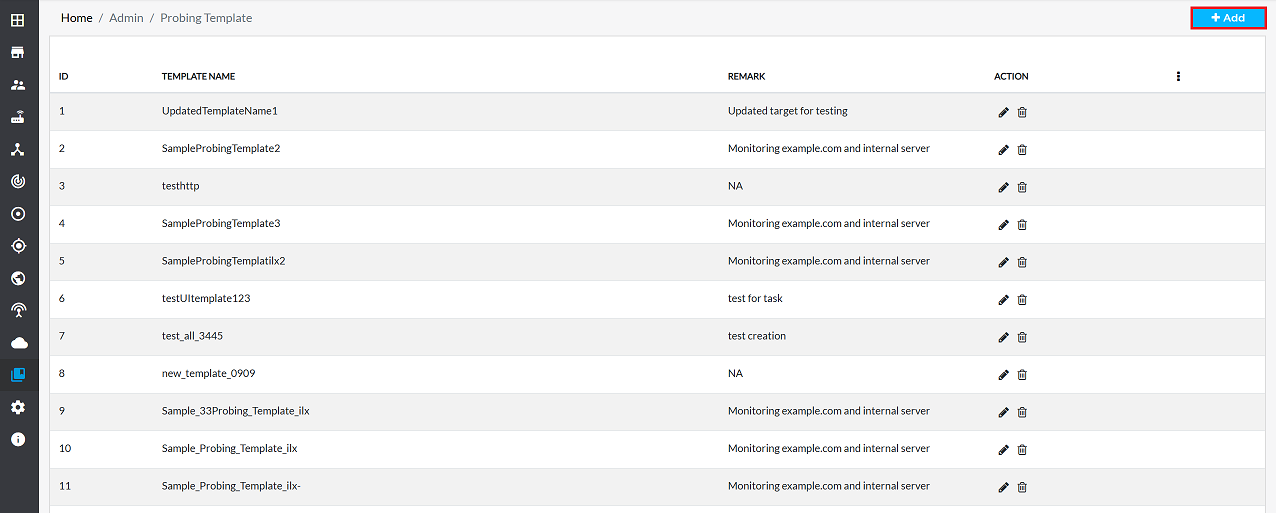
Template Listing
- login > templates
- A grid will display below as shown in the image.
| Field Name | Description |
|---|---|
| Template Name | The name of the template. |
| Remark | A brief description or note about the template. |
| Action | Icons to Edit or Delete the template. |
Creating a New Template
-
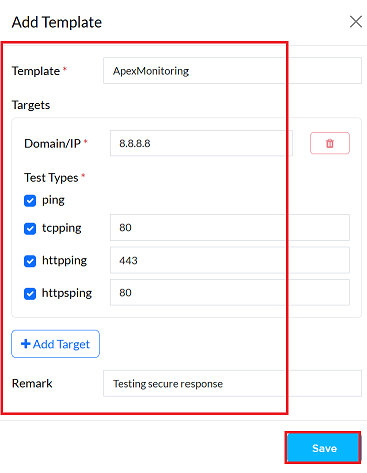
Now, to create new templates, click on the Add button on the right side as shown in the image.
-
Fill in the required details:
-
Template: Enter a descriptive name for the template (e.g., ApexMonitoring)
-
Targets: This section allows defining one or more monitoring targets.
- Domain/IP: Enter the domain name or IP address of the target (e.g., 8.8.8.8).
-
Test Type: Select the types of tests to run against the target by checking the corresponding boxes.
- ping: Checks for basic network connectivity.
- tcpping: Verifies connectivity to a specific port. On selecting this option, a port field appears. Enter the desired port (e.g., 80).
- httpping: Checks the availability of a web server. Enter the port (e.g., 443)
- httpsping: Checks the availability of a secure web server. Enter the port (e.g., 80).
- Remark: Add a brief description or note about the target (e.g., Testing secure website response).
-
Save Click the Save button to save the target.
-
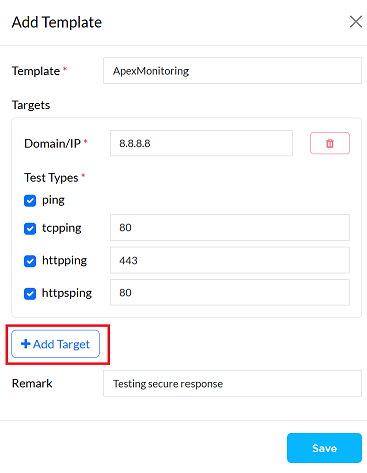
Multiple targets can be added by clicking the Add target button, as shown in the image below the Save button.
-
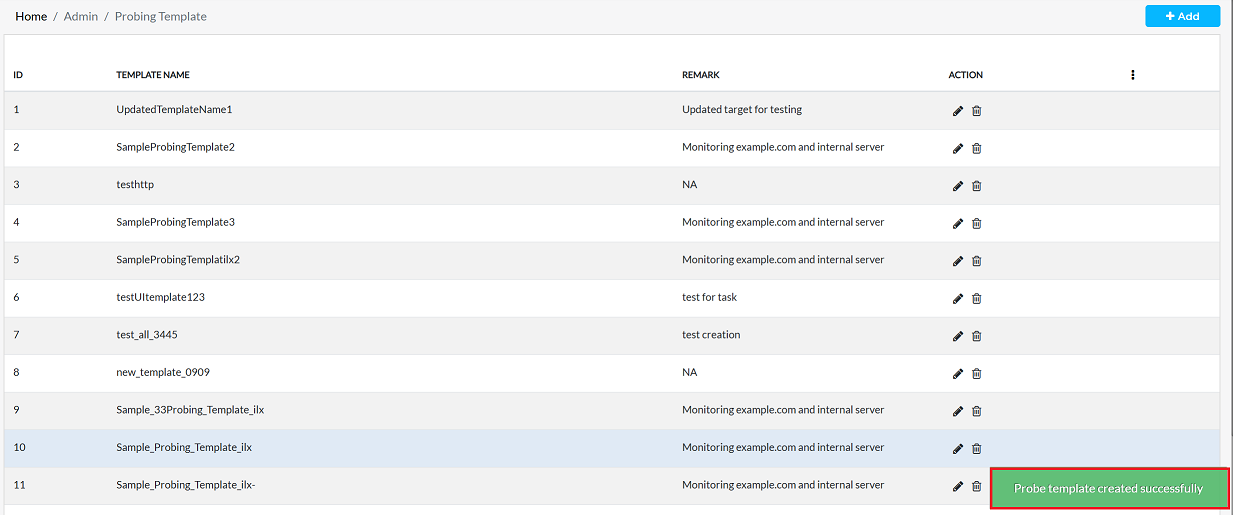
Click Save to create the template. A confirmation message, Probe template created successfully will appear on the screen.
Editing templates
To update the details of any Templates, follow these steps:
-
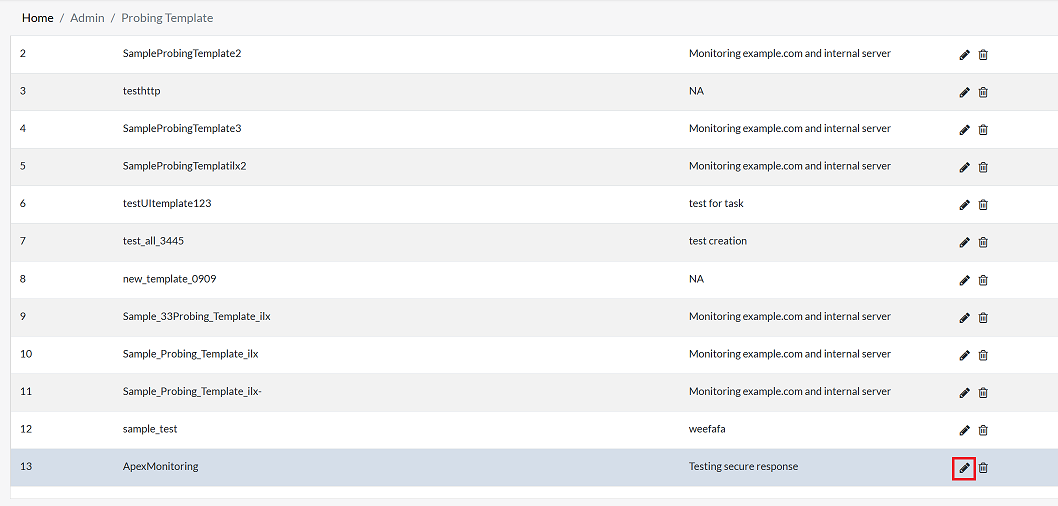
Click on the Edit option in the 'Action' column on the right side of the row of the user to be edited.
-
Changes can be made only to fields such as Template Name, Target, Domain/IP Address, Test Type, and Comments when modifications are required.
-
In this case, only the httpsping port has been updated - it has been changed from
80to443. Other fields such as Template Name, Target, and Domain/IP Address have not been changed. -
If a particular test type is not required, unchecked its checkbox to deselect it. For example, tcpping was not required, so its checkbox has been unchecked to remove it from the configuration.
-
After all necessary updates have been completed, click confirm to apply the changes, and then click Save.
-
To permanently store the configuration, click the Save button.

-
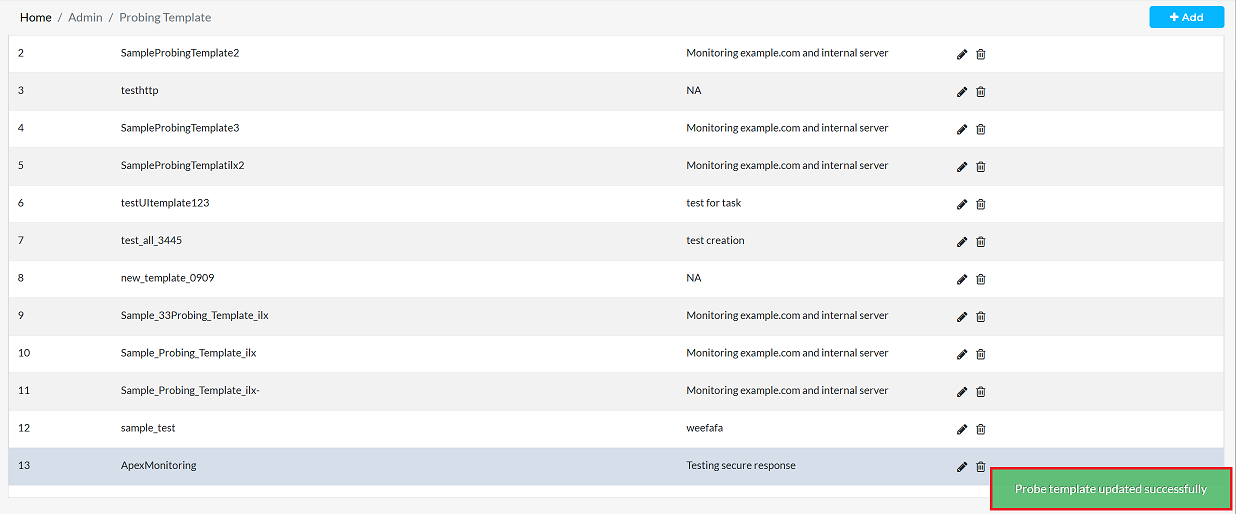
A confirmation message Probe template updated successfully will appear to confirm the changes.
Deleting Templates
To delete any Templates, follow these steps:
-
Click on the Delete option in the 'Action' column in the row of the Templates to be deleted.

-
By clicking on the Delete option, a confirmation message popup will open on the screen. This popup asks to confirm the deletion action again, which prevents accidental deletion.
- The templates has two options available:
- Confirm Delete: If the templates really wants to delete the information, click on the Yes button in the popup.
- Cancel Delete: If not intended to delete or clicked by mistake, click on the No button to cancel the action and keep the information safe.
- The templates has two options available:
-
Decision taken in the image As mentioned, the Yes button has been clicked in the image. This means that the deletion action has been confirmed by the organization and the relevant data will be removed from the system.

-
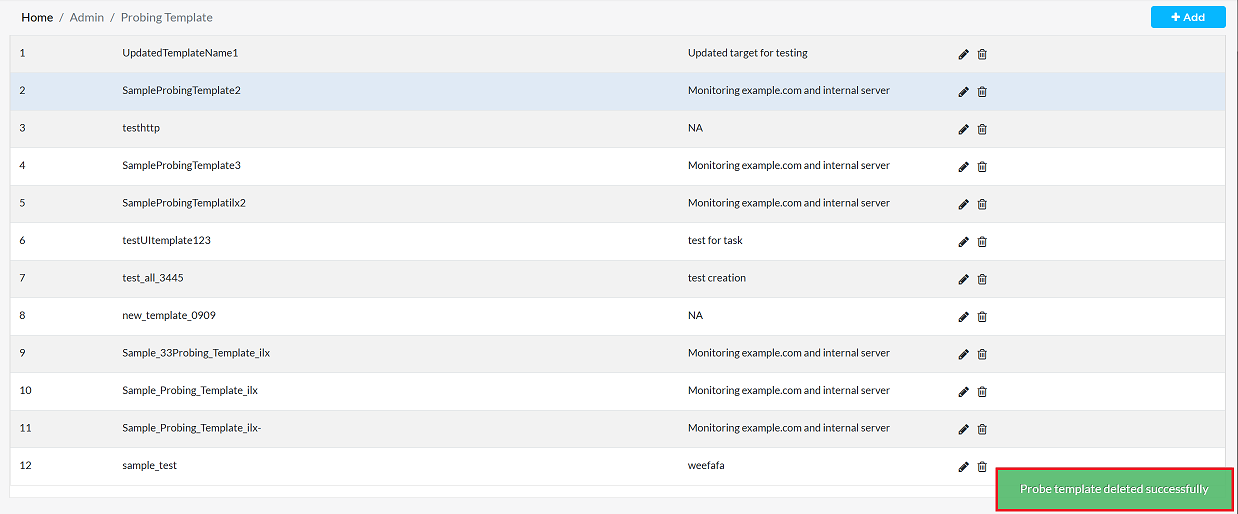
Upon successful deletion a message Probe template delete successfully will be displayed on the screen.
Important Notes for Users
- Templates help standardize monitoring configurations — use clear and meaningful names.
- Always verify Domain/IP and Port numbers before saving.
- Only enable test types that are required to avoid unnecessary monitoring load.
- Use Remarks to describe the purpose of the template for future reference.
- Multiple targets can be added inside a single template for grouped monitoring.
- Editing a template immediately updates monitoring behavior — review carefully before saving.
- Deleted templates cannot be recovered once removed.
- Only authorized users should modify or delete templates.
FAQs
Q:1 When editing a template, why is there a 'Confirm' button followed by a 'Save' button?
The Confirm button is used to apply the changes temporarily within the editing session. It ensures that the modifications (such as updating a port, changing a test type, or editing a domain/IP) are validated and reflected in the template before final storage. The Save button is then required to permanently store the updated configuration into the system database. Without clicking Save, the changes confirmed during editing will not be retained. In summary: Confirm → Validates and applies changes during the edit session. Save → Commits those changes permanently to the system.