Tencent
This document provides a detailed, step-by-step guide for creating and configuring a CE instance on Tencent Cloud.
A Tencent Cloud CE instance is a virtual machine that offers scalable computing power. This guide will take you through the steps of creating, configuring, and verifying a CE instance to make sure it meets your infrastructure requirements. It covers selecting images, setting up network configurations, and checking the operational status of the instance.
Creating a CE Instance
-
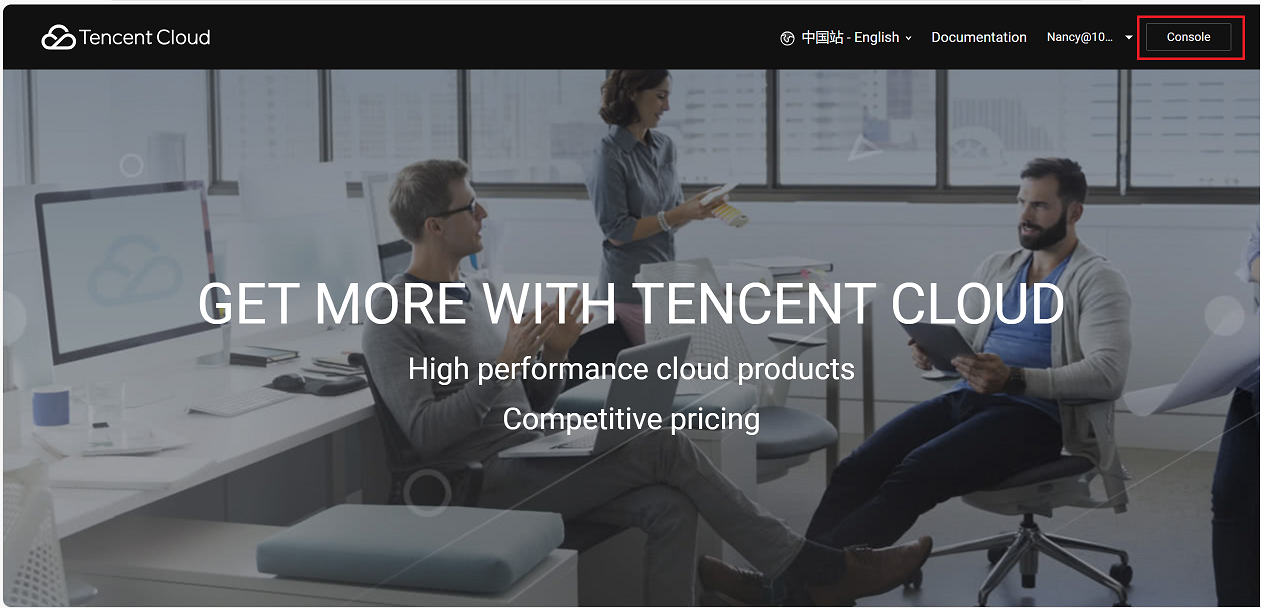
Open your web browser and navigate to the Tencent Cloud Console.
-
Log in using your credentials.
-
Click on the Console.
-
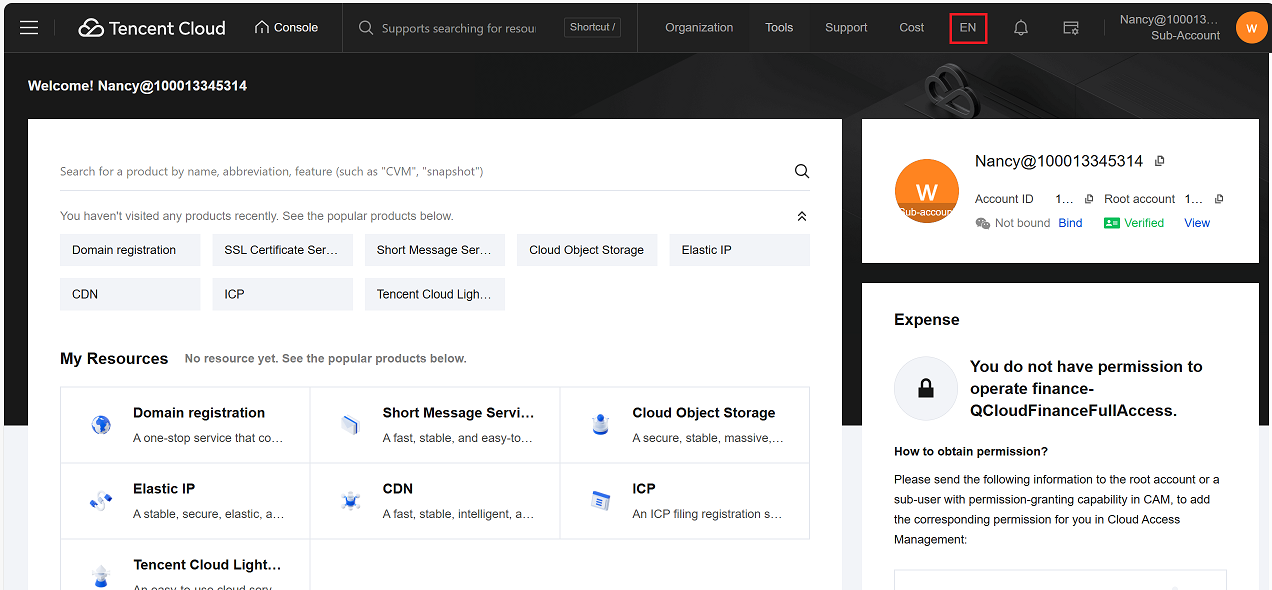
Update the language settings if required, as shown in the image above.
-
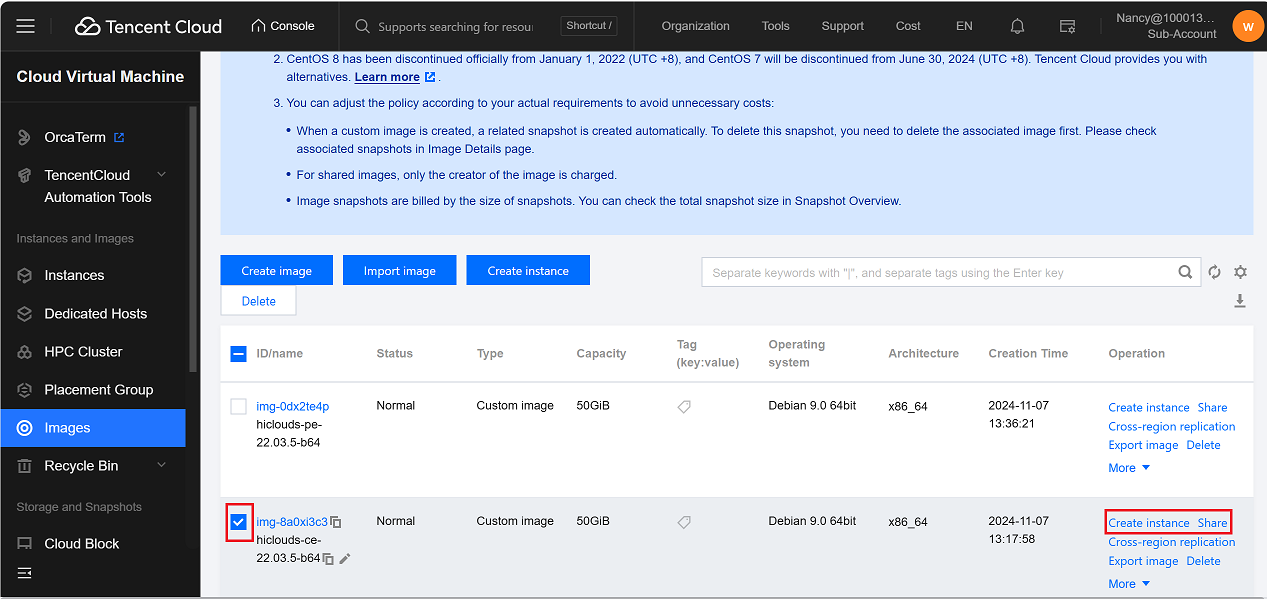
Go to Compute > Cloud Virtual Machine > Images > Custom Image.
-
Select the desired custom image by clicking its checkbox.
-
On the right-hand side, click Create Instance Share.
-
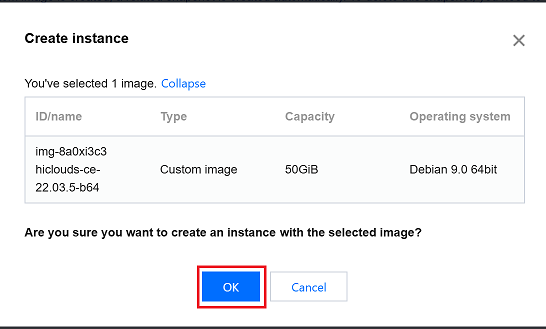
A confirmation message will appear.
-
Click OK to proceed with creating the instance.
-
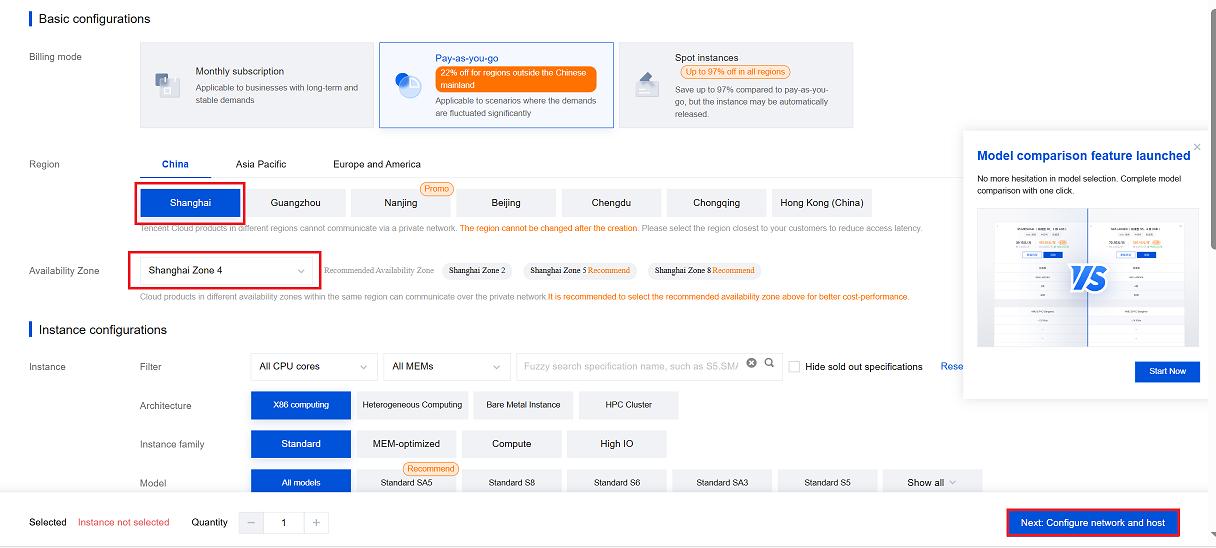
A new tab will open with the configuration page. Complete the following fields:
- Billing Method: Choose Pay-as-you-go based on your preference.
- Region: Select the desired region (i.e., Shanghai).
- Availability Zone: Choose the availability zone (i.e., Shanghai Zone 4).
- Click on the Next Step: Setting up the network and host.
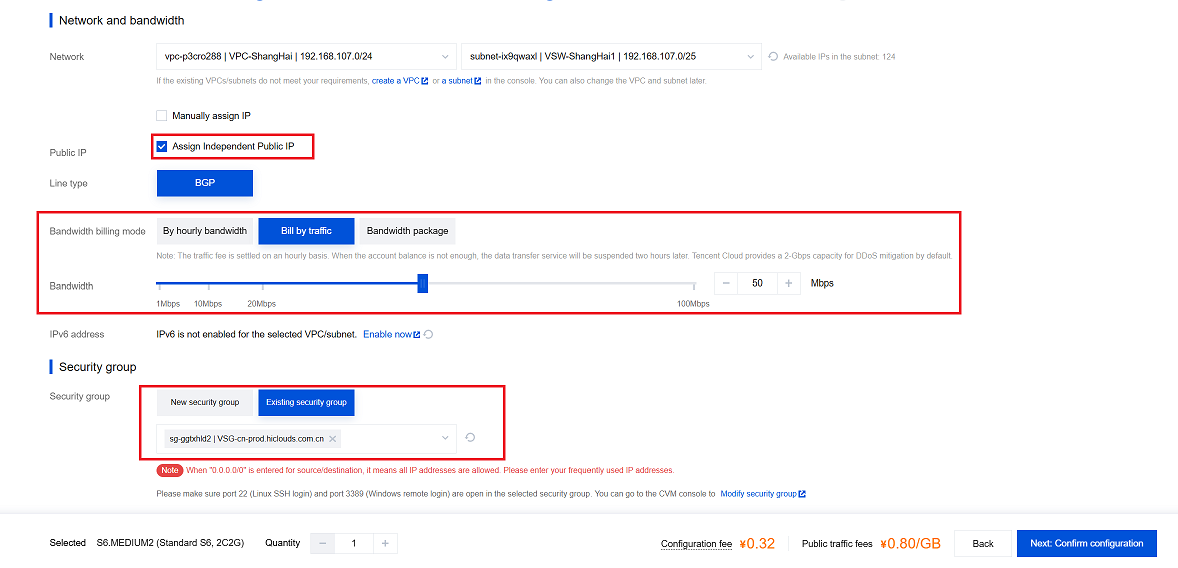
- Public IP: Enable the checkbox to assign a public IP.
- Bandwidth Billing Mode: Select the mode (i.e., Bill by Traffic).
- Bandwidth: Set the desired bandwidth (i.e., 50 Mbps).
- Security Group: Navigate to and select the appropriate security group.
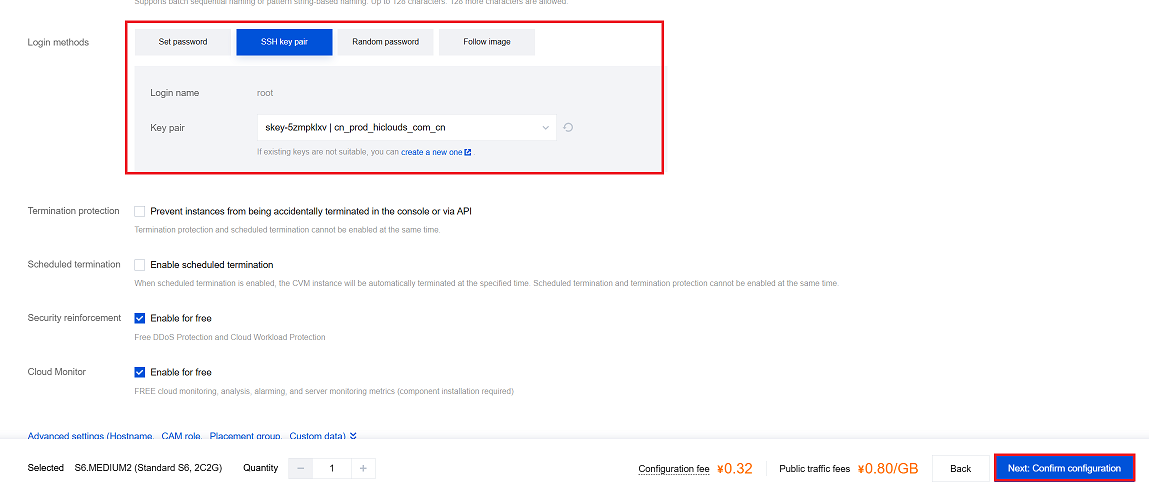
- Key Pair: Choose the key pair for secure access.
- Click on the Next: Confirm Configuration.
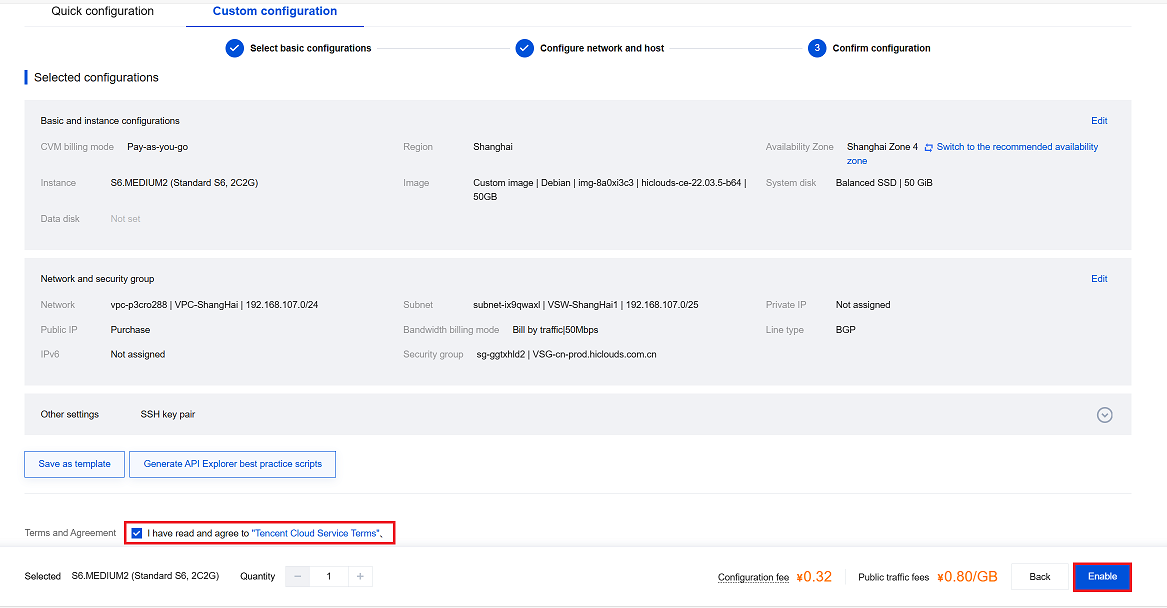
- Review the configuration details.
- Agree to the terms and conditions by selecting the checkbox.
-
Click on the Enable button.
-
Once enabled, you will be redirected to the Instances Page, where you can manage and monitor your new CE instance.

Verify the CE Instance
-
Use the public IP address to establish an SSH connection to the instance. Once connected, check the MAC address of the network interface.
-
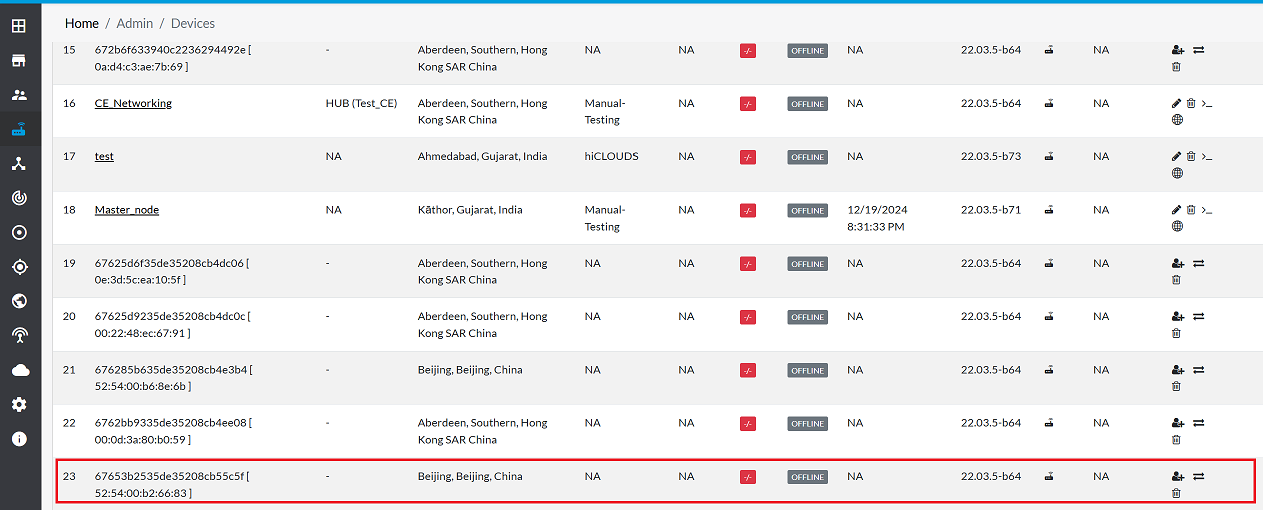
Once the CE is successfully created, proceed to the hiCLOUDS platform to verify its configuration.
-
Go to Login > CE Devices > ALL.
-
Make sure that the newly created CE instance appears in the list of devices.
Important Notes for Users
- Ensure that you select the correct region and availability zone, as instance resources are region-specific and cannot be moved after creation.
- Always verify the billing method (Pay-as-you-go or Subscription) before enabling the instance to avoid unexpected charges.
- When assigning a Public IP, make sure security configurations such as firewall rules and security groups are properly set to protect the instance.
- Keep your key pair securely stored. Without the key, you may lose SSH access to the instance.
- Select an appropriate bandwidth limit based on traffic requirements to balance performance and cost.
- Review all settings on the Confirm Configuration page before proceeding, as some parameters cannot be modified later.
- Only users with administrative permissions should perform CE instance creation and configuration.
- After deployment, always verify the instance status in the Tencent Console and on the hiCLOUDS platform to ensure successful provisioning.
- If the instance does not appear on the hiCLOUDS device list, wait a few minutes or re-check network and platform sync settings.
- Delete unused instances to avoid unnecessary billing charges.
FAQs
Q:1 What is the maximum bandwidth available for CE instances?
Ans: The maximum bandwidth depends on the selected instance type and configuration, often up to several Gbps.
Q:2 Is there a limit to the number of CE instances I can create?
Ans: Yes, the limit is determined by your Tencent Cloud account and its quota. If you need adjustments, reach out to support for assistance.