Tencent
This document provides a detailed, step-by-step guide for creating and configuring a PE instance on Tencent Cloud.
A Tencent Cloud PE instance is a virtual machine that offers scalable computing power. This guide will take you through the steps of creating, configuring, and verifying a PE instance to make sure it meets your infrastructure requirements. It covers selecting images, setting up network configurations, and checking the operational status of the instance.
Creating PE Instance
-
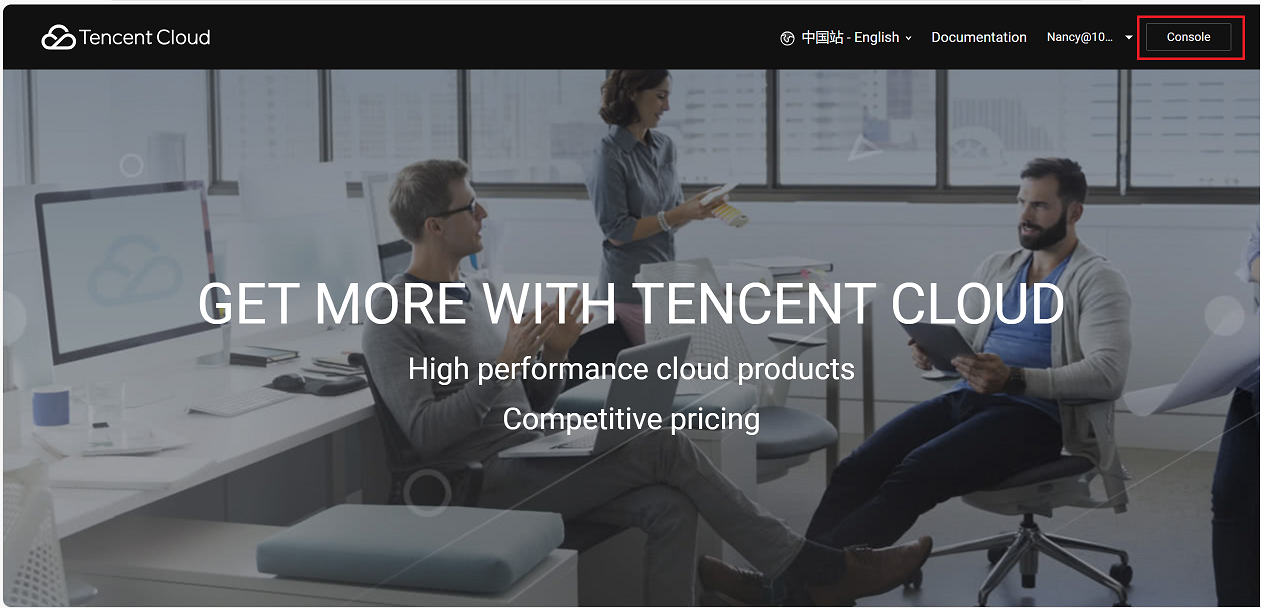
Open your web browser and navigate to the Tencent Cloud Console.
-
Log in using your credentials.
-
Click on the Console.
-
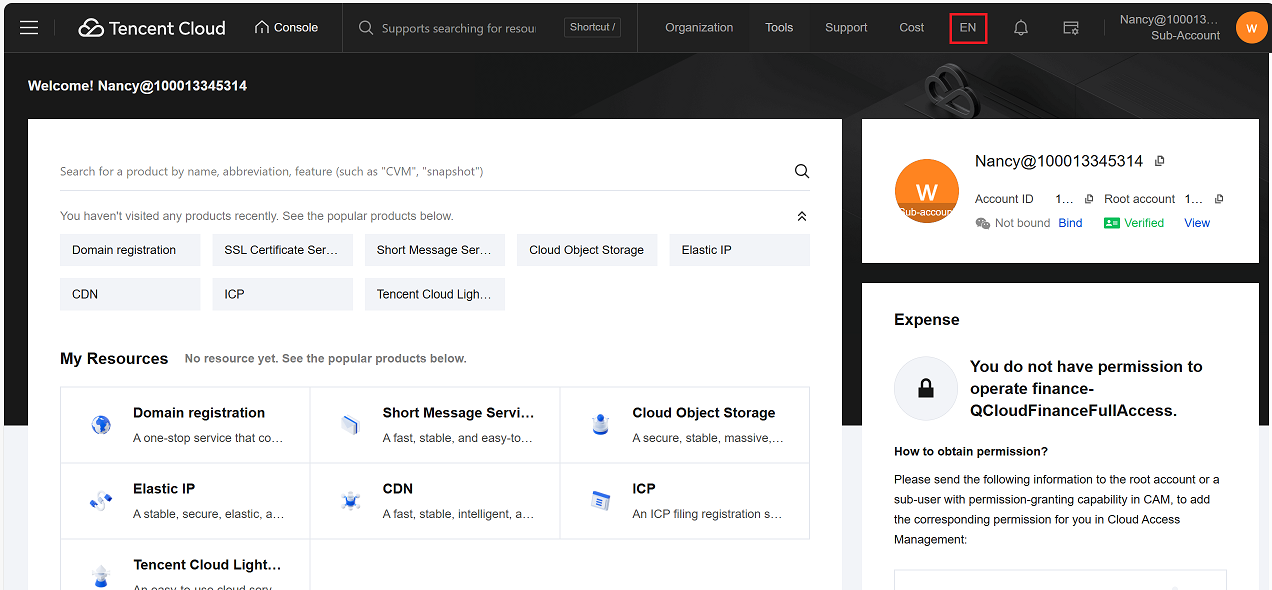
Update the language settings if required, as shown in the image above.
-
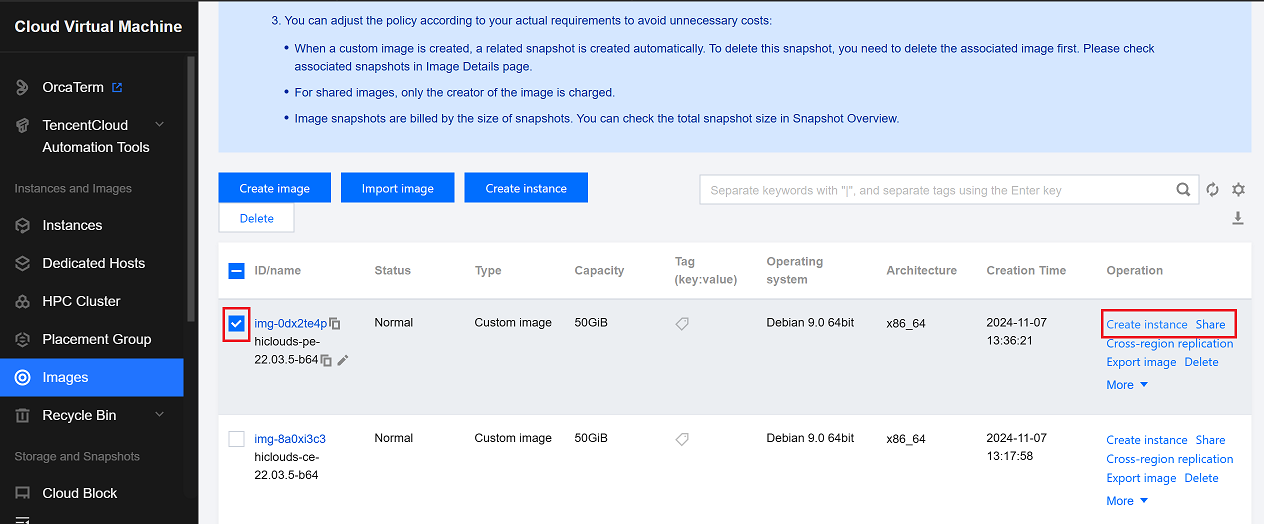
Go to Compute > Cloud Virtual Machine > Images > Custom Image.
-
Select the desired custom image by clicking its checkbox.
-
On the right-hand side, click Create Instance Share.
-
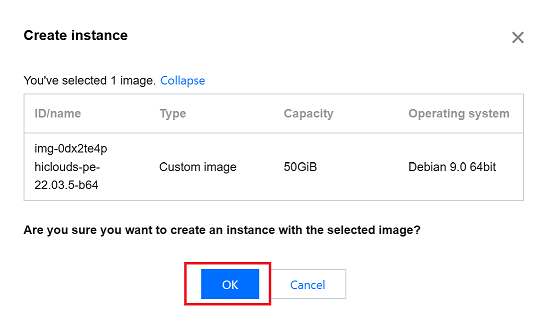
A confirmation message will appear.
-
Click OK to proceed with creating the instance.
-
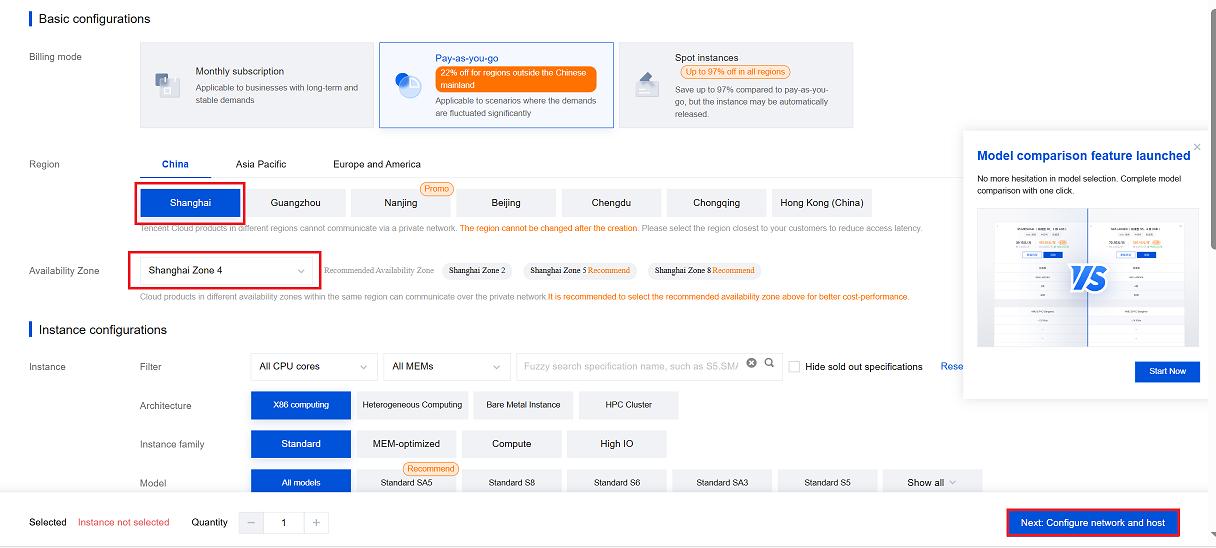
A new tab will open with the configuration page. Complete the following fields:
- Billing Method: Choose Pay-as-you-go based on your preference.
- Region: Select the desired region (i.e., Shanghai).
- Availability Zone: Choose the availability zone (i.e., Shanghai Zone 4).
- Click on the Next Step: Setting up the network and host.
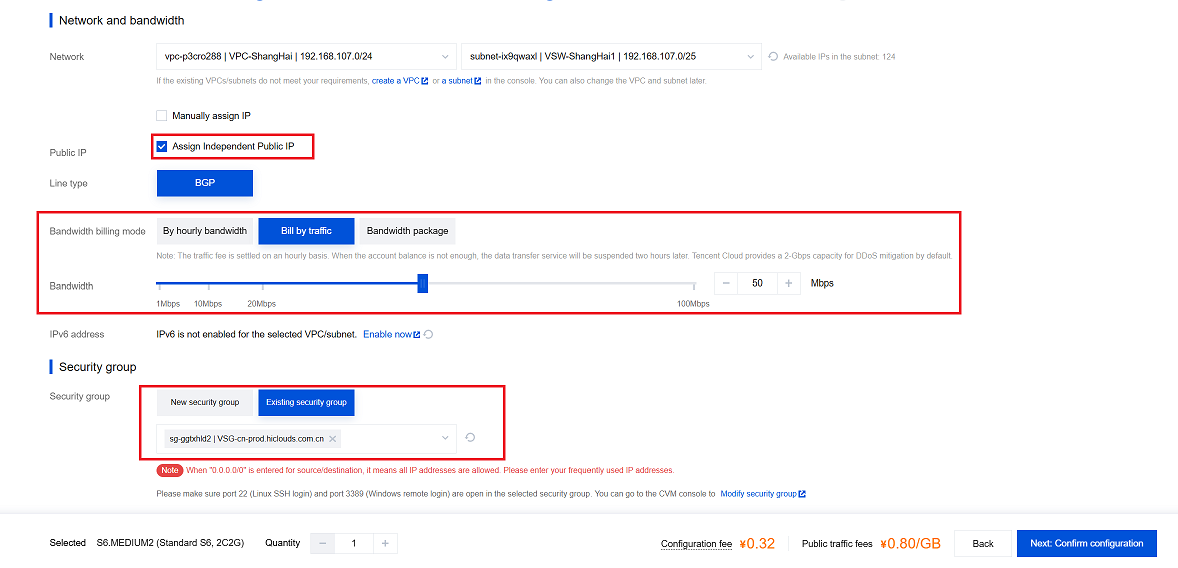
- Public IP: Enable the checkbox to assign a public IP.
- Bandwidth Billing Mode: Select the mode (i.e., Bill by Traffic).
- Bandwidth: Set the desired bandwidth (i.e., 50 Mbps).
- Security Group: Navigate to and select the appropriate security group.
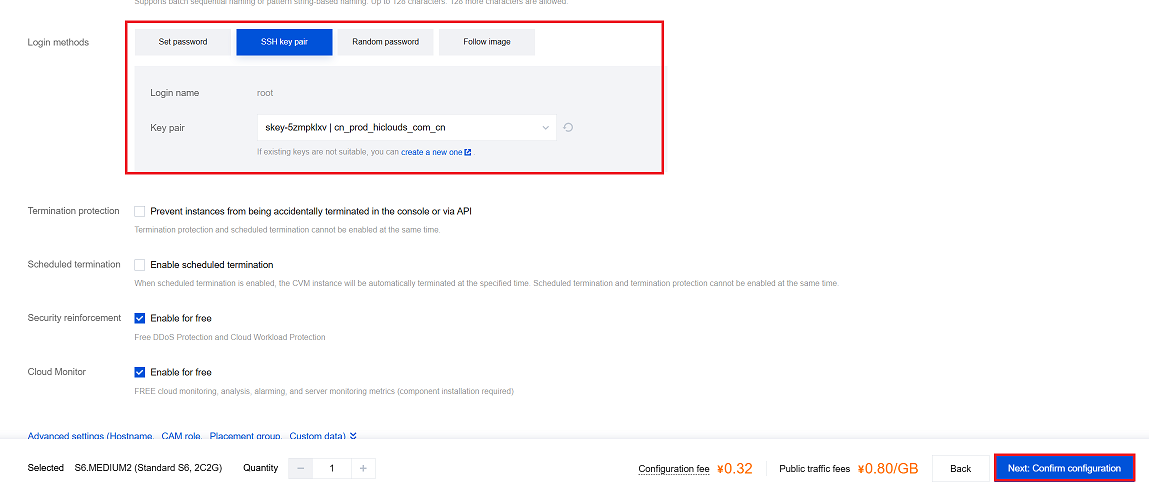
- Key Pair: Choose the key pair for secure access.
- Click on the Next: Confirm Configuration.
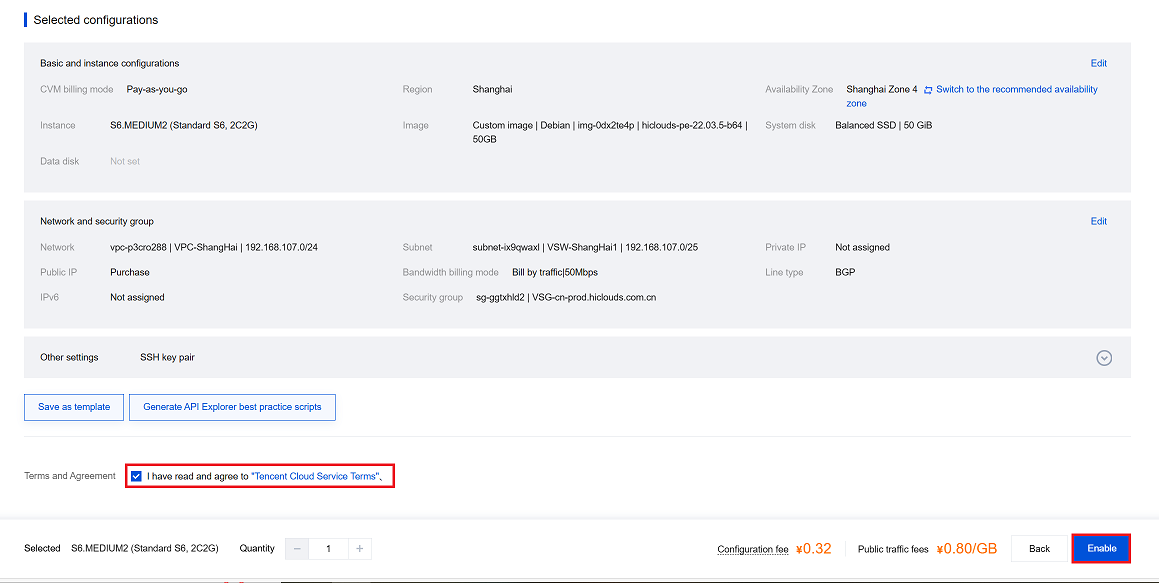
- Review the configuration details.
- Agree to the terms and conditions by selecting the checkbox.
-
Click on the Enable button.
-
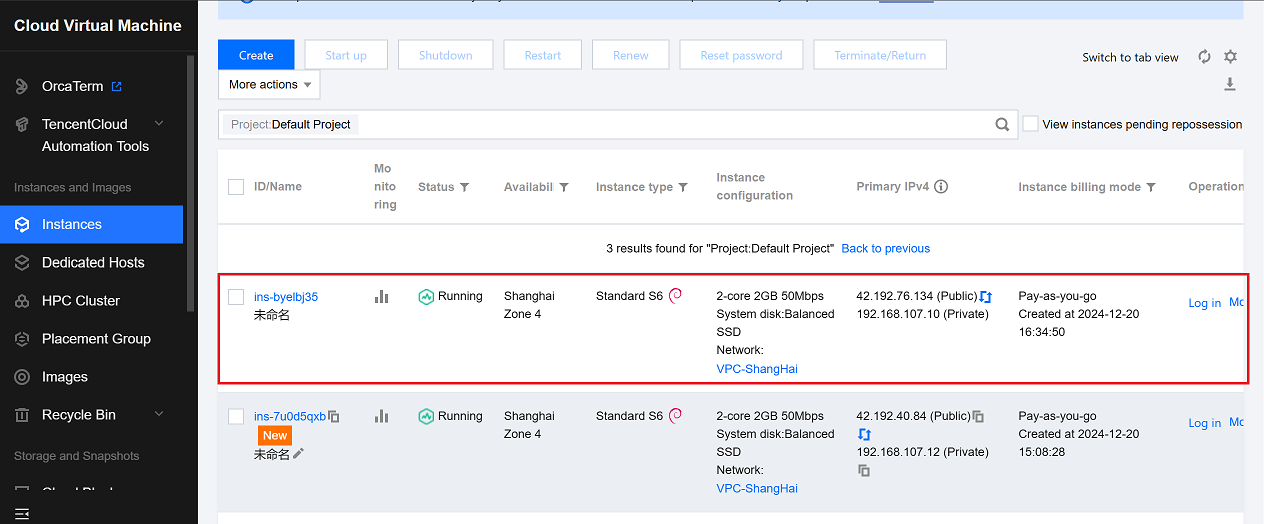
Once enabled, you will be redirected to the Instances Page, where you can manage and monitor your new PE instance.
Verify the PE Instance
-
Once the PE is successfully created, proceed to the hiCLOUDS platform to verify its configuration.
-
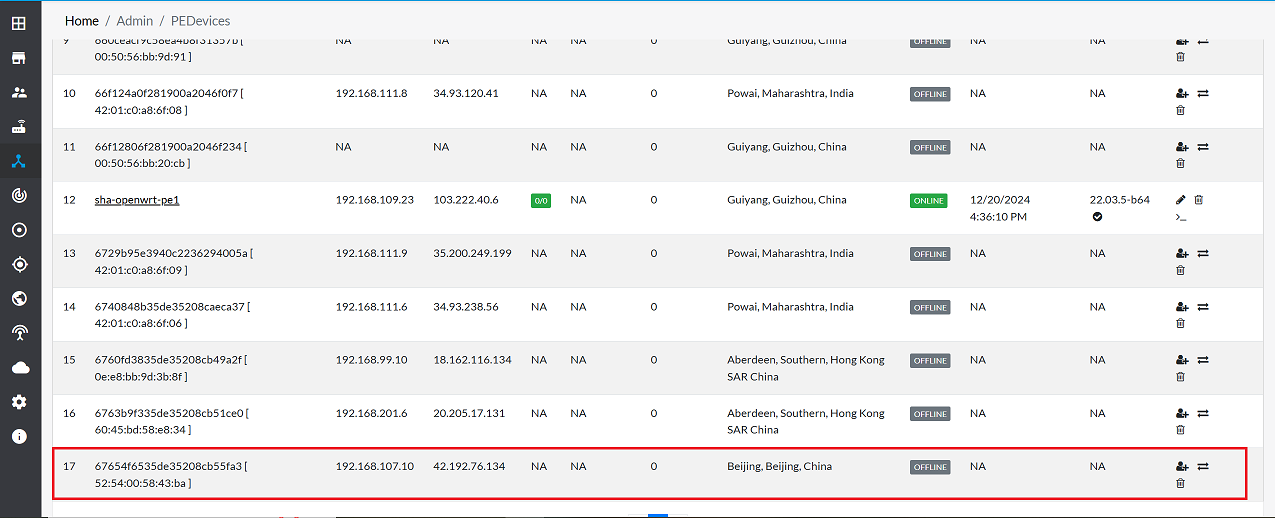
Go to Login > PE Devices > ALL.
-
Make sure that the newly created PE instance appears in the list of devices.
Important Notes for Users
- Ensure that you select the correct region and availability zone, as instances and resources are region-specific and cannot be moved directly across regions.
- Always verify the billing method (Pay-as-you-go or subscription) before creation to avoid unexpected charges.
- While enabling the Public IP, confirm whether public access is actually required; if not, disable it to enhance security.
- Assign the correct security group rules to allow only required inbound and outbound traffic.
- Keep your key pair securely stored. If lost, you may not be able to access the instance.
- Periodically check the instance status and health in the Tencent Cloud Console to ensure it is running normally.
- Avoid deleting custom images or key pairs that are associated with active instances.
- Make sure bandwidth selection aligns with workload needs to prevent performance issues.
- After creation, verify the device in the hiCLOUDS platform to confirm successful onboarding.
- Perform configuration changes during maintenance windows to avoid service interruption.
FAQs
Q:1 What is a security group, and why is it important?
Ans: A security group acts as a virtual firewall to control inbound and outbound traffic for your instance.
Q:2 Can I use custom images to create a PE instance?
Ans: Yes, custom images can be used to preconfigure instances with specific applications and settings.