Hub & Spoke
Overview of Hub-and-Spoke Model
The Hub-and-Spoke model involves a central hub that connects to multiple spokes (remote devices), ensuring seamless communication across the network. This topology is common in VPN configurations, where the hub manages traffic and security between spokes.

Hub & Spoke Configuration
SSLVPN
-
Hub Configuration
Login to the System
-
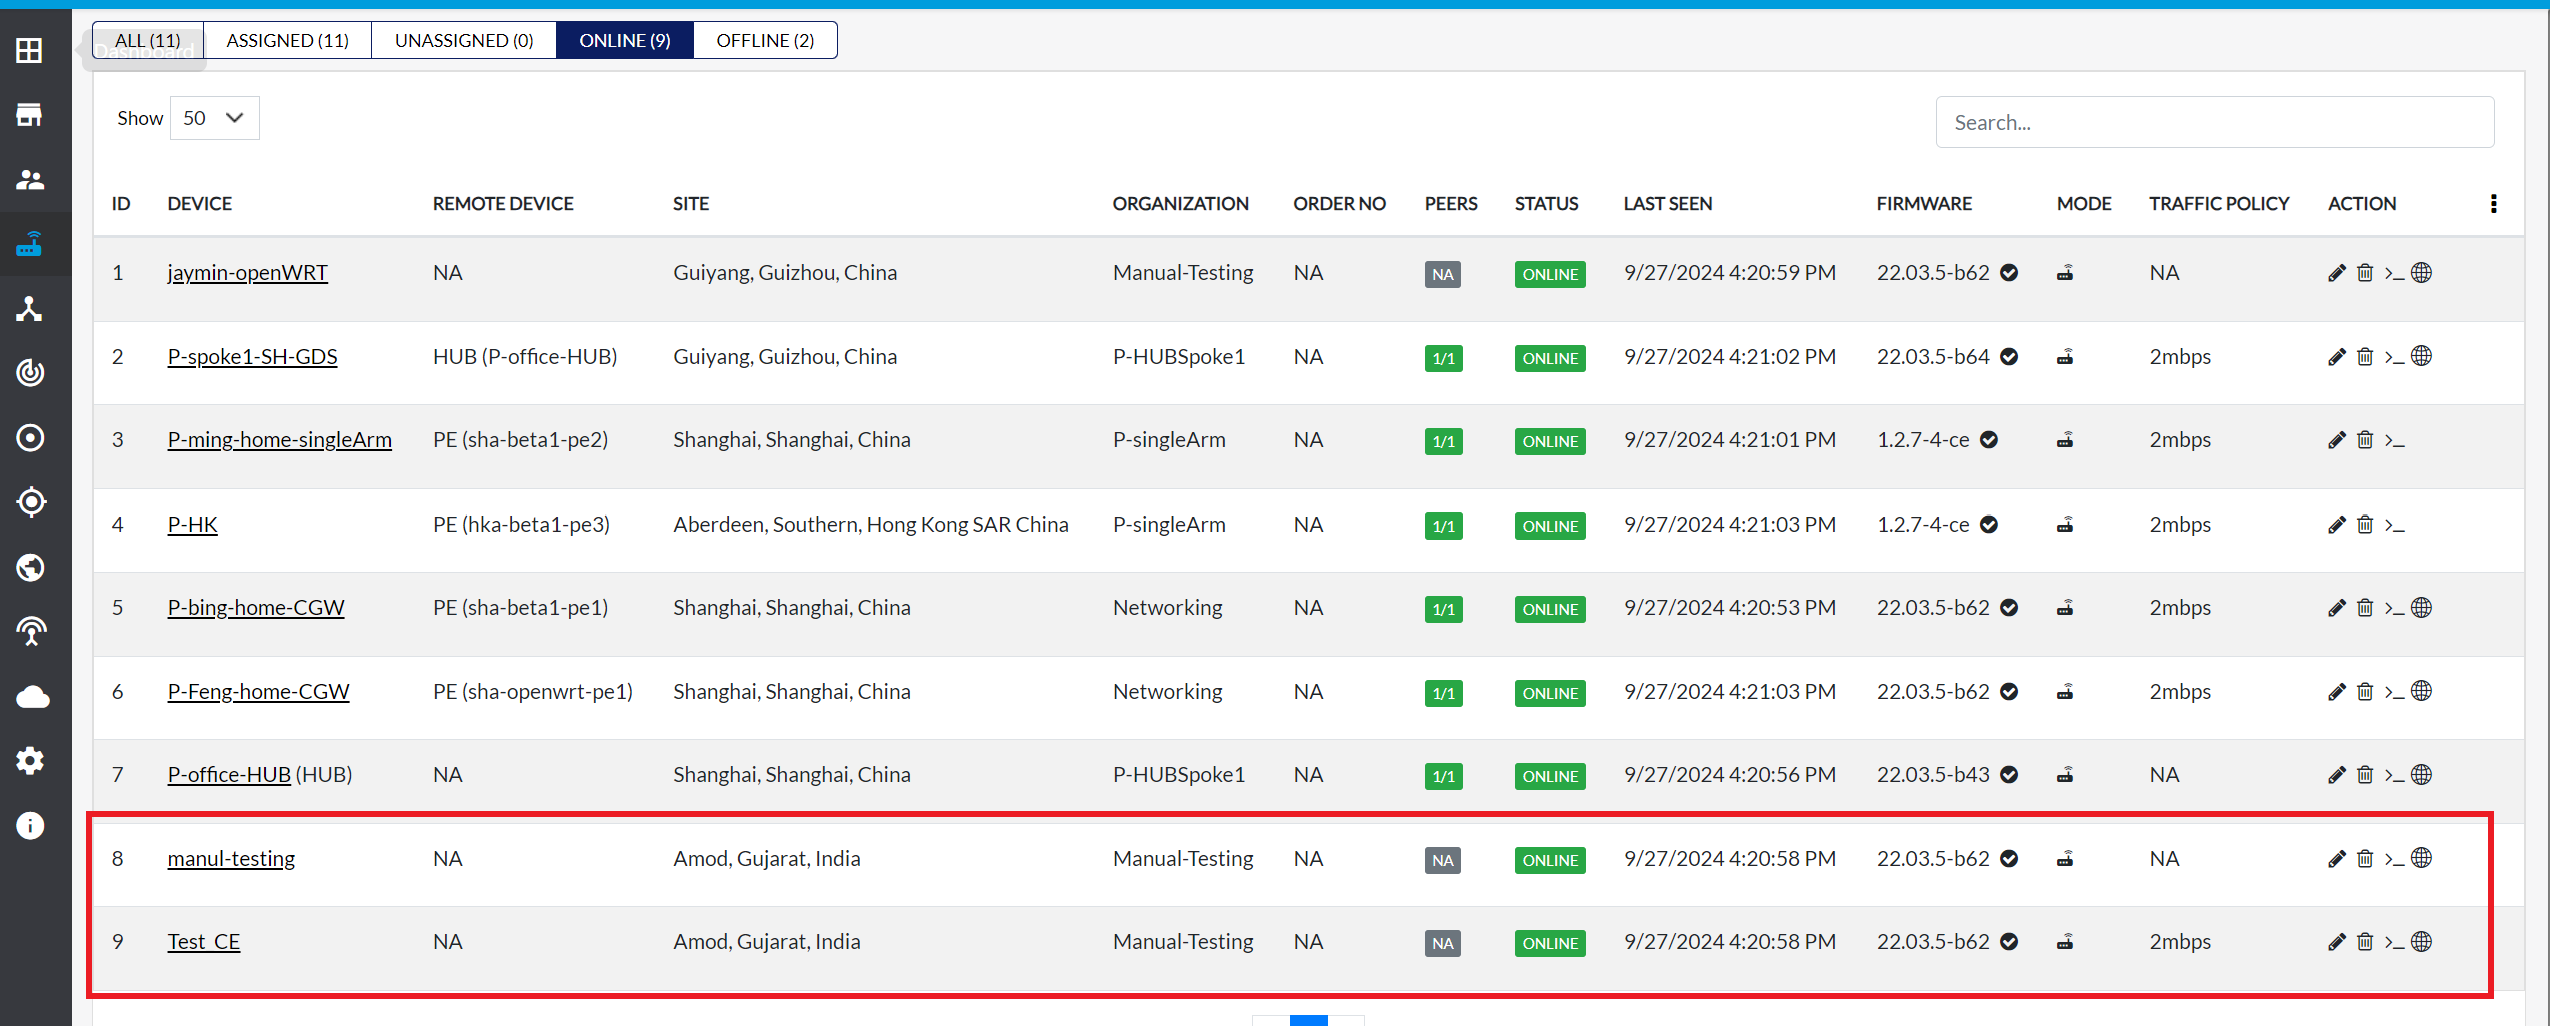
Log in to the cloud platform and navigate to the CE device. Ensure that two CE devices are created in the same organization under the cloud.
Access Hub & Spoke Configuration
-
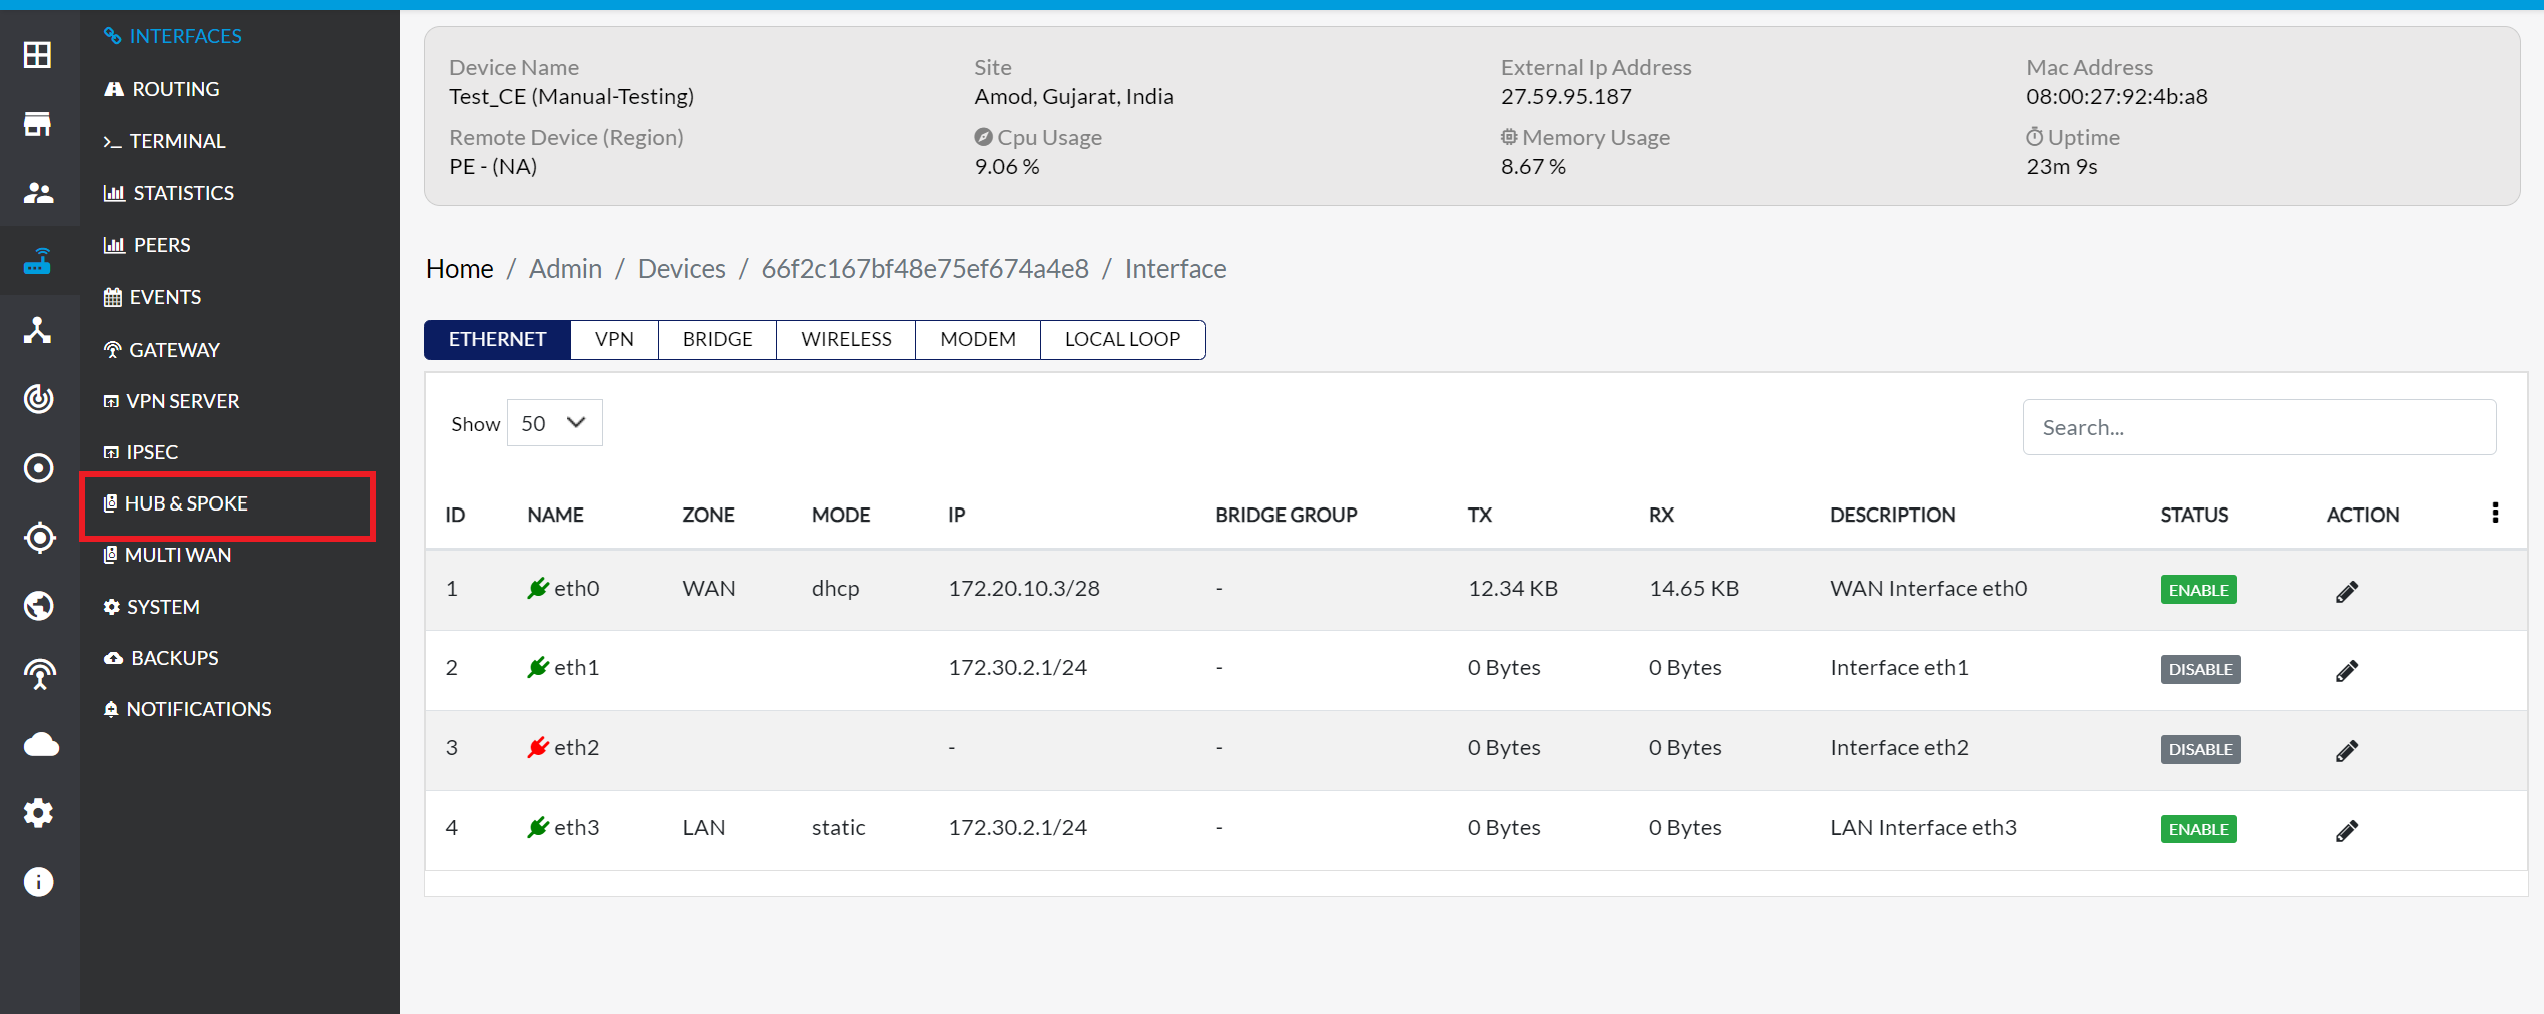
Click on the desired CE device and go to the Hub and Spoke section from the menu.
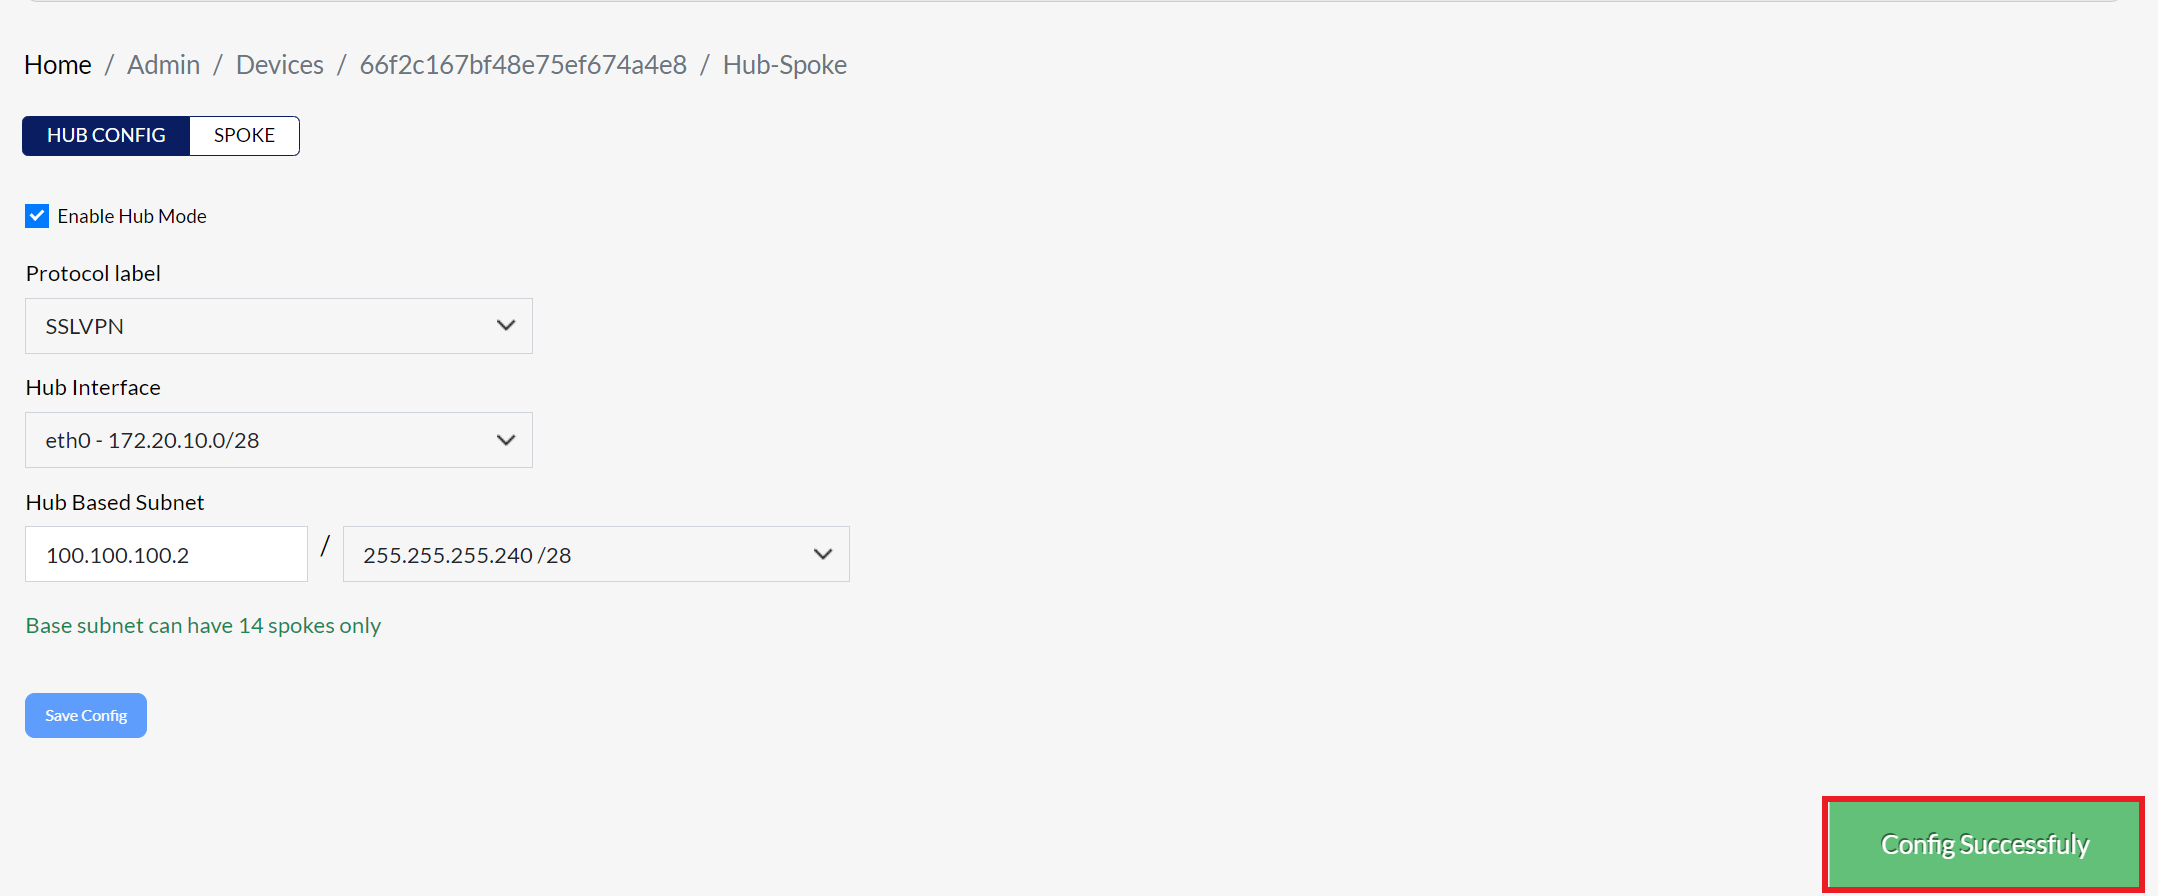
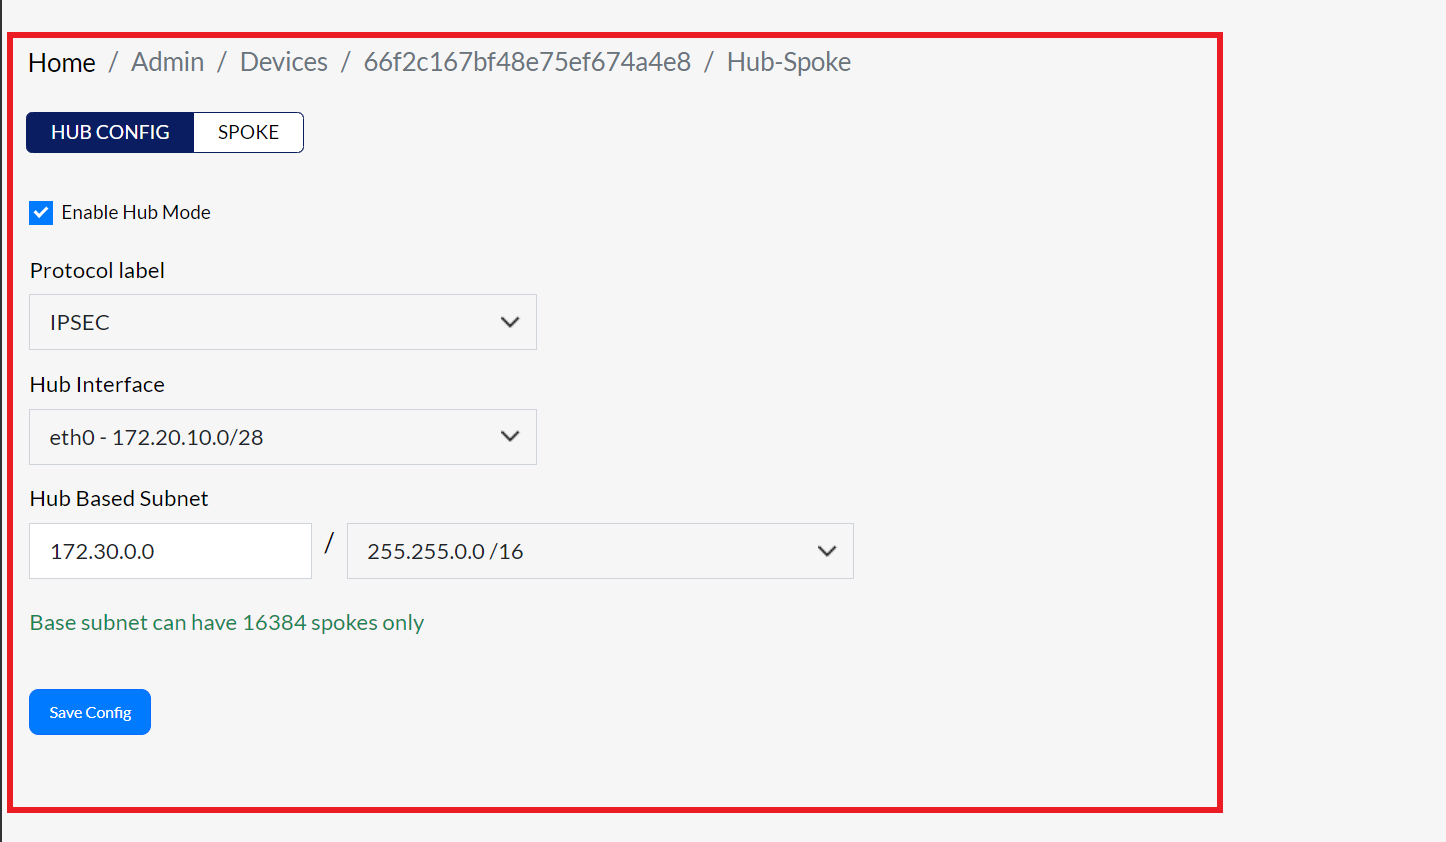
Enable Hub Mode
-
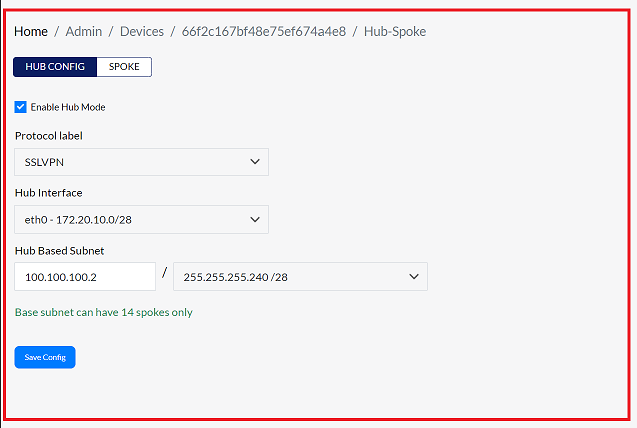
Check the Enable Hub Mode box to enable Hub Mode for the selected device.
- Protocol Label: From the dropdown, select the SSLVPN protocol.
- Hub Interface: The default IP will be filled in automatically. This interface will be associated with an available IP address, typically assigned to the eth0 network interface.
- Hub Based Subnet: Enter a Hub-based subnet IP that does not overlap with your current network. For instance, use an IP like 100.100.100.2/255.255.255.240/28.
-
Once complete, click the Save Config button.
Configuration Confirmation
-
After clicking Save Config, a confirmation message will appear confirming that the Config Successfuly saved.
-
Spoke configuration
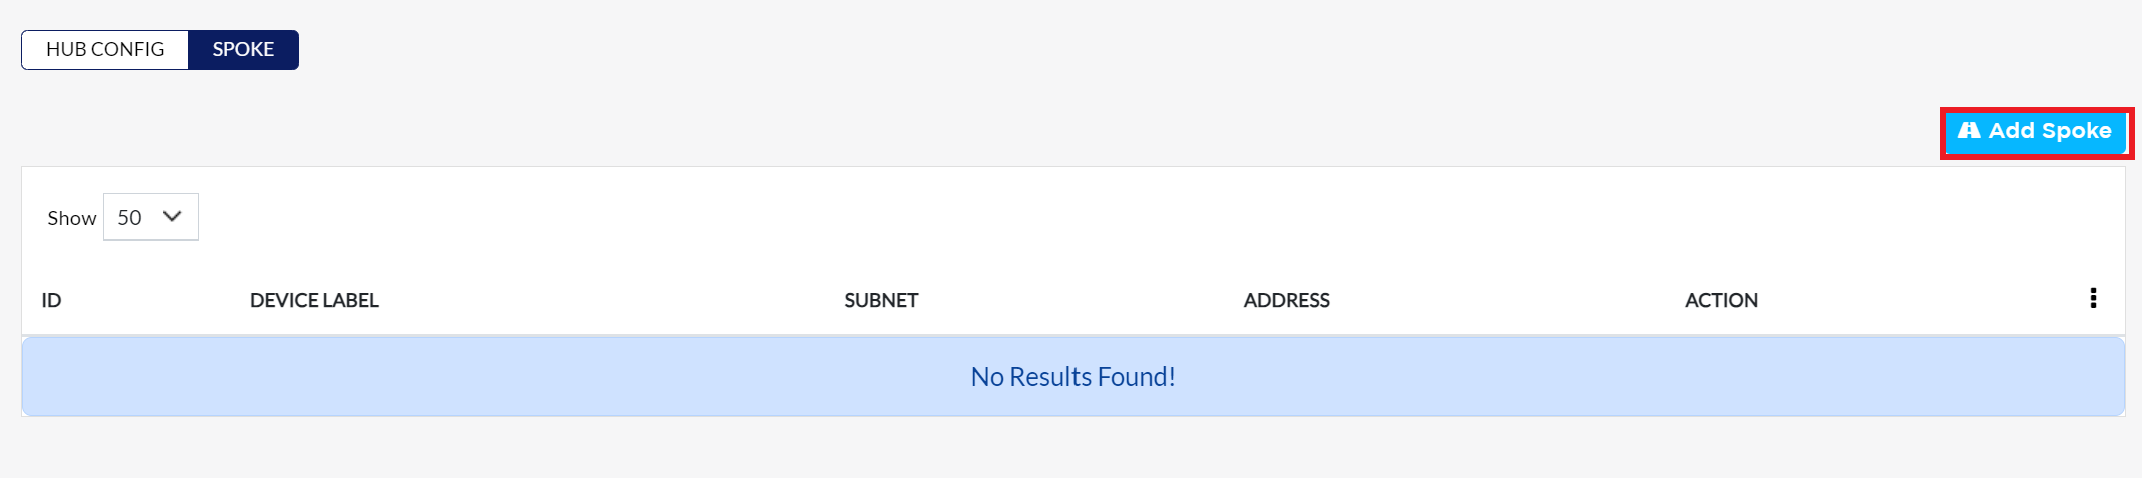
Adding a Spoke Device
-
To add a spoke, go to the Spoke tab and click the Add Spoke button.
Select and Assign Spoke Device
-
From the list of devices within the organization, select the spoke device. After selection, click Assign button.

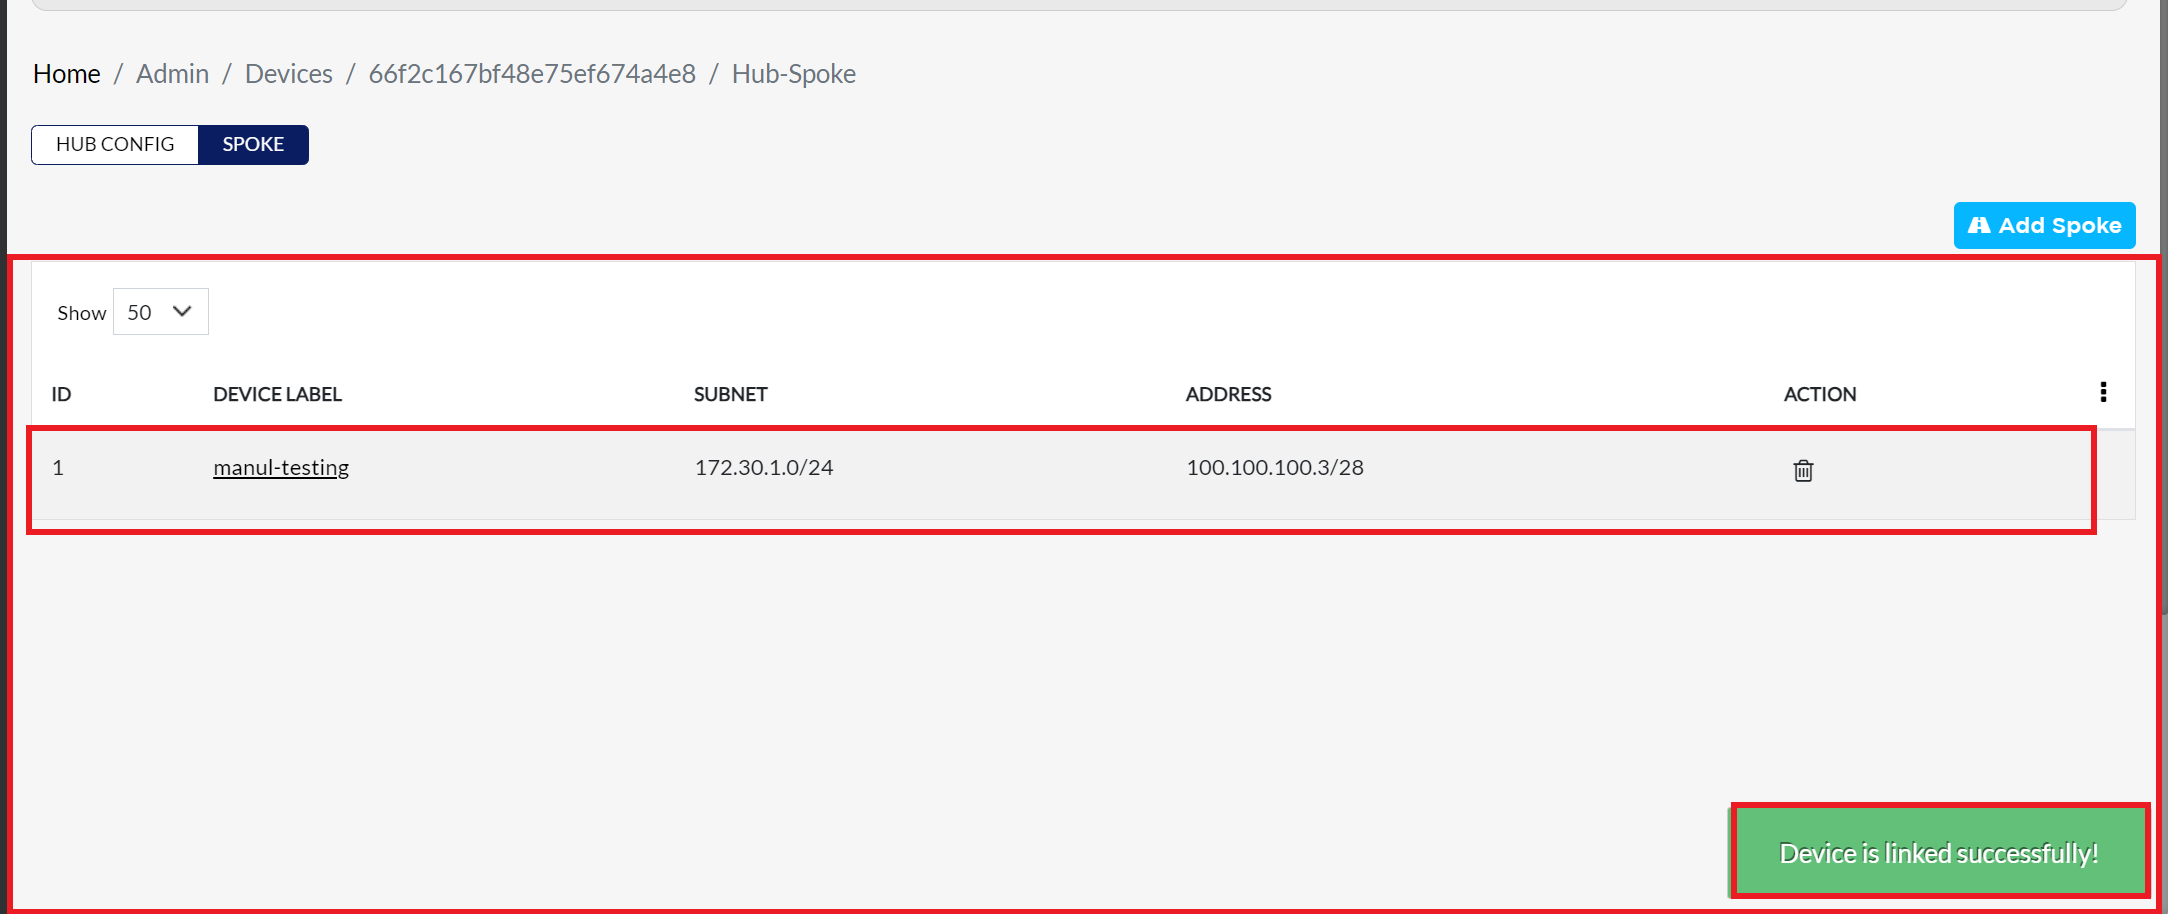
Verify Spoke Creation
-
After assigning, the spoke will appear in the interface, and the IP range from the hub will be visible in the spoke device details. A confirmation message will appear indicating the Device is linked successfully.
Automatic VPN Configuration
-
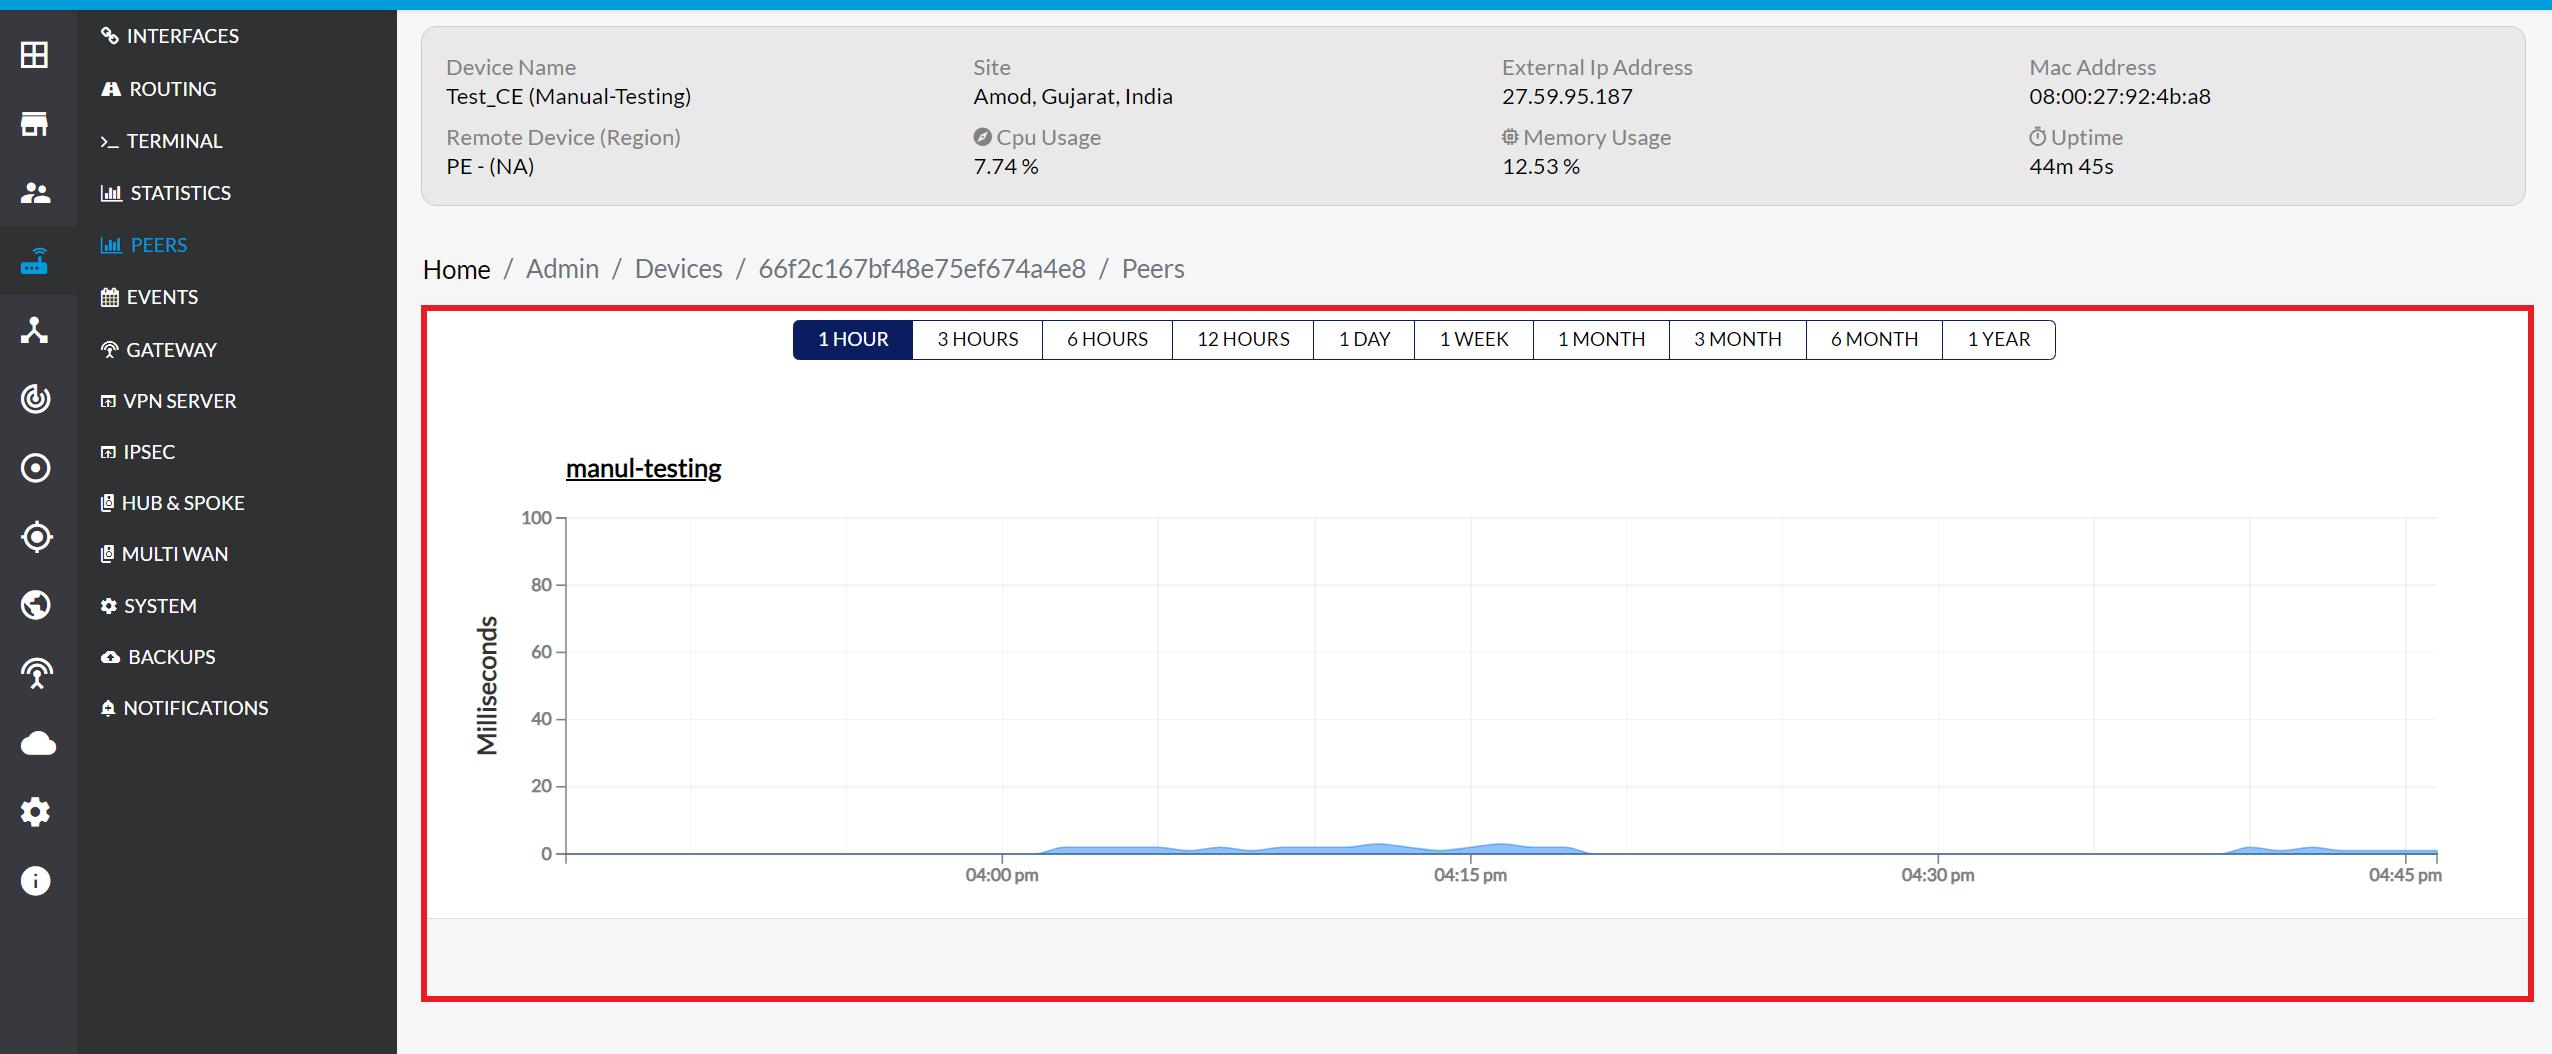
Once the spoke is created, the system will automatically configure the VPN tunnel, Bridge, and Peers on the interface.
VPN
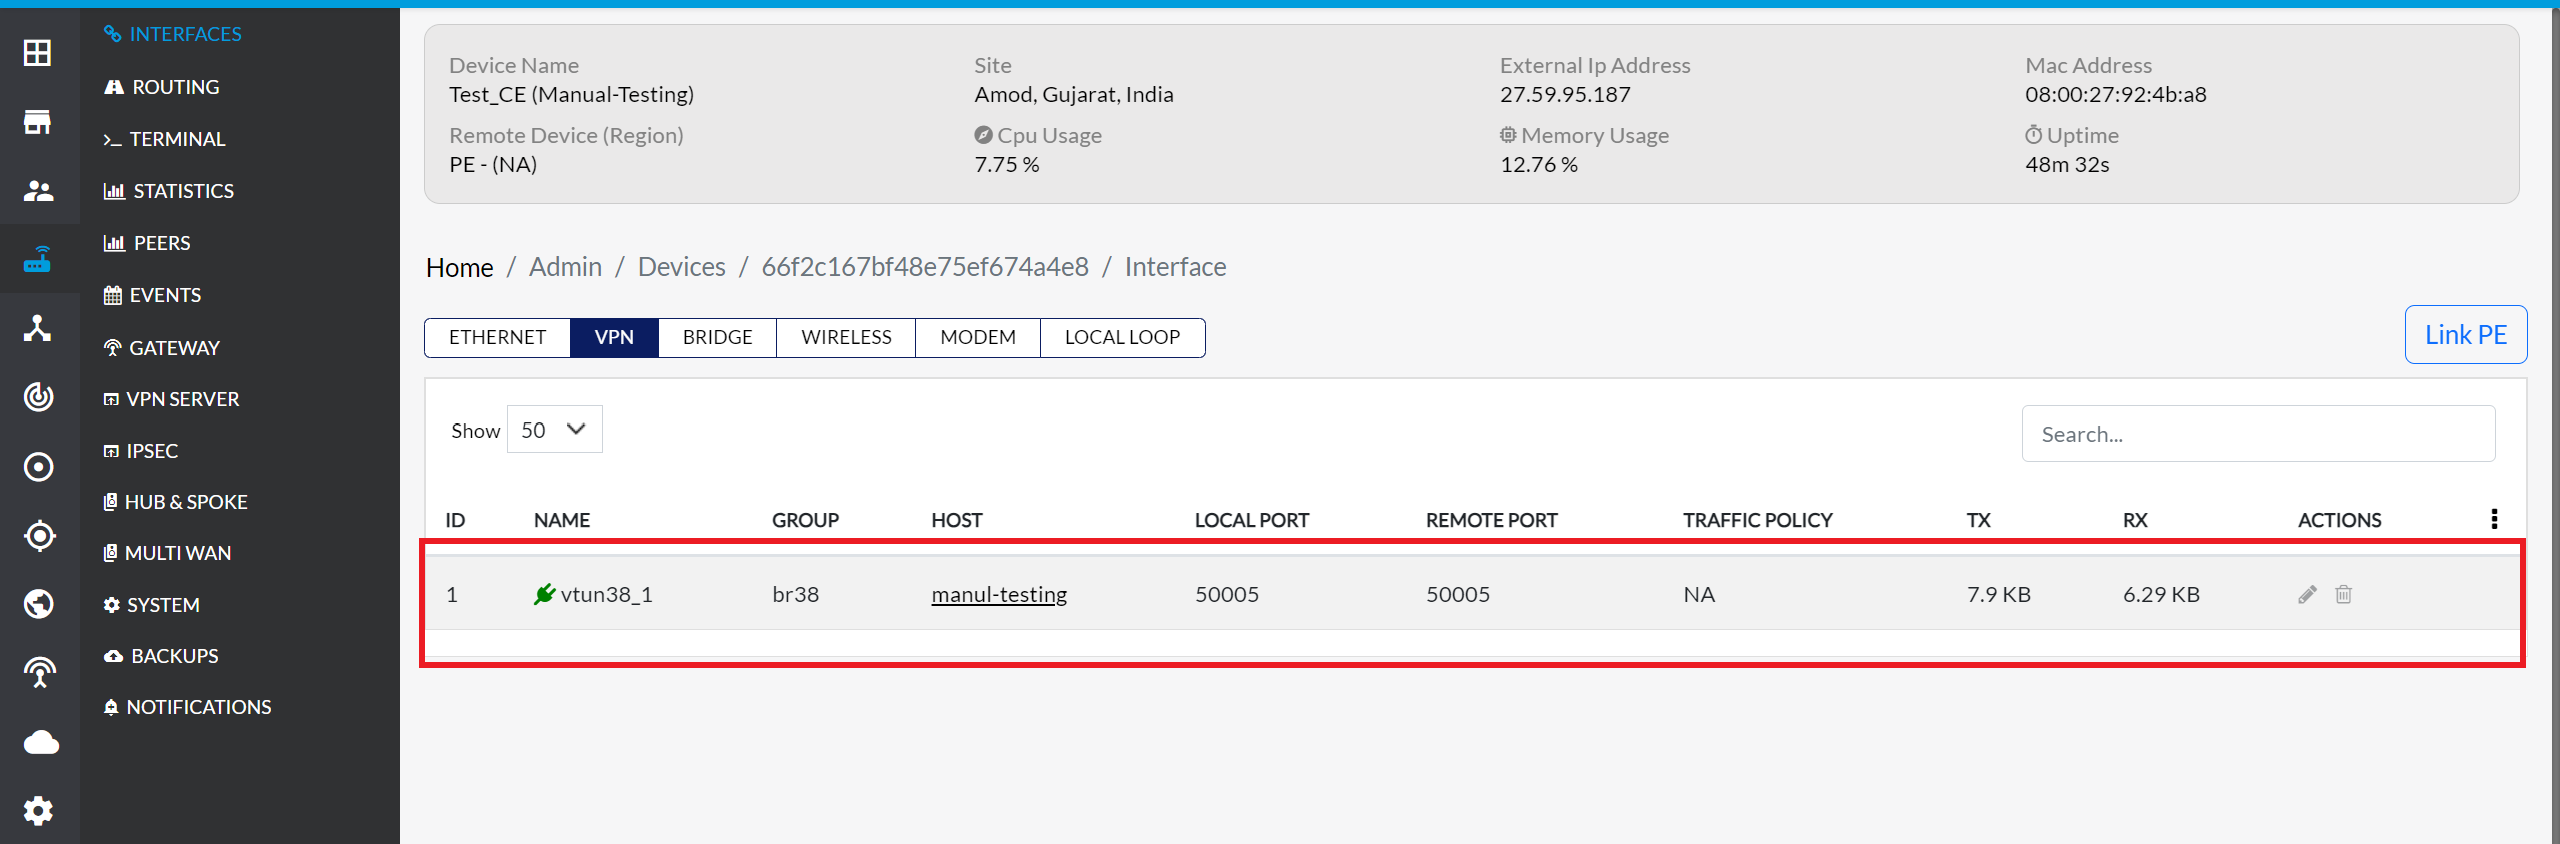
Bridge
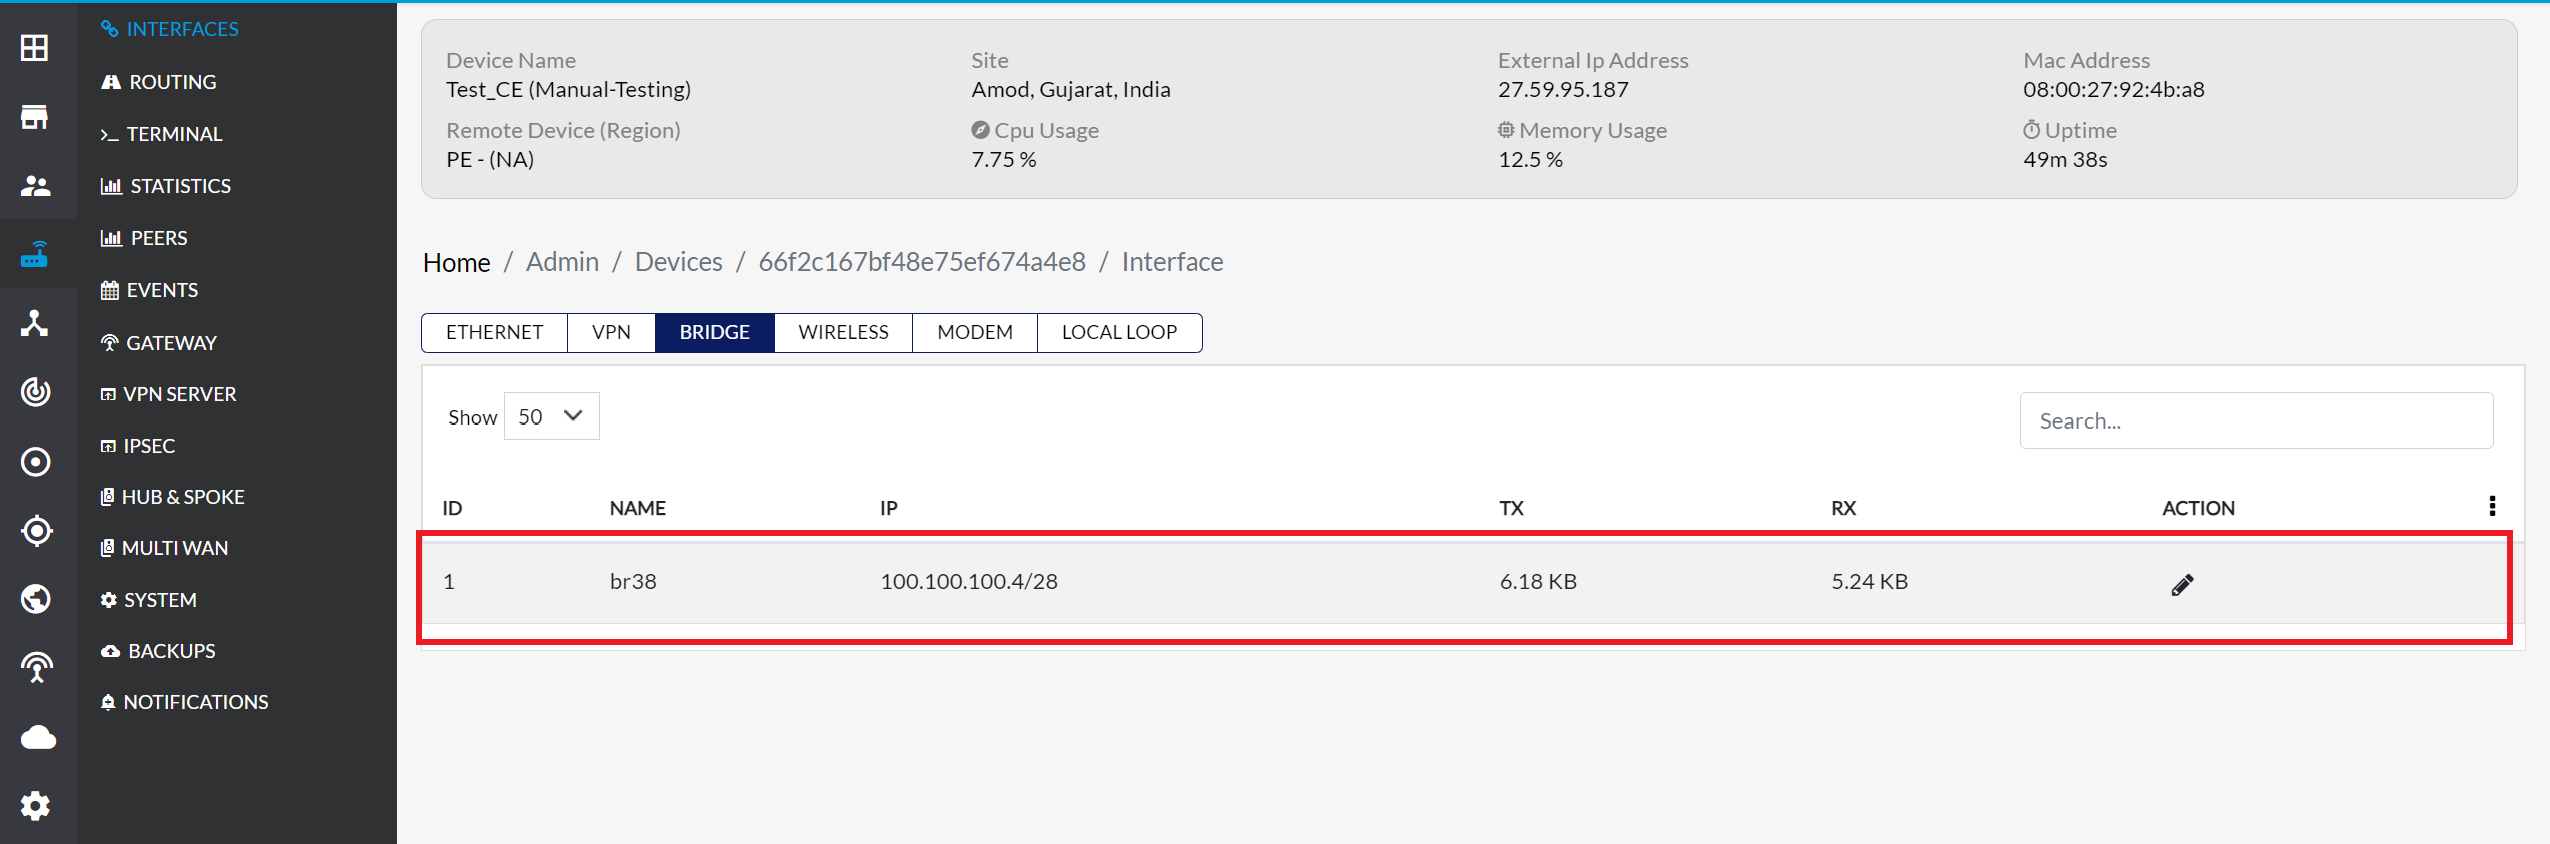
Peers
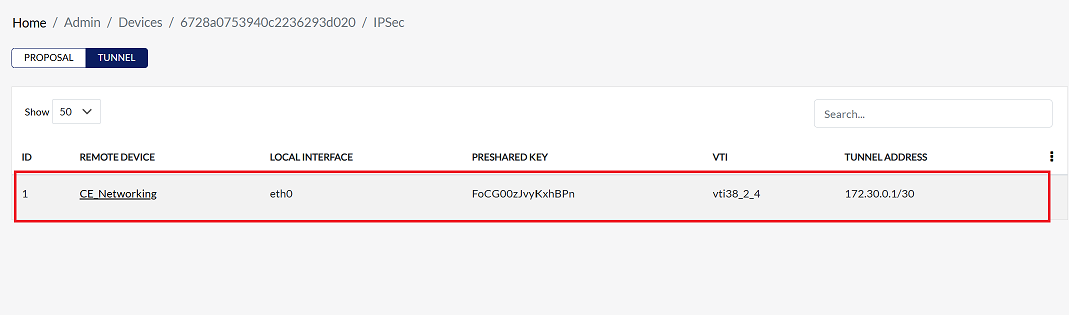
IPSEC
-
Navigate to the Hub & Spoke menu on your device. In the Hub Config section, choose IPSEC from the Protocol Label dropdown menu. After selecting IPSEC, click the Save Config button to apply the settings.
:::info [Important] If you want to add a spoke after selecting the IPSEC protocol, follow the same steps as explained for SSLVPN. :::
-
When adding a spoke under the IPSEC protocol, the tunnel, VPN, and bridge connections will not be created automatically. To view the tunnel information, go to the IPSEC menu, and navigate to the Tunnel tab to see the details.