Environment
This document provides easy ways to create, edit, and delete environments in the application. Each environment is given a name and URL, so you can use it for different tasks. In this application, you will find simple controls for all these tasks, allowing you to easily manage the environment.
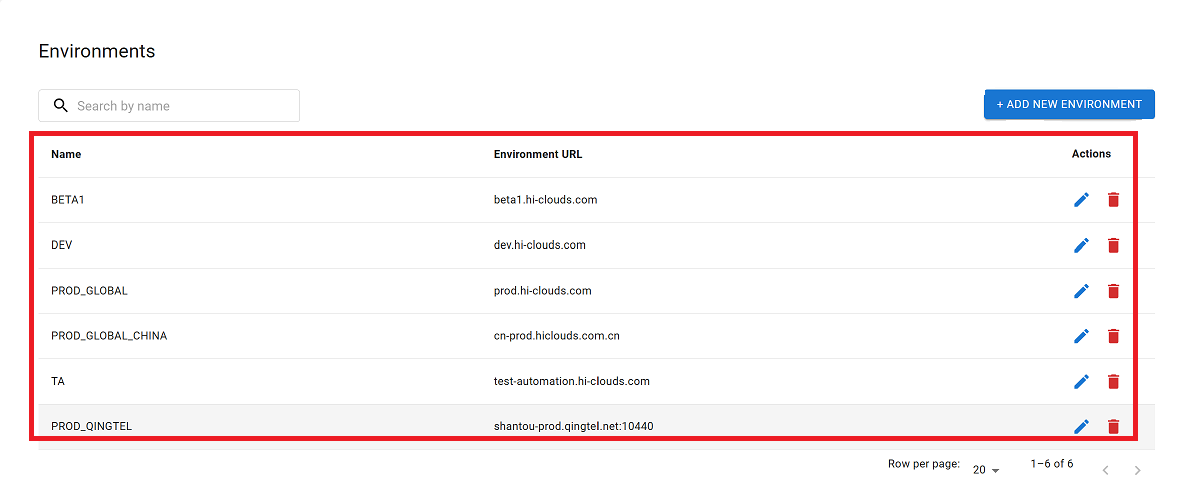
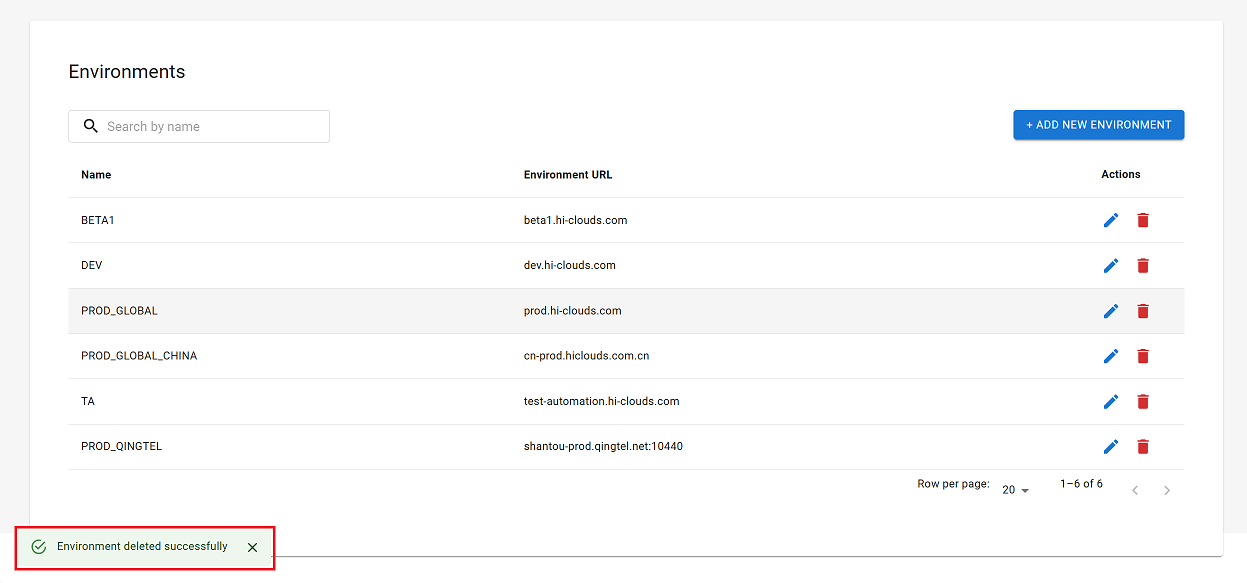
Environment listing
- Go to the Login > Environment .
Environment Grid Columns
| Field Name | Description |
|---|---|
| Environment Name | The unique identifier for the environment. |
| Environment URL | The associated URL for the environment. |
| Actions | Provides options to edit or delete the environment. |
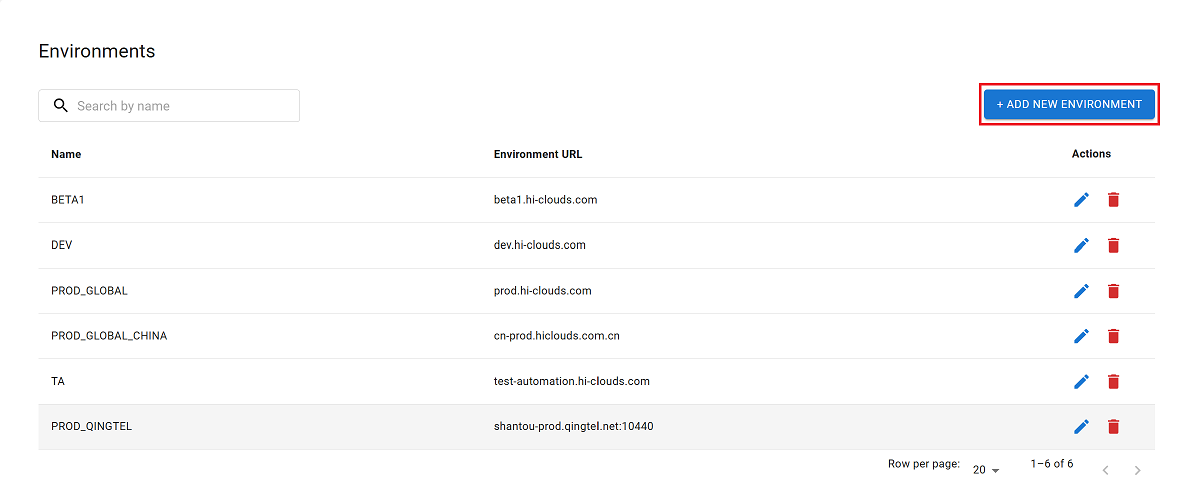
Created Environment
- Click on the Add New Environment.
Environment configuration Fields Details
| Field Name | Usage | Impact | Default Value |
|---|---|---|---|
| Environment Name | Specifies the name of the environment for device mapping. | Determines the logical grouping of devices within the system. | N/A |
| Environment URL | Defines the URL associated with the environment. | Used for system communication and redirection. | N/A |
-
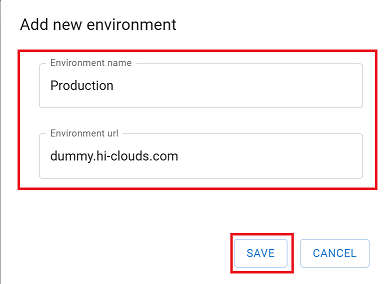
Provide the required information in the fields below.
- Environment Name:- Populate the "Environment Name" field with a descriptive identifier (i.e, Production). This field is mandatory.
- Environment url:- Specify the base URL for the environment (i.e, dummy.hi-clouds.com). This field is also mandatory.
-
Click on Confirm button.
-
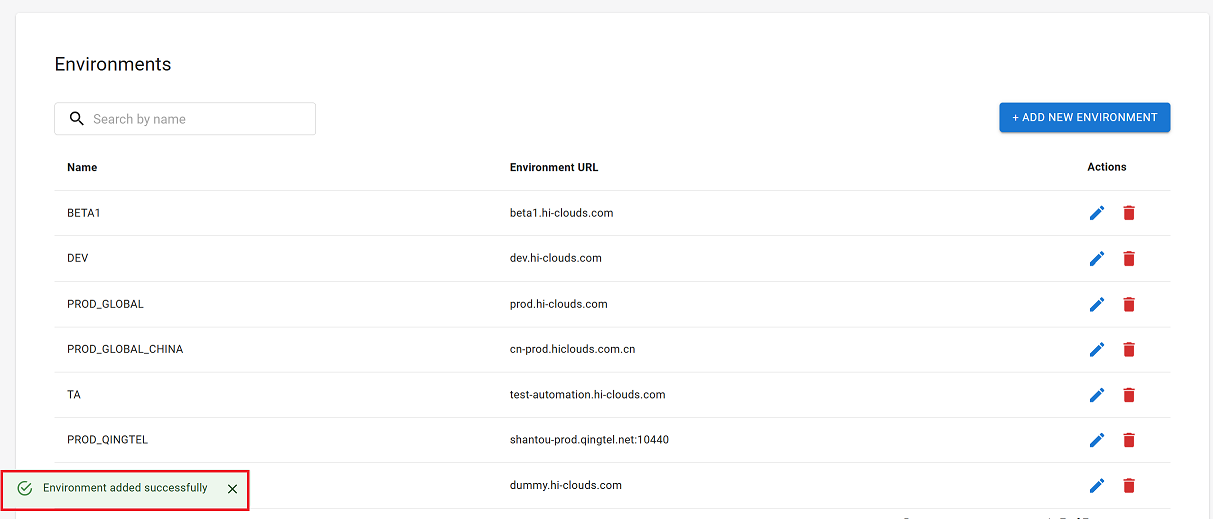
Upon successful saving, a confirmation message, Environment added successfully will be displayed.
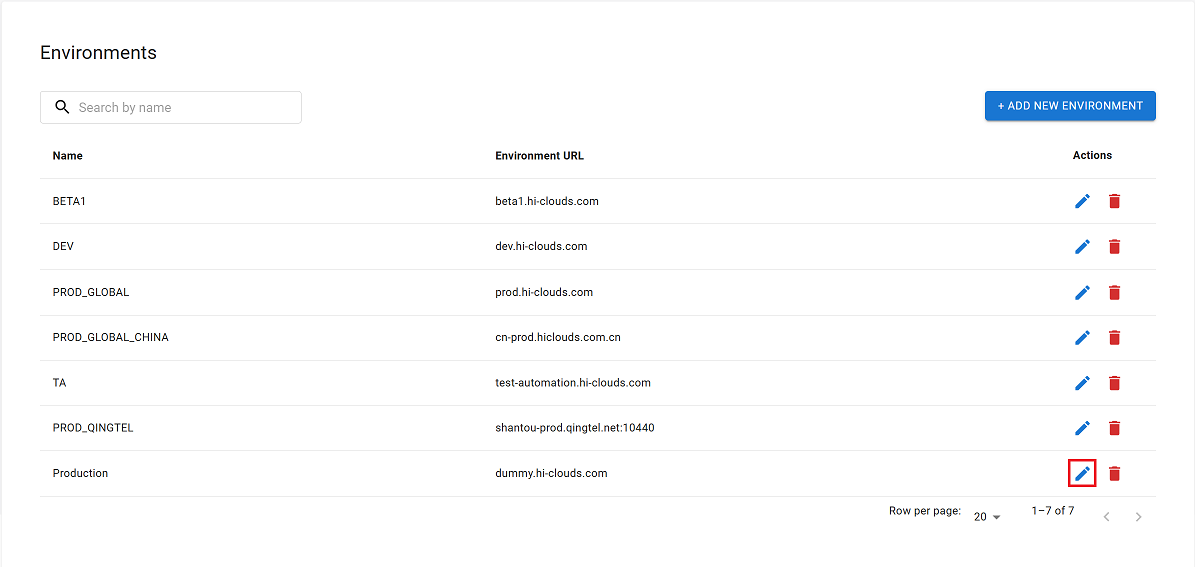
Edited Environment
-
Locate the desired environment within the environment list.
-
Click the Edit button associated with the environment.
-
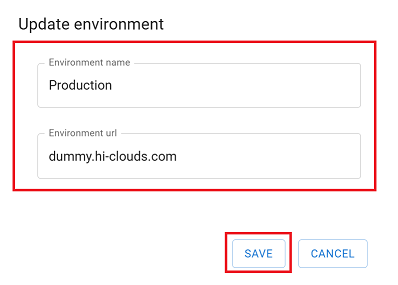
Modify the Environment Name and Environment URL fields as required.
-
Click the Save button to save the changes.
-
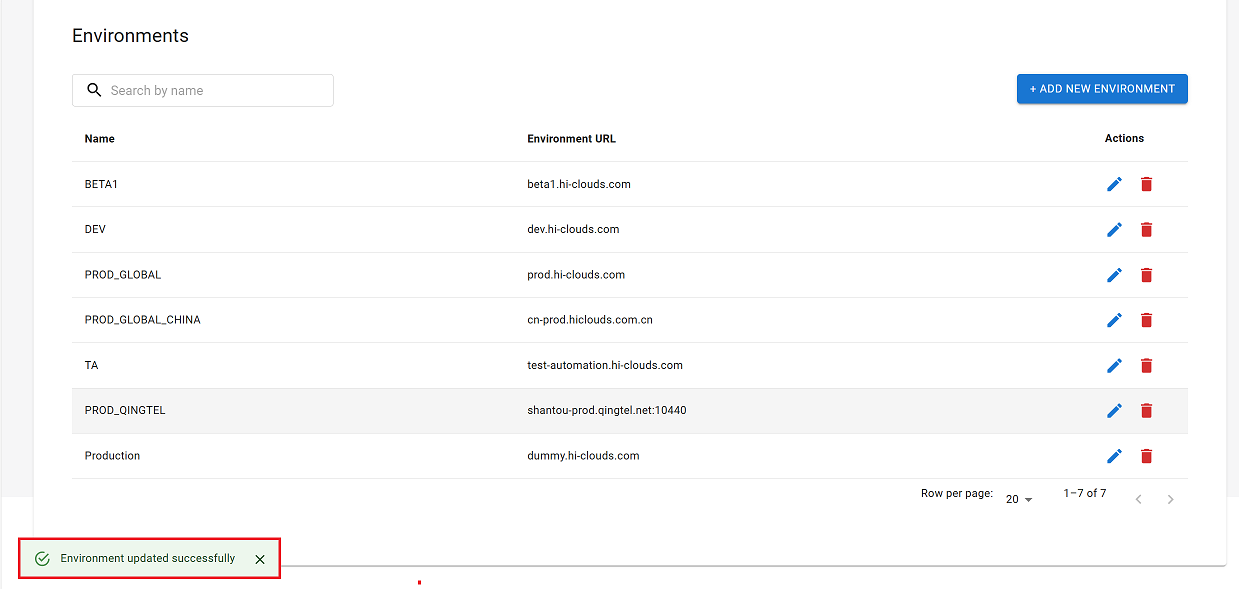
Upon successful update, a confirmation message Environment updated successfully will be displayed.
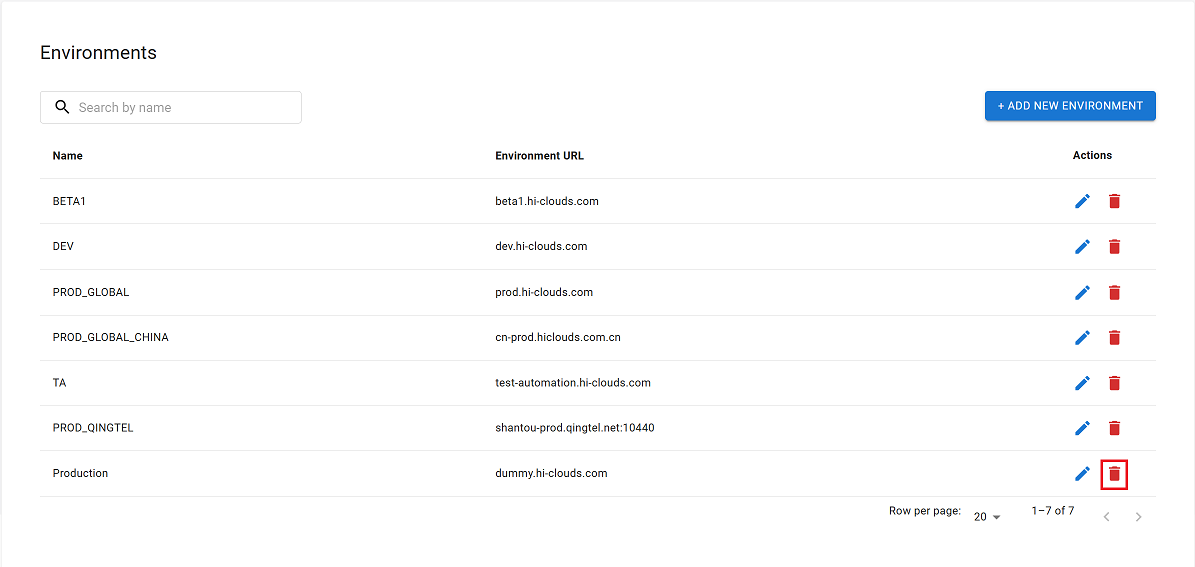
Deleted Environment
-
Locate the desired environment within the environment list.
-
Click the Delete button associated with the environment.
-
By clicking on the Delete option, a confirmation message popup will open on the screen. This popup asks to confirm the deletion action again, which prevents accidental deletion.
- The environment has two options available:
- Confirm Delete: If the environment really wants to delete the information, click on the Yes button in the popup.
- Cancel Delete: If not intended to delete or clicked by mistake, click on the No button to cancel the action and keep the information safe.
- The environment has two options available:
-
Decision taken in the image As mentioned, the Yes button has been clicked in the image. This means that the deletion action has been confirmed by the environment and the relevant data will be removed from the system.

-
Upon successful deletion, a confirmation message will appear Environment deleted successfully.
Searching for an Environment
-
Use the search function to find an environment by entering its Environment name.
-
The system will filter the results and display the relevant environment entry.

Important Notes for Users
- An Environment Name and URL are mandatory fields while creating or editing an environment.
- Ensure the Environment URL is correct, as it is used for platform communication.
- Avoid using duplicate environment names to prevent confusion during device mapping.
- If you are unsure whether an environment is still needed, do not delete it — instead, review with an administrator.
- Deleted environments cannot be restored from the UI.
- Only users with appropriate permissions can create, edit, or delete environments.
- Always verify the details before saving to avoid misconfiguration.
FAQs
Q:1 Is URL reachability test functionality available in this product?
This product does not have direct URL reachability test functionality. To perform URL reachability test, it is recommended to use the URL test function of the HUB platform.