Assign PE
This document explains how to assign, modify, and delete a system's PE (Provider Edge) device. It also explains how to use the terminal to view device settings and troubleshoot problems.
Prerequisites
Before using PE devices, you must create a region. To learn how to create a region, please see the Create Region documentation. Regions are necessary because they define the rules for assigning IP addresses (internal and external) to PE devices.
Assigning a PE Device
-
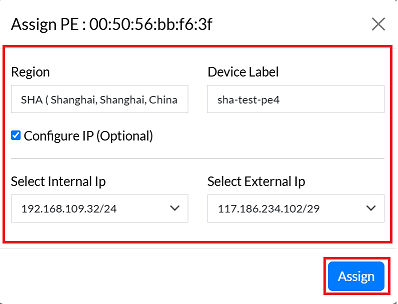
Go to the Login > PE Device > [Select PE] > Unassigned > Pick Unassigned device > Assign Device icon.

-
In the "Assign Device" section, the following information must be provided:
-
Region: Enter the geographical region where the device is located. You will type the region, it will appear in the list below, and you will be able to select from there.
-
Device Label: Give a simple and understandable name to identify a specific device.
-
Configure IP (Optional): Check this box to manually configure IP addresses.
- If checked, the following fields become mandatory.
- Select Internal Ip: Choose the internal IP address from the dropdown menu.
- Select External Ip: Choose the external IP address from the dropdown menu.
- If checked, the following fields become mandatory.
-
Click on the Assign button.
-
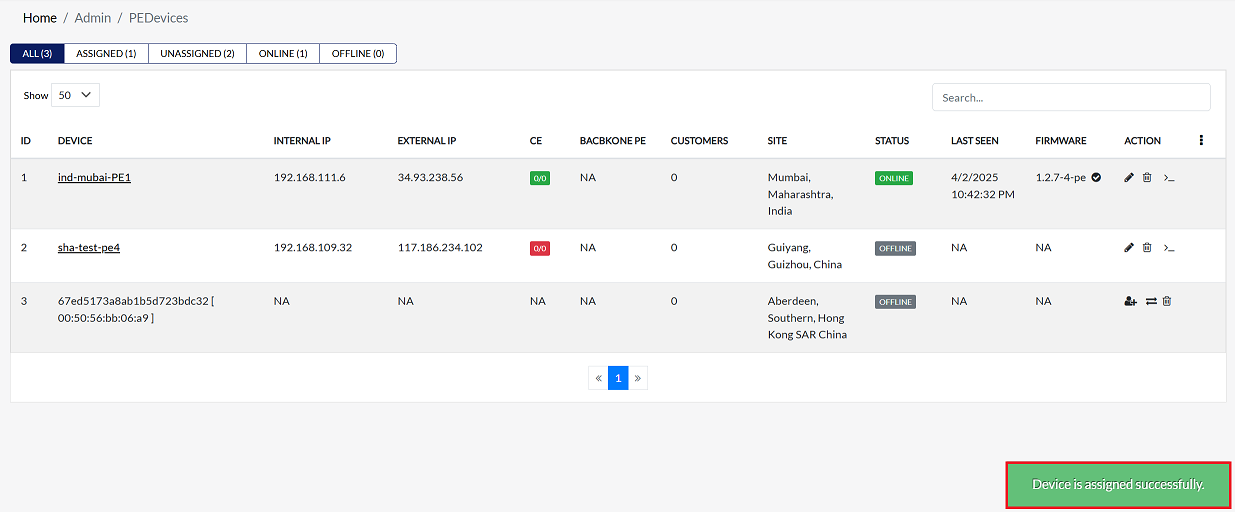
By clicking on Save Config, a message will appear on the screen indicating that the Device is assined successfully.
-
If you want to assign multiple PEs (Provider Edges) to the same region, you will need to add a new external IP and internal IP address to that region, and then you can assign a new PE to the same region. To add a new IP, follow the same procedure as before.
Accessing Device Terminal
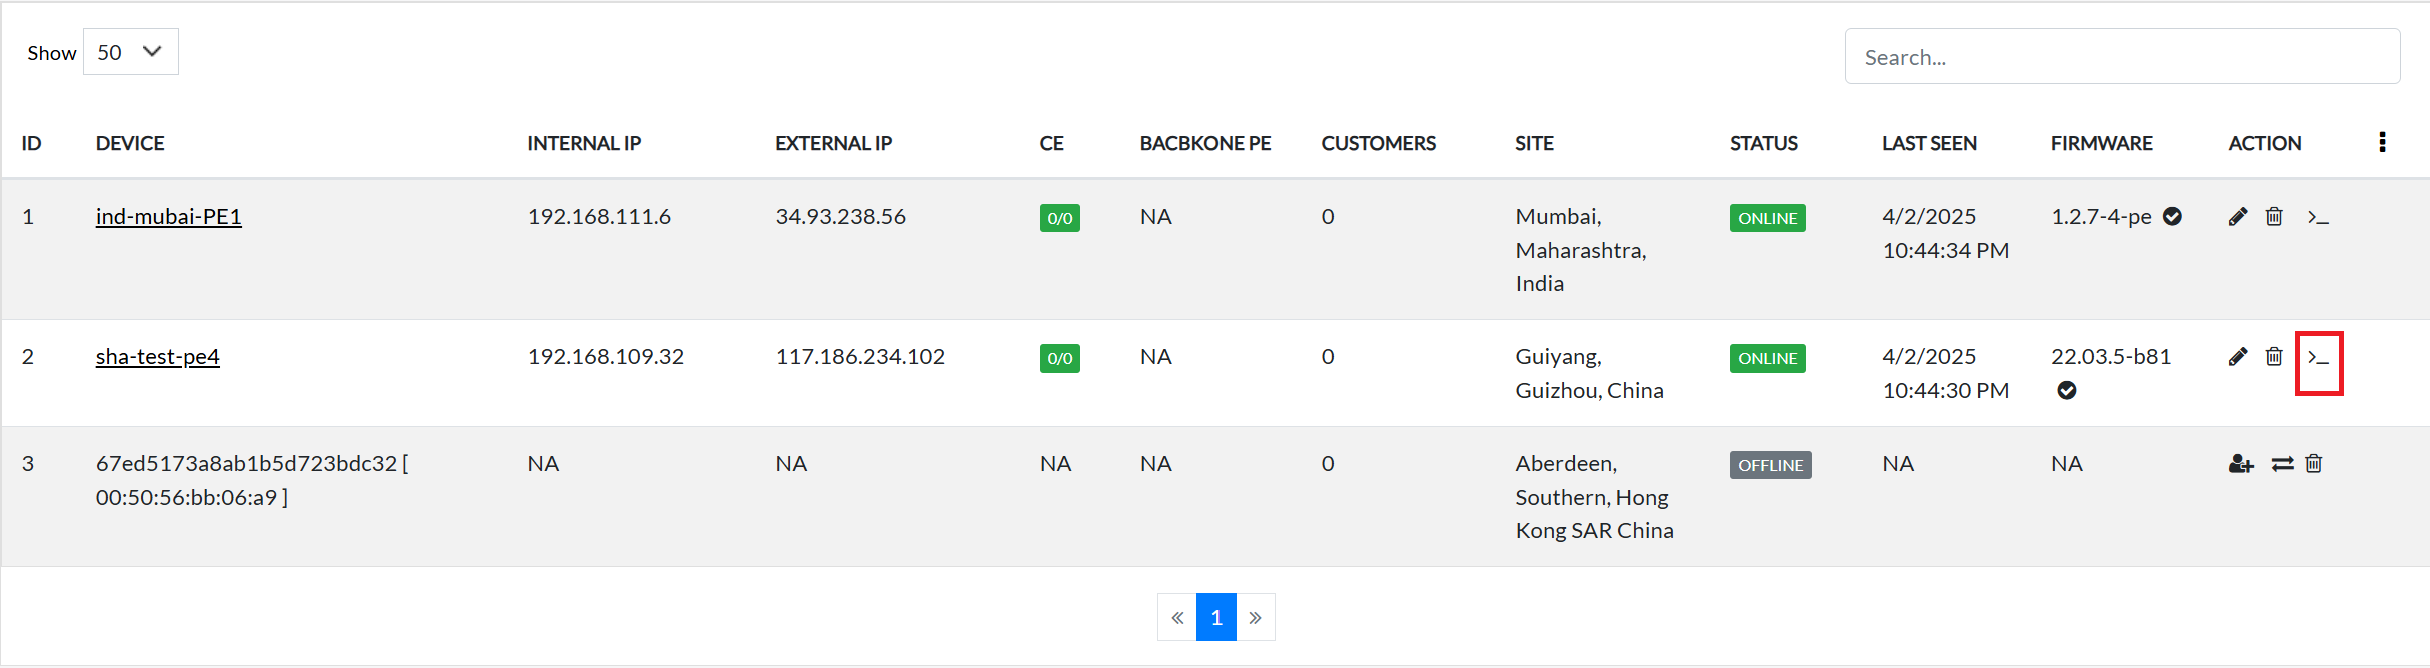
A command has to be written to connect to CE and a terminal is required for that.
-
Click on the pen located on the right side of your Device.
-
Click on it and the terminal will open.

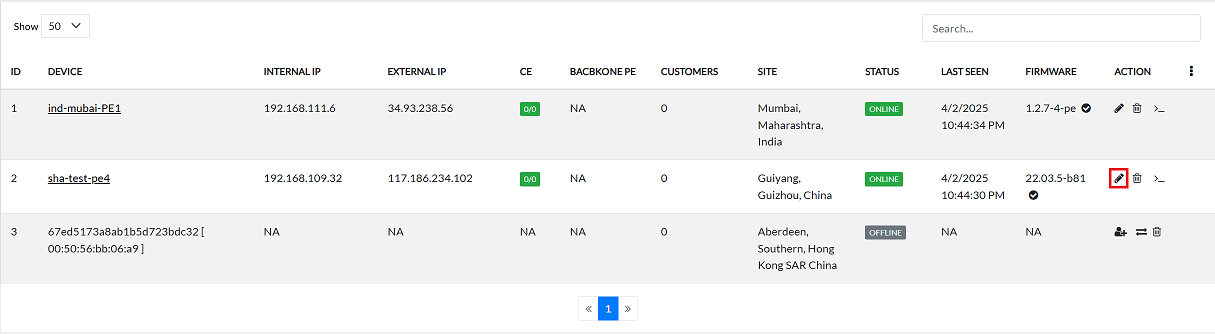
Editing Device
-
Find the desired device in the list and click the Edit button on the right.
-
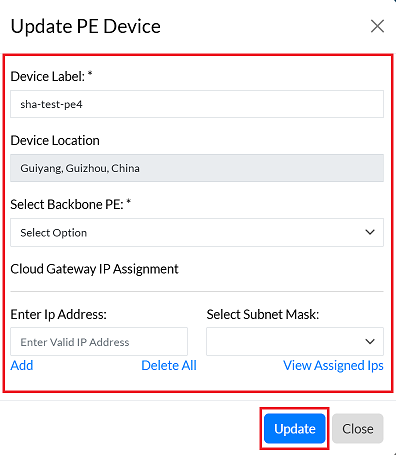
The following fields can be updated:
- Device Label: Modify the device's label.
- Device Location: Update the device's physical location.
- Select Backbone PE: Choose a different backbone PE device.
- Cloud Gateway IP Assignment:: Select the IP assignment method.
- Enter Ip Address: Manually enter the IP address (if applicable).
- Select Subnet Mask: Choose the appropriate subnet mask.
-
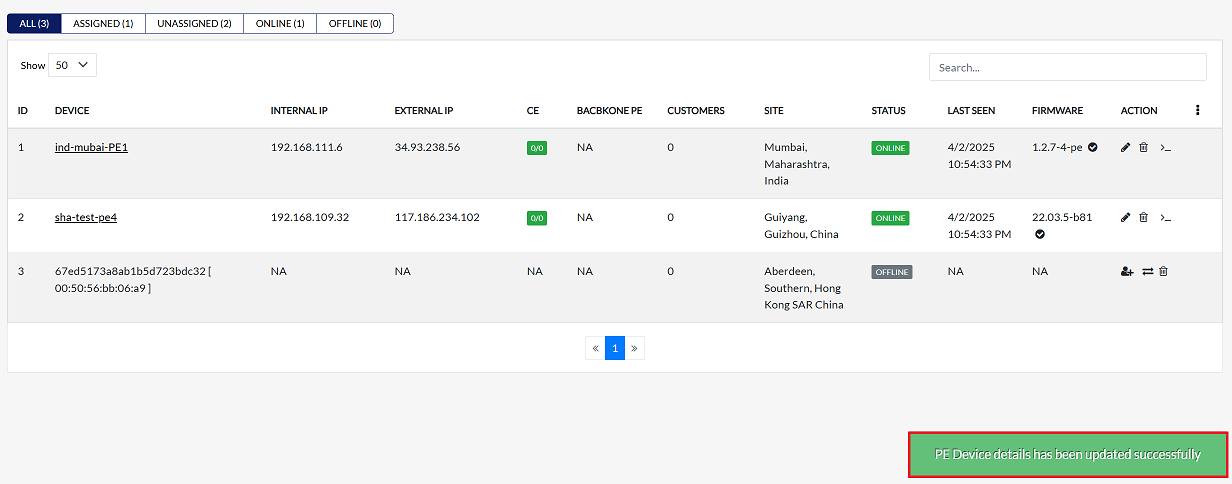
Click on the Update button.
-
By clicking on update Config, a message will appear on the screen indicating that the PE Device details has been updated successfully.
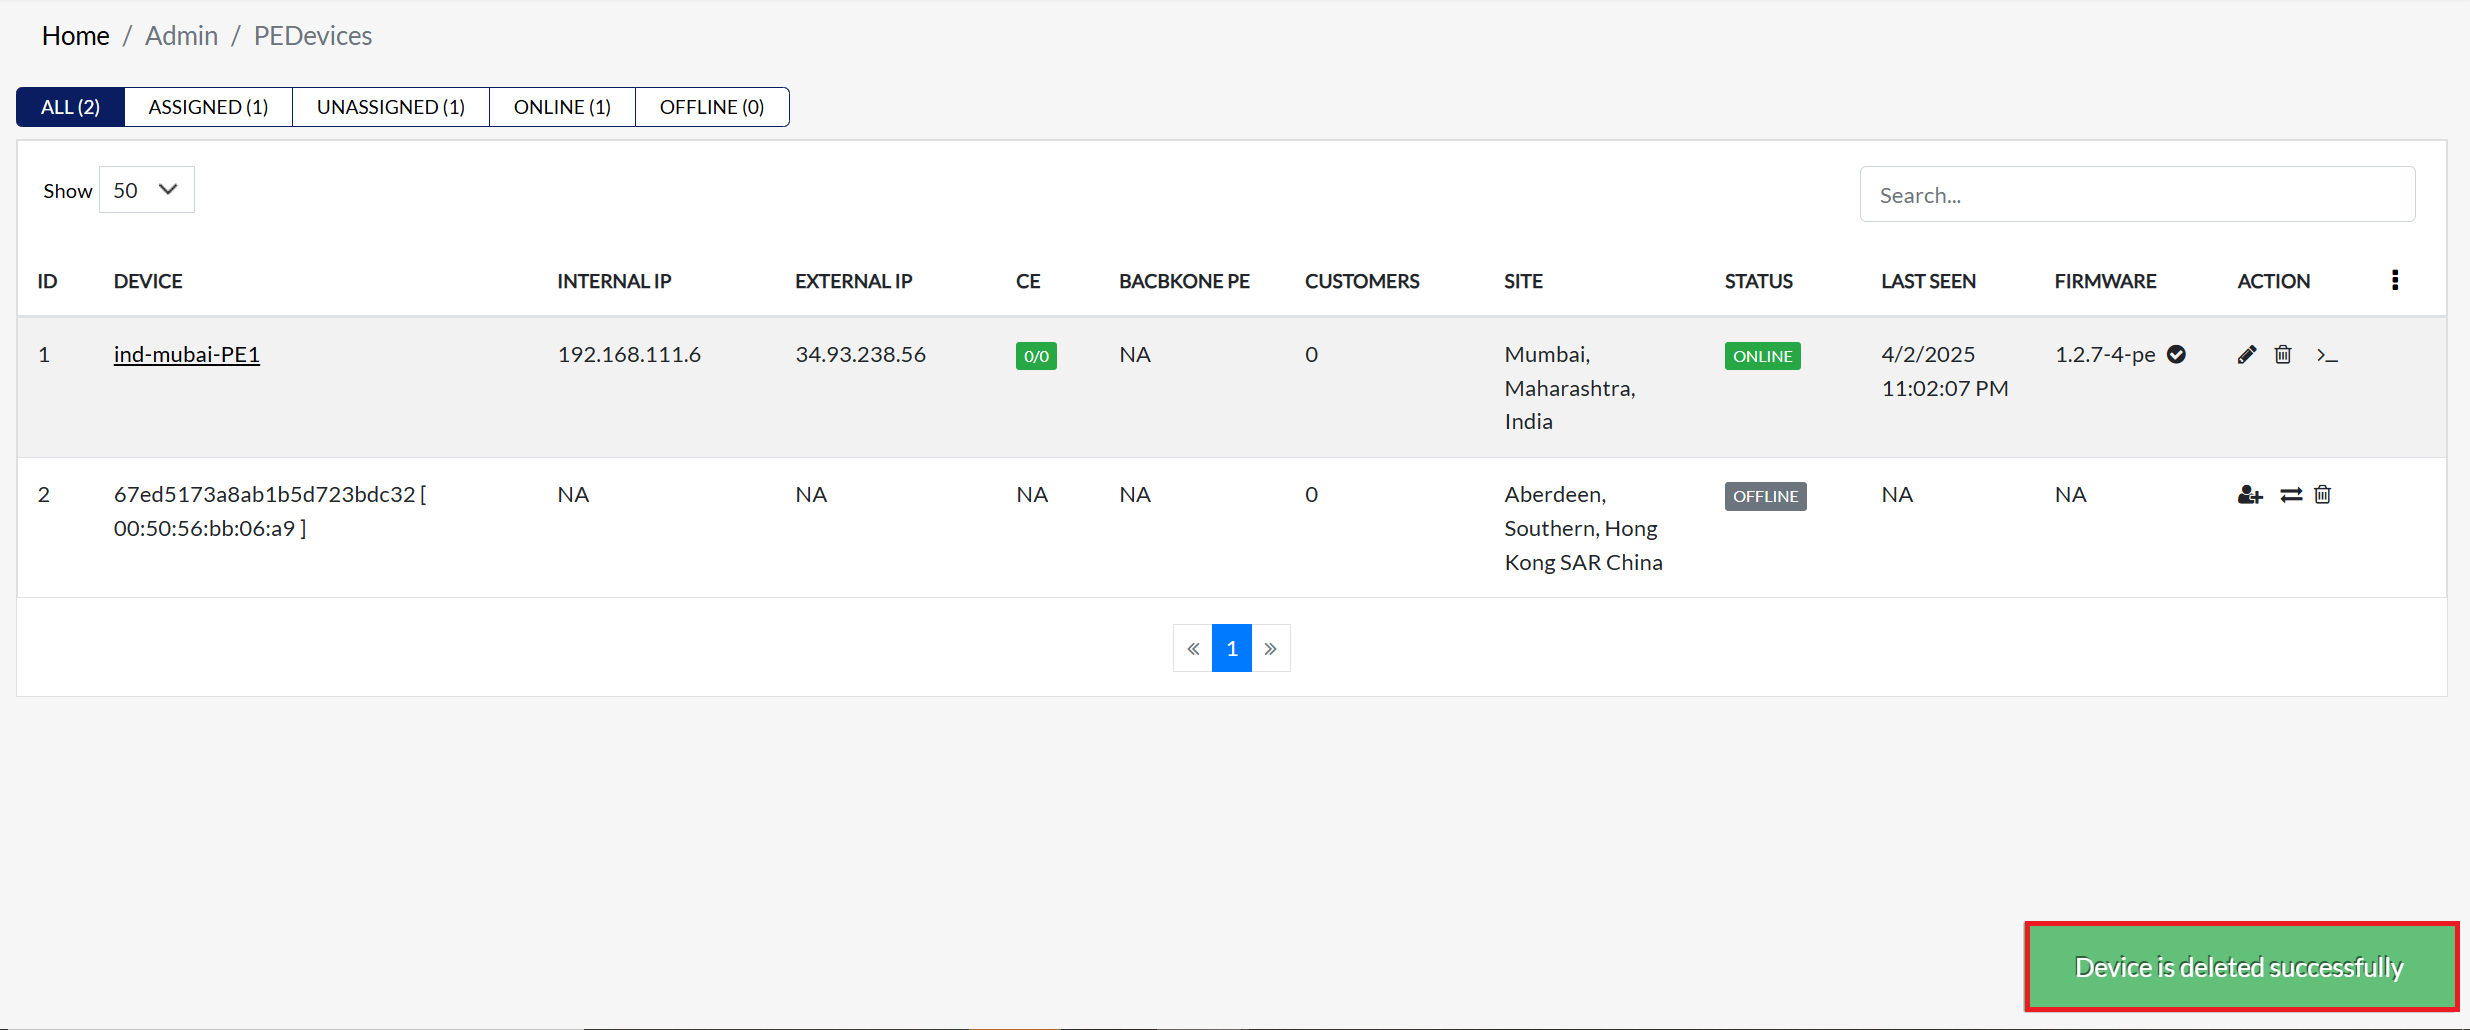
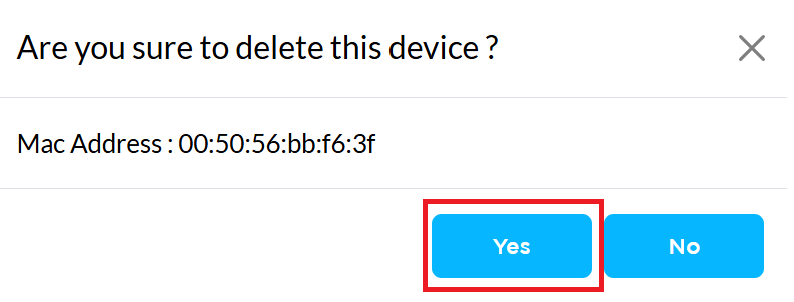
Deleting Device
-
Find the desired device in the list and click the Edit button on the right.
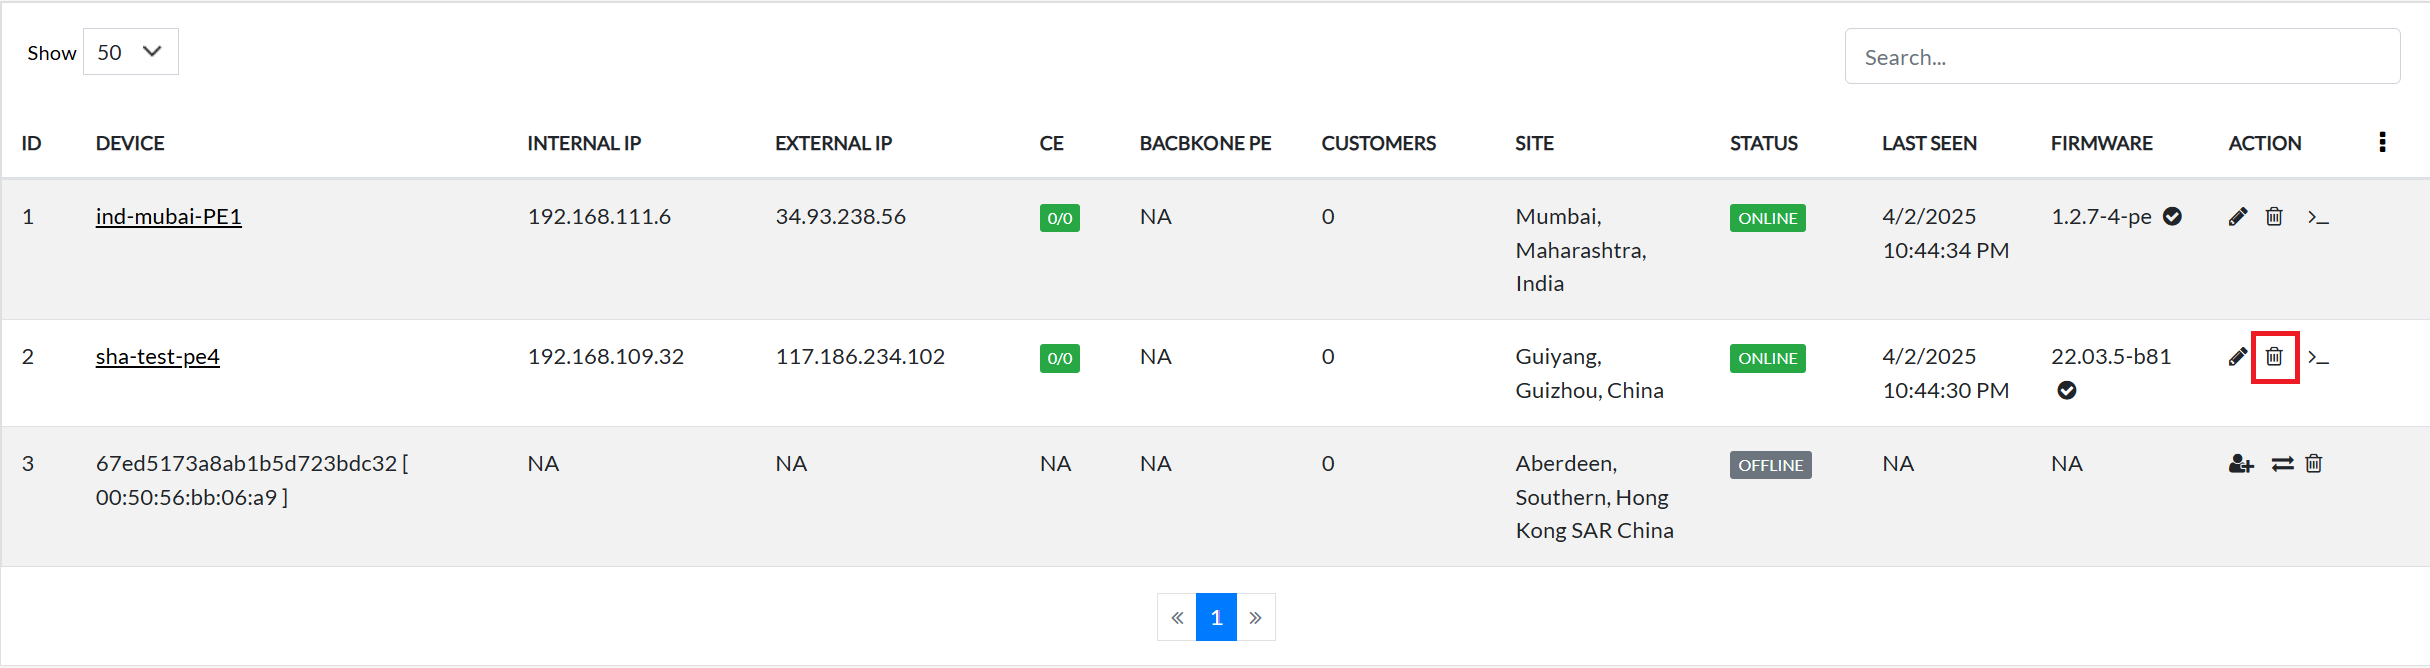
-
Confirm the deletion by clicking Yes in the confirmation dialog.
-
Once deleted, a confirmation message will be displayed Device is deleted successfully.