Azure
This guide provides step-by-step instructions for creating and testing a PE instance on the Azure cloud platform. The process includes setting up the virtual machine, configuring network security and verifying the instance on the hiCLOUDS platform.
Creating PE Instance
-
Open your web browser and visit the Azure Cloud website.
-
Log in using your credentials.
-
On the Azure Home page, click on the Images section.
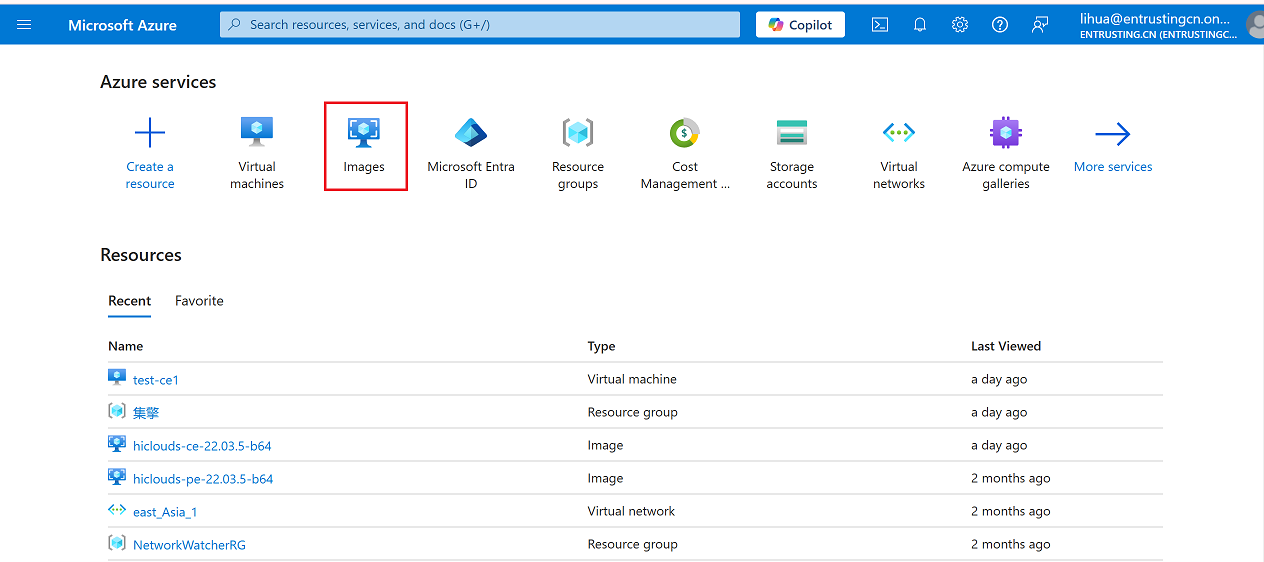
-
Locate the Azure Images for CE creation and click on the relevant image.
-
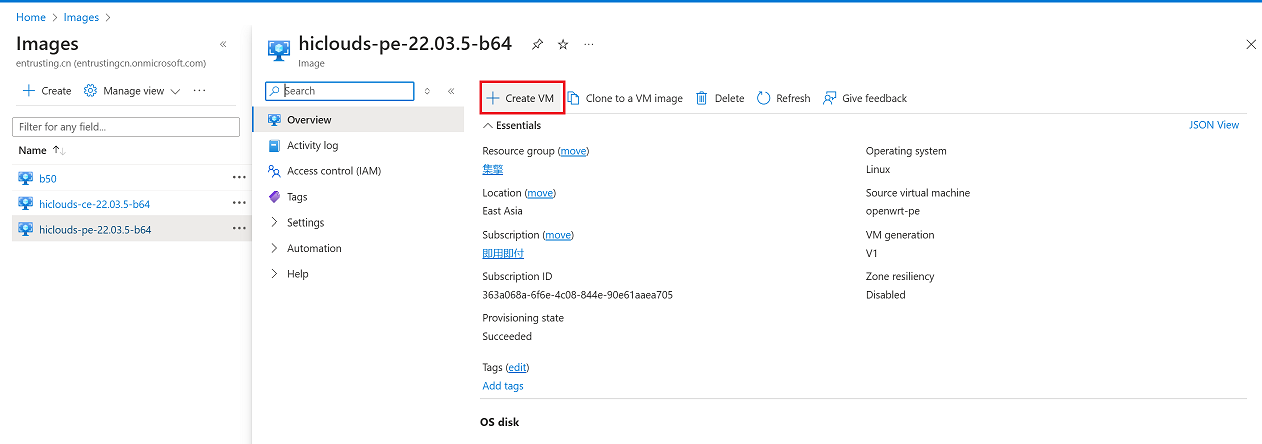
Click on the "Create VM" button.
-
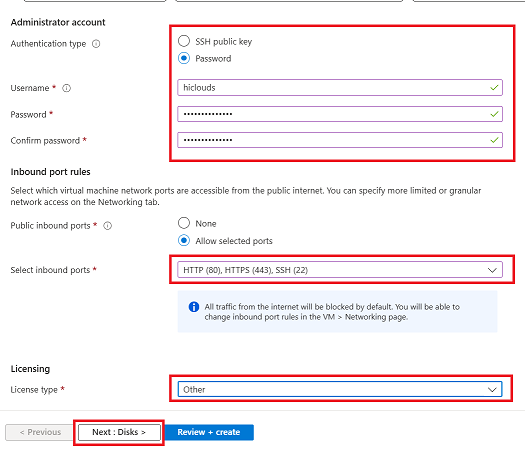
Fill in the required details for the virtual machine as outlined below:
-
Virtual Machine Name: Enter the desired name for the virtual machine. (i.e:
test-pe1)
-
Authentication Type: Select Password as the authentication type.
- Username: Enter the username. (i.e:
hiclouds) - Password: Provide a secure password.
- Confirm Password: Re-enter the same password to confirm.
- Username: Enter the username. (i.e:
-
Select Inbound Port Rules: Navigate to the inbound port section and select the required ports (i.e: HTTP(80), HTTPS(443), SSH(22))
-
Choose the appropriate license type. (i.e:
Other) -
Click on the Next: Disks button to proceed.
-
-
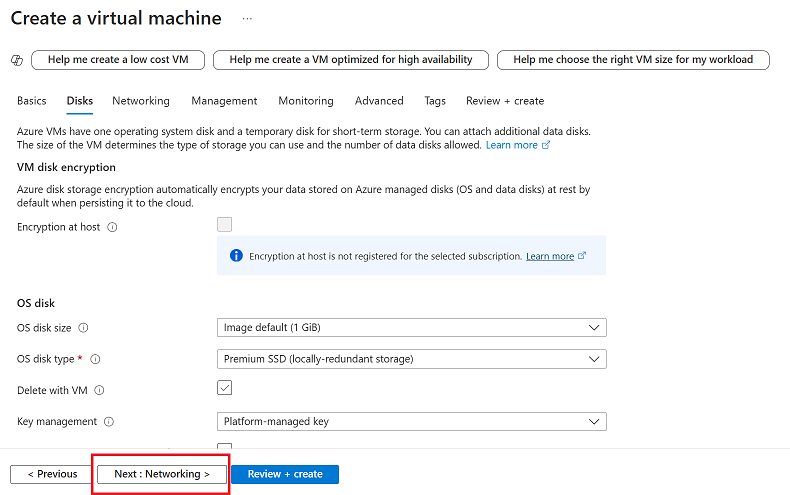
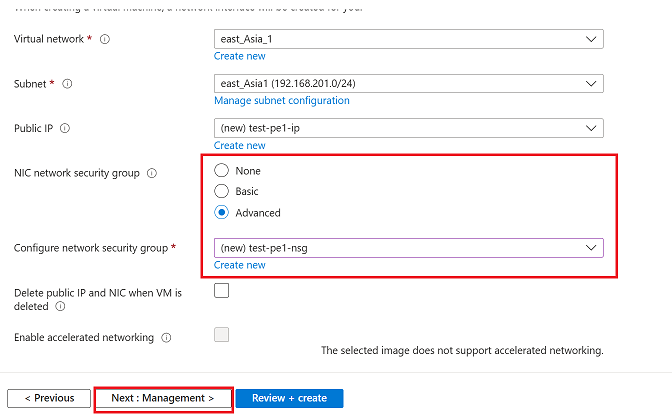
Click on Next: Networking to configure the network settings.
-
NIC Network Security Group: Select Advanced.
-
Configure Network Security Group: Provide the name for the Network Security Group (NSG). (i.e:
(new)test-pe1-nsg) -
Click on the Next: Management button.
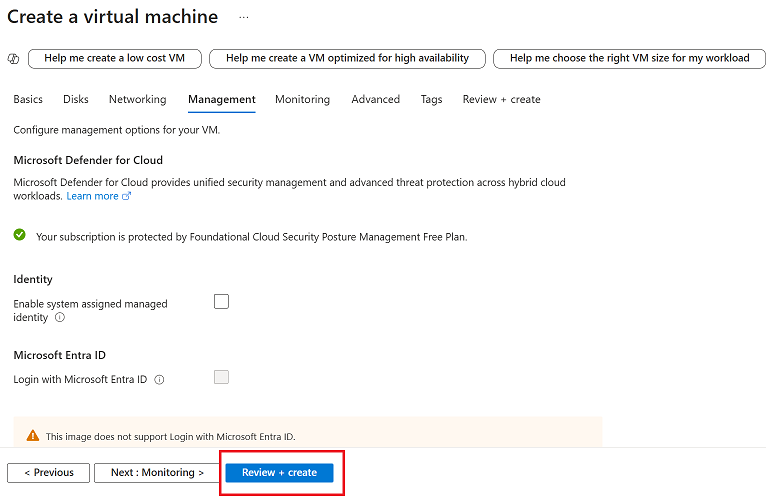
-
-
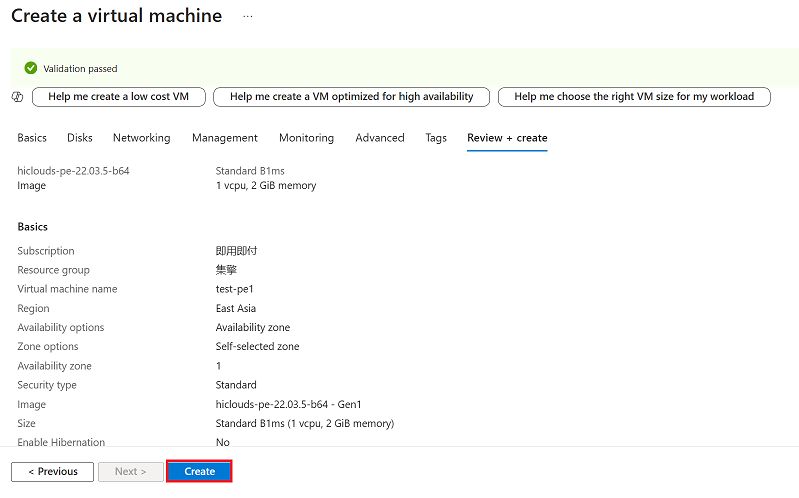
Review the details and then click on the Review + Create button.
-
Click on the Create button to deploy the virtual machine.
-
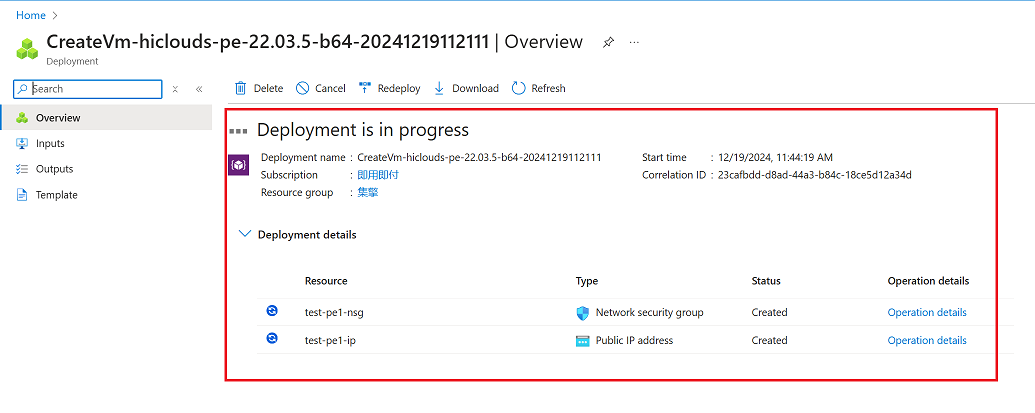
The deployment process will begin, and its progress can be monitored on the screen.
-
Once the deployment is complete, navigate back to the Home page.
-
Click on Virtual Machines to view the newly created PE instance.
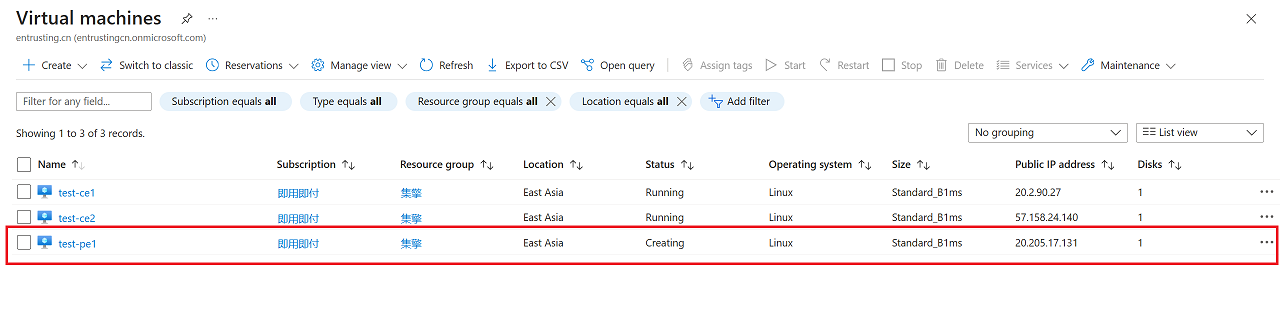
Verify the PE Instance
-
Once the PE is successfully created, proceed to the hiCLOUDS platform to verify its configuration.
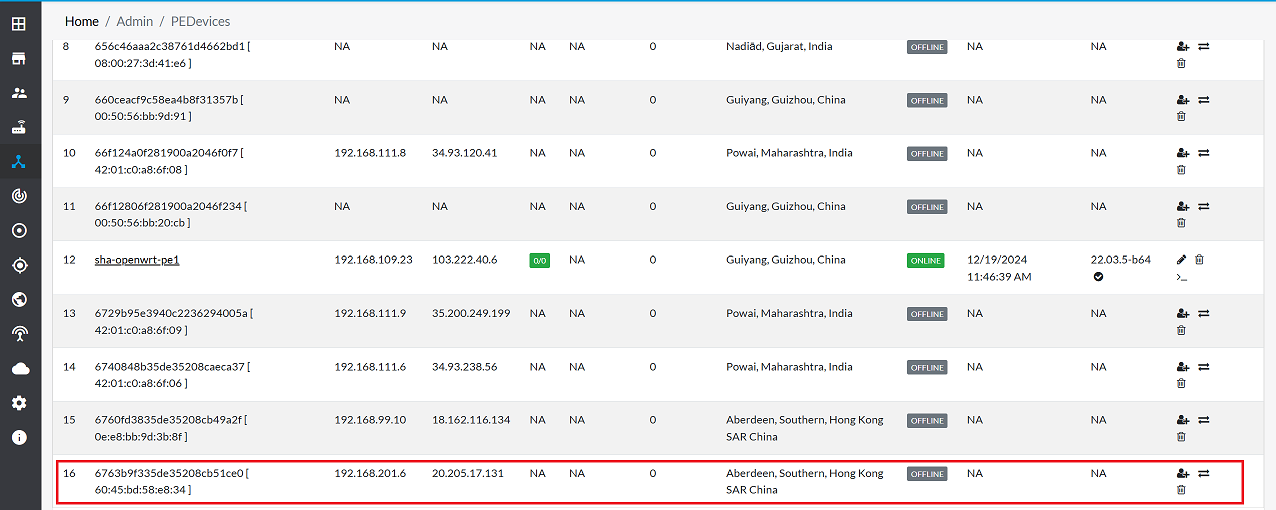
-
Go to Login > PE Devices > ALL.
-
Make sure that the newly created PE instance appears in the list of devices.
FAQs
Q:1 What should I do if the PE instance doesn’t appear on the hiCLOUDS platform?
Ensure the instance is properly configured and the network settings align with the hiCLOUDS requirements.