Sites
This document provides comprehensive guidelines for managing sites including creating, editing and deleting site entries in the system. Each section outlines step-by-step instructions, supported by visual references, to ensure a seamless operation for administrators.
What is a site?
A site represents a specific physical or logical location within an organization's network infrastructure, such as a branch office, data center, or remote facility. Each site is equipped with network devices that enable secure and efficient connectivity. Sites are uniquely identified within the network framework and are managed centrally to enforce policies, monitor performance, and ensure reliable communication between locations.
Creating Site
-
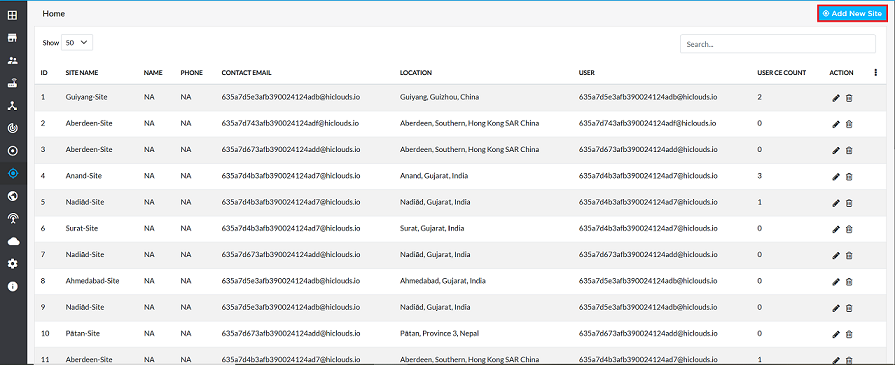
Go to the Login > Sites > Add New Site.
-
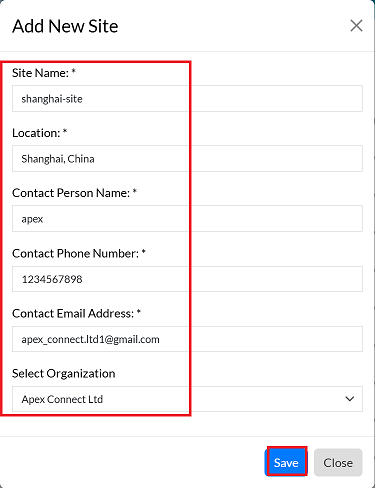
Provide the following details in the respective fields
- Site Name: Enter the site name (i.e, shanghai-site).
- Location: Specify the site location (i.e, shanghai,china).
- Contact Person Name: Enter the name of the contact person. (i.e, apex)
- Contact Phone Number: Provide the contact phone number. (i.e,1234567898)
- Contact Email Address: Enter the contact email address. (i.e,apex_connect.ltd1@gmail.com).
- Select Organization: Use the dropdown menu to select the associated organization. (i.e,Apex Connect Ltd).
- Click on the Save button.
-
Upon successful creation, a confirmation message will be displayed Site has been created successfully.

Editing Site
-
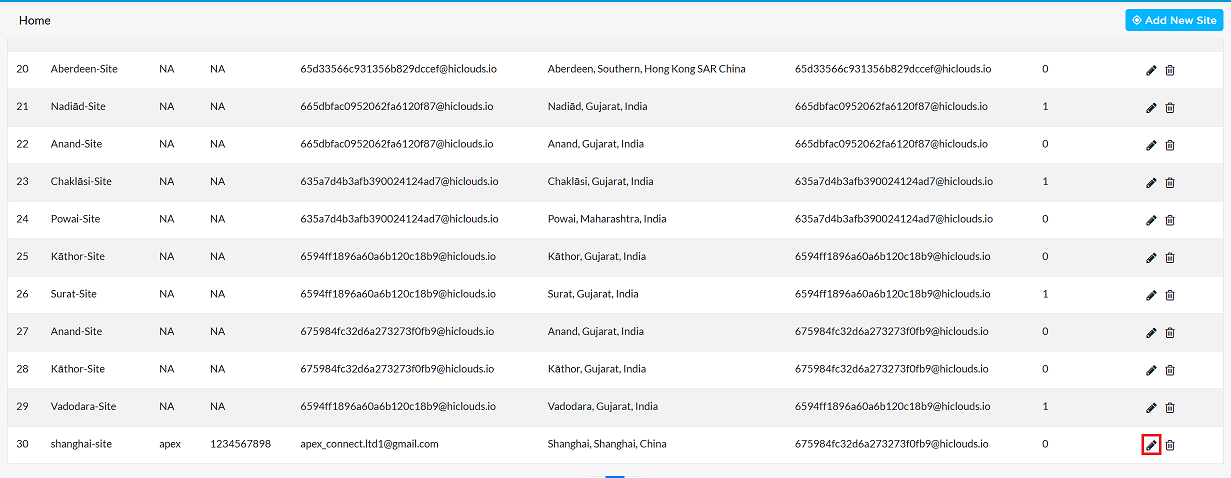
Find the desired site in the list and click the Edit button on the right.
-
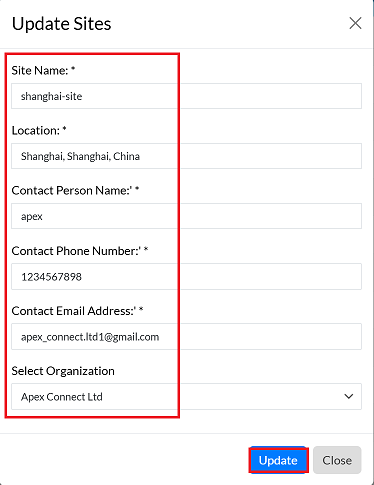
Update any of the following fields as required Site Name, Location, Contact Person Name, Contact Phone Number, Contact Email Address, Select Organization
-
Click the Update button to save changes.
-
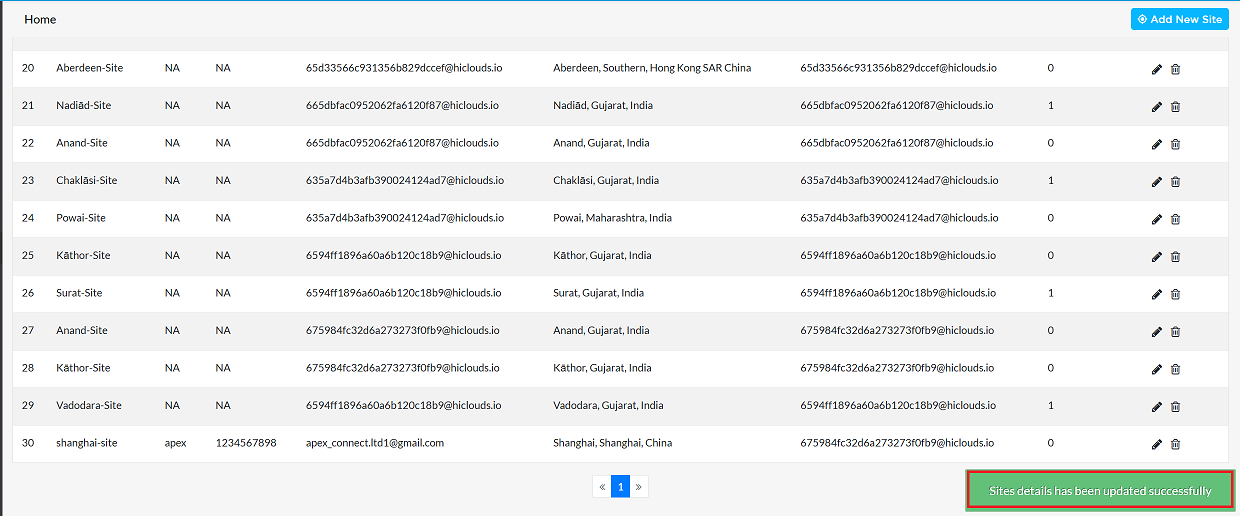
Upon successful update, a confirmation message will appear Sites details has been updated successfully.
Deleting Site
-
Click the Delete button located on the right-hand side of the site entry.

-
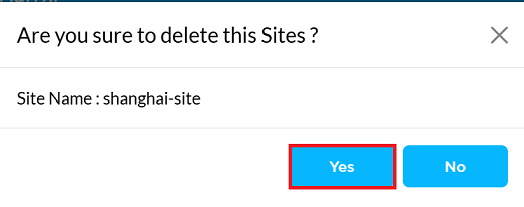
Confirm the deletion by clicking Yes in the confirmation dialog.
-
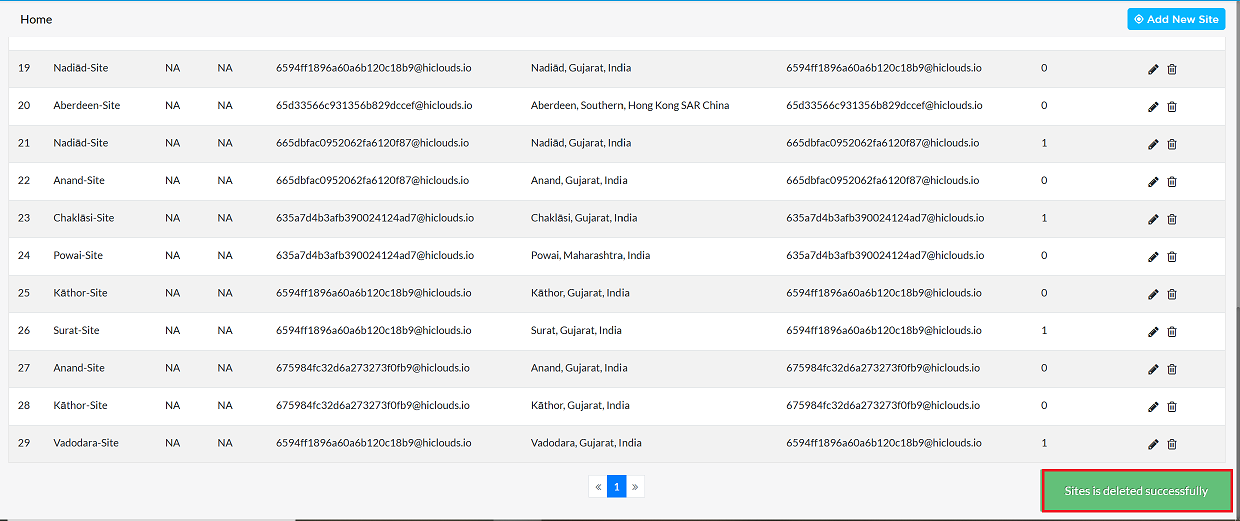
Once deleted, a confirmation message will be displayed Site is deleted successfully.
FAQS
Q:1 Can I upload sites in bulk?
Ans: Bulk upload functionality is not available in the current version. Sites must be added individually.
Q:2 How do I assign multiple organizations to a single site?
Ans: Currently, the system supports only one organization per site. For additional requirements, create separate site entries.