Users
What is Users
User is divided into 3 parts system access and configuration.
(1) User:- User has the ability to view the customer view. which allows them to access and engage with features tailored to their needs. Which mainly focuses on customer-centric interactions.
(2) Platform Admin:- This user is useful for comprehensively configuring and managing the platform, and ensuring customization. A platform admin plays the main role of monitoring the platform settings. Makes decisions to optimize its efficiency.
(3) VPN User:- Who configures the VPN specifically for the customer? This user has network-related knowledge and access. It includes managing it, offering it to customers, and increasing connectivity.
Why do we need Users
A user is required to configure the platform into specific functions to divide it into its main categories and to grant access to the system.
- The simple user has the ability to see and judge the customer.
- A platform user serves as a parent of platform settings and
- A VPN user plays a special role in configuring a customer's private network.
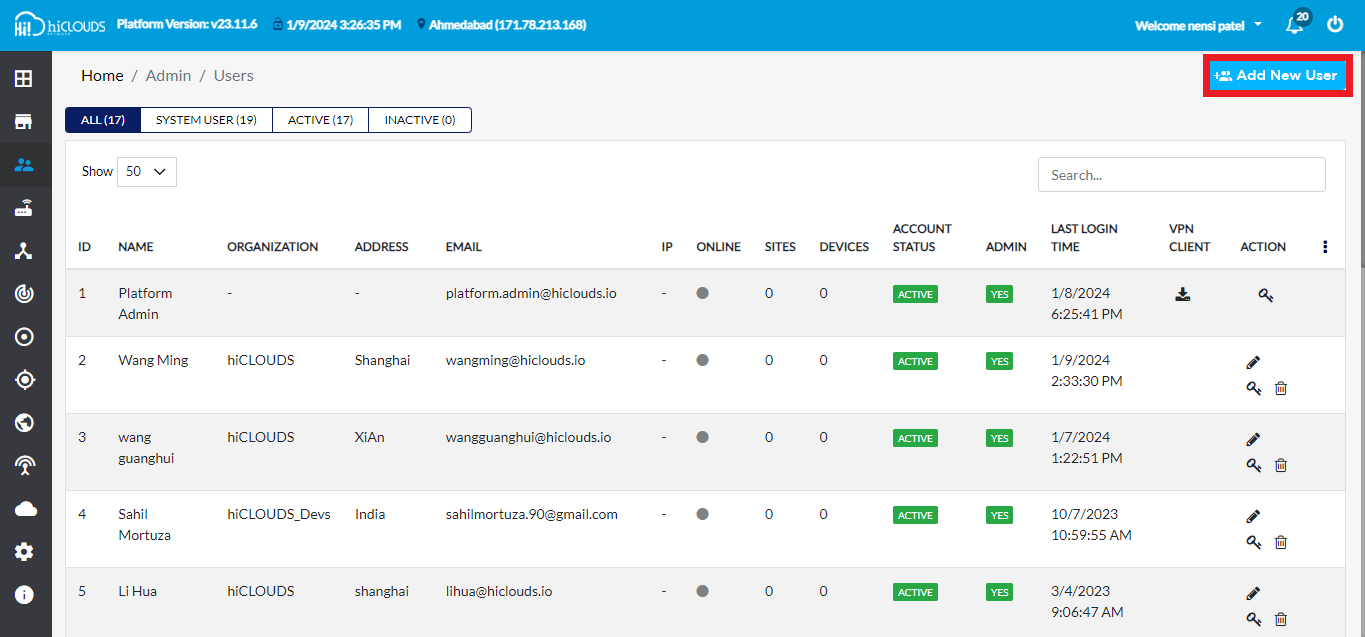
Creating User
-
Go to the Login > Users > Add New User.
-
Fill in the following details to create a new user.
-
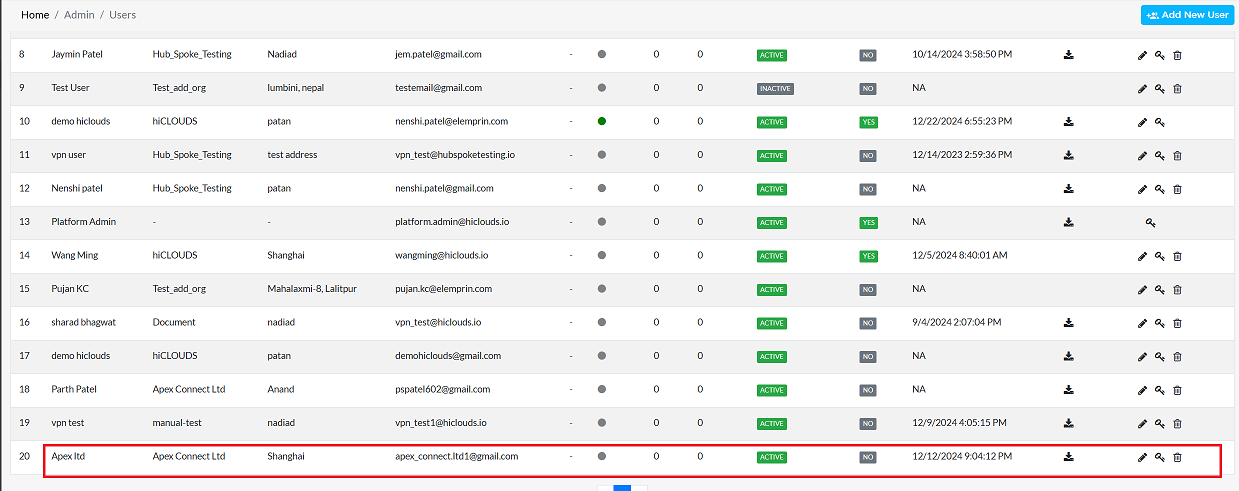
Select Organization: Choose on Select Organization. (i.e:- Apex connetc ltd).
-
Email Id: Enter the Email Id. (i.e:- apex_connect.ltd1@gmail.com)
-
Password: Enter the Password.
-
Confirm Password: Enter the reenter password.
-
User Role: select User Role. You will find (1) User (2) Platform admin and (3) VPN user three roles. Click on User role.
-
User Status: select User Status and click on Active.
-
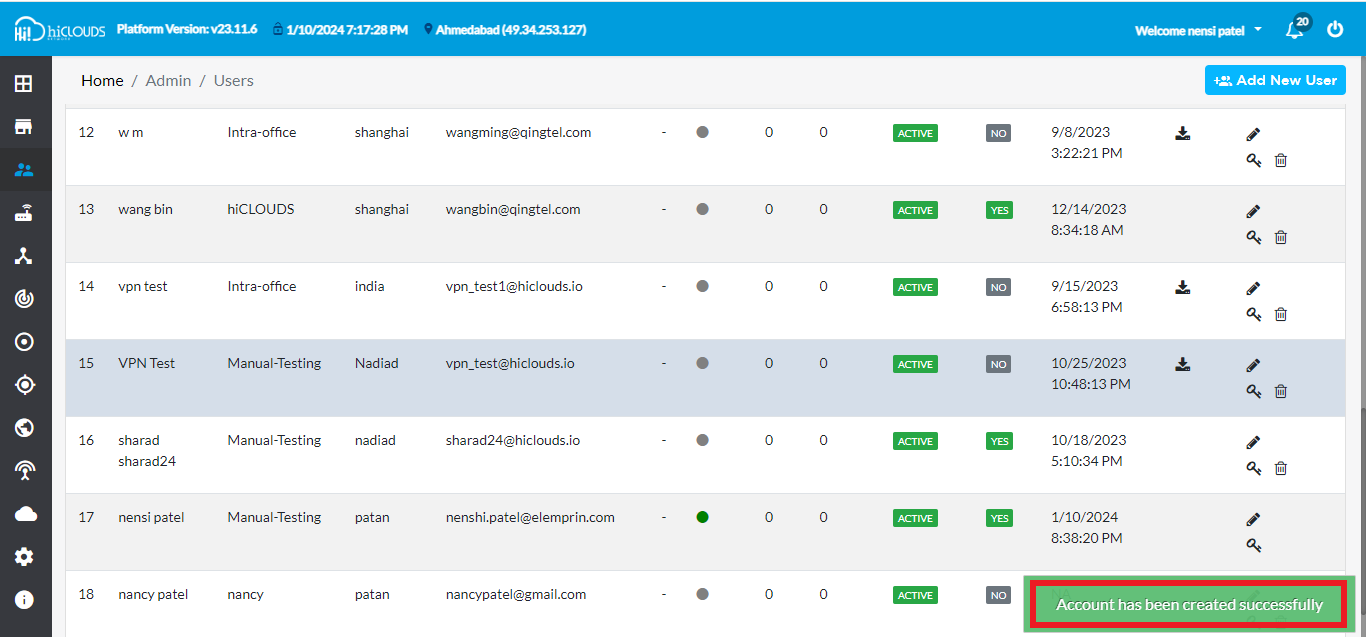
First Name: Enter First Name. (i.e: Apex).
-
Last Name: Enter the Last Name. (i.e: ltd).
-
Address: Enter the Address. (i.e: Shanghai).
-
Click on the Save button.

-
-
After clicking on Save you will get the message Account has been created successfully on the screen.
-
After that you can see your UserID there.
-
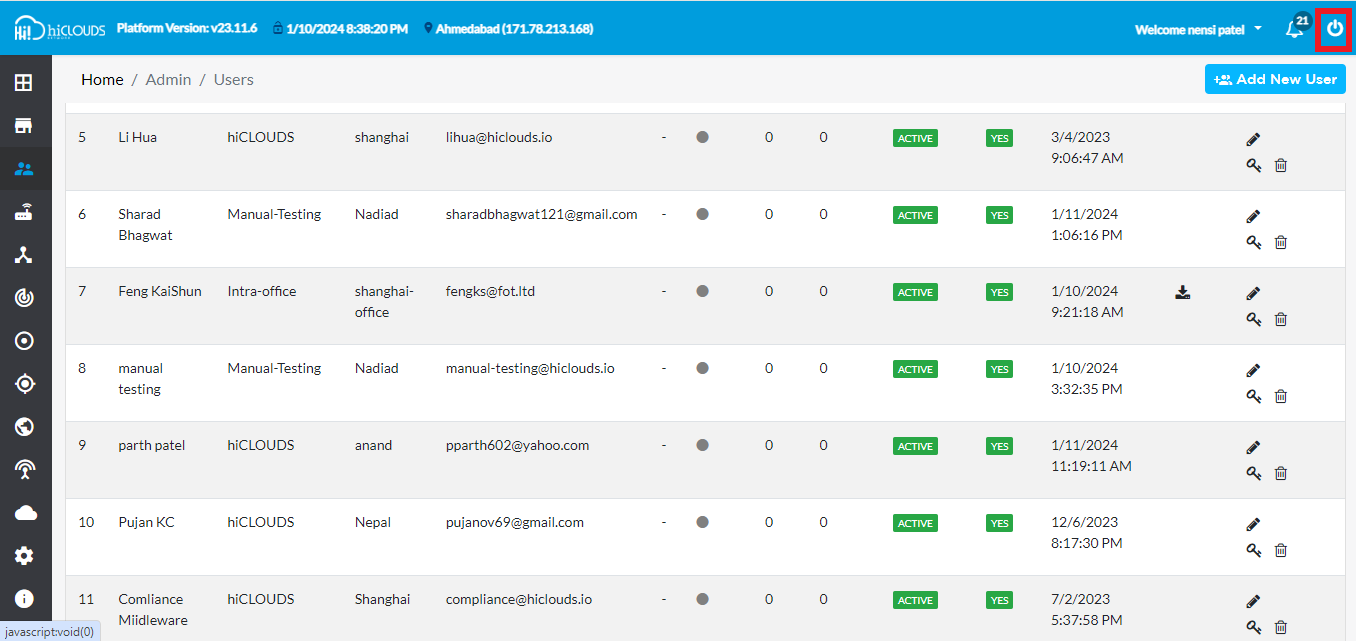
Then go to the Logout button located on the right side and click on the Logout button.
-
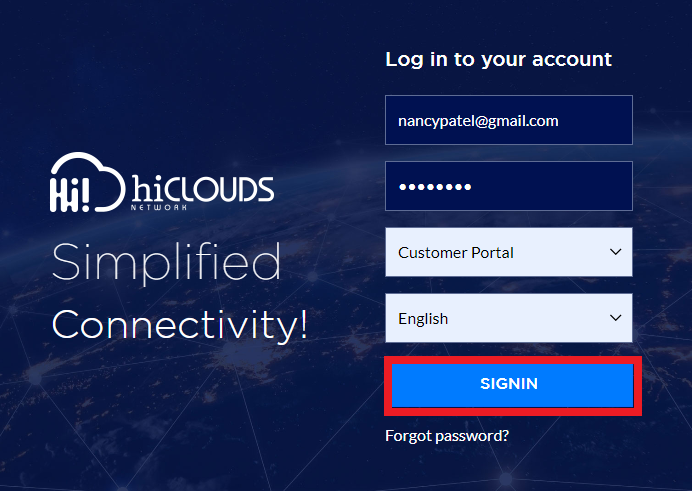
After that fill all the details and click on SIGN IN button.
-
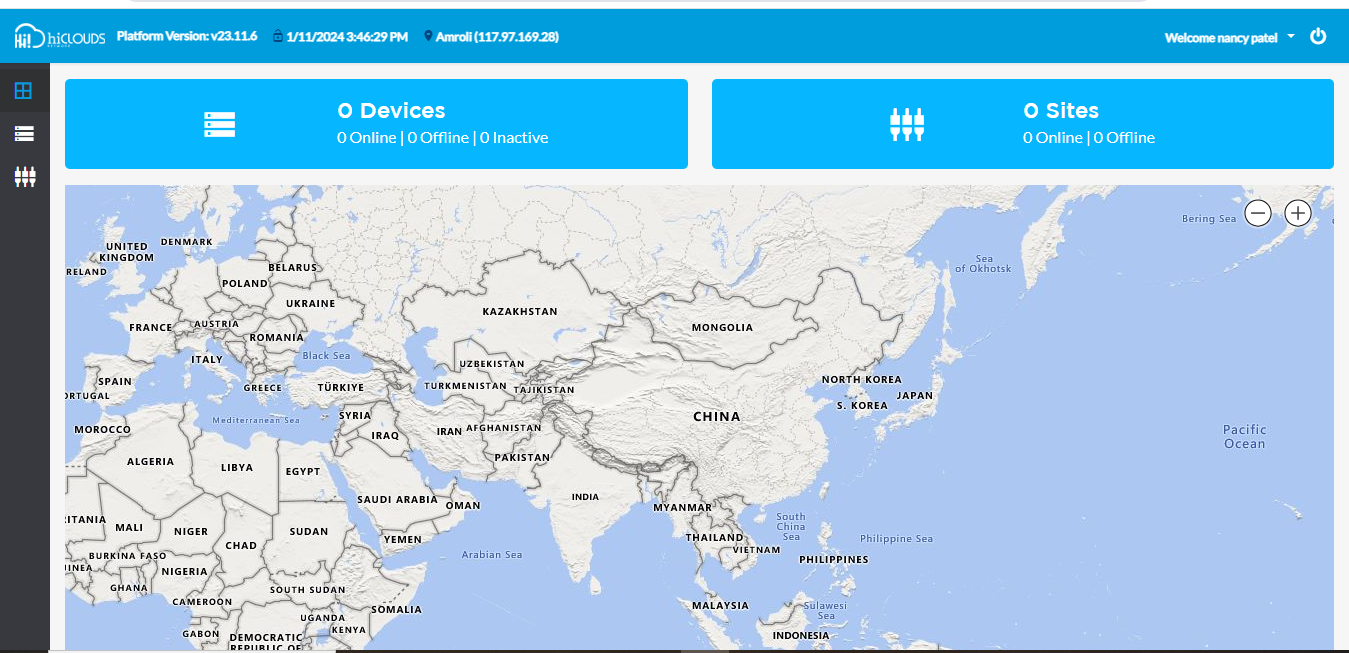
When you SIGN IN, you will reach the dashboard by default.
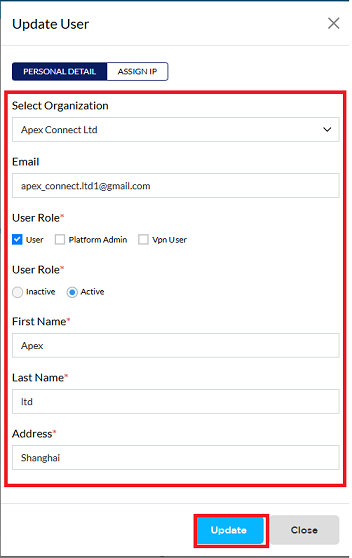
Editing User
-
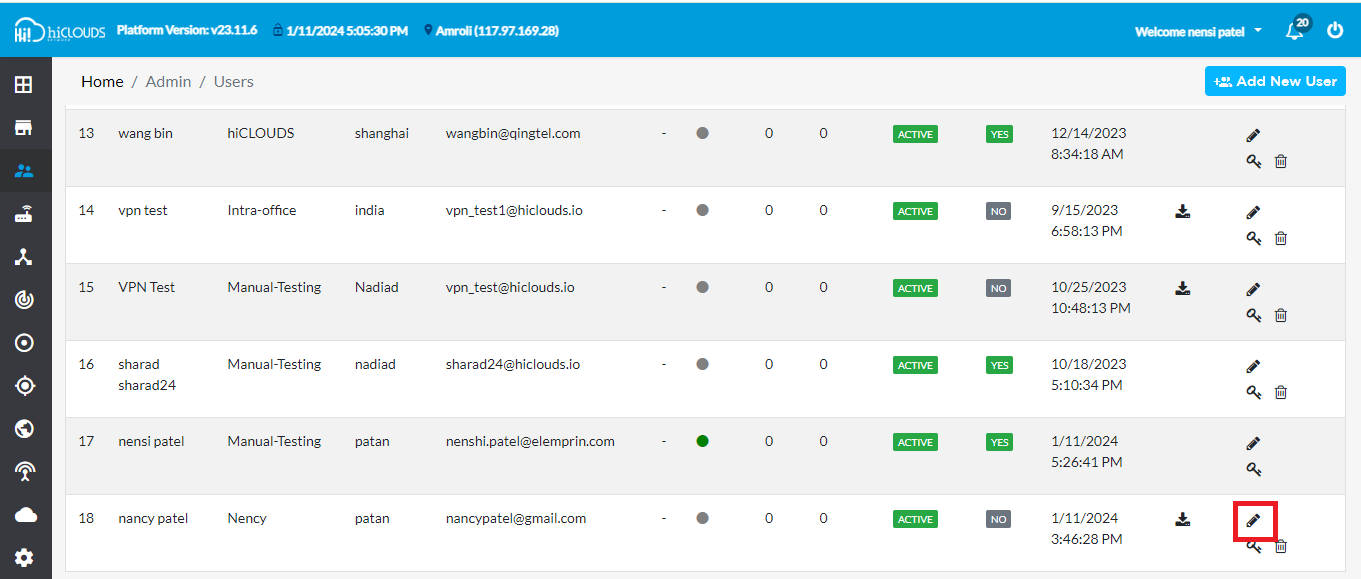
Go to the User you want to edit.
-
Click on the Edit Located on the right side of your User.
-
From here you can change Organization Name, Email, User role, User status, First Name, Last Name and Address.
-
After clicking on the Update button.
-
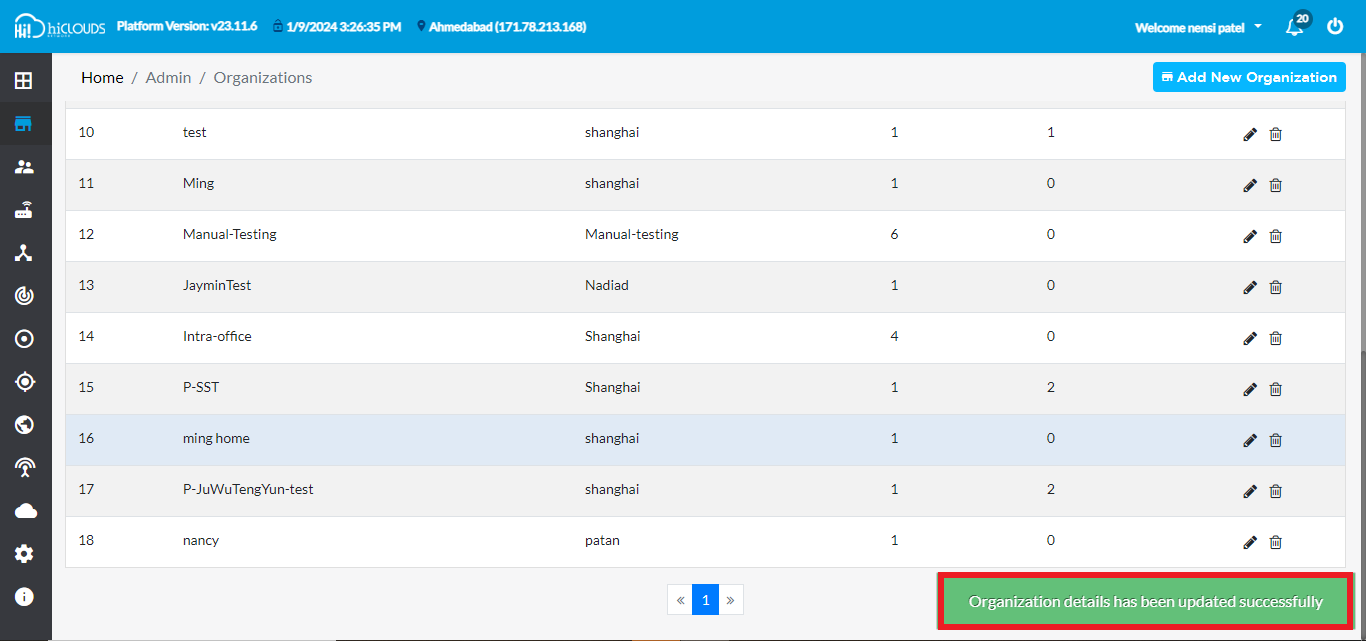
As soon as you click the Update button, you will get a message on the screen that the Organization details has been updated successfully.
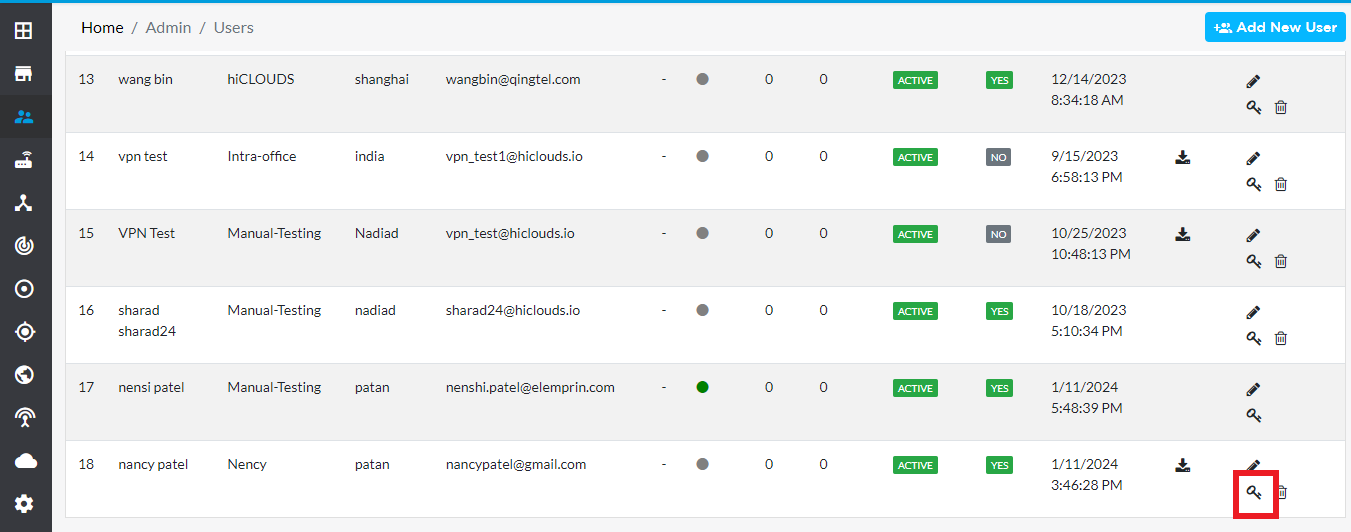
Changing User Password
-
Click on the Key Located on the right side of your User.
-
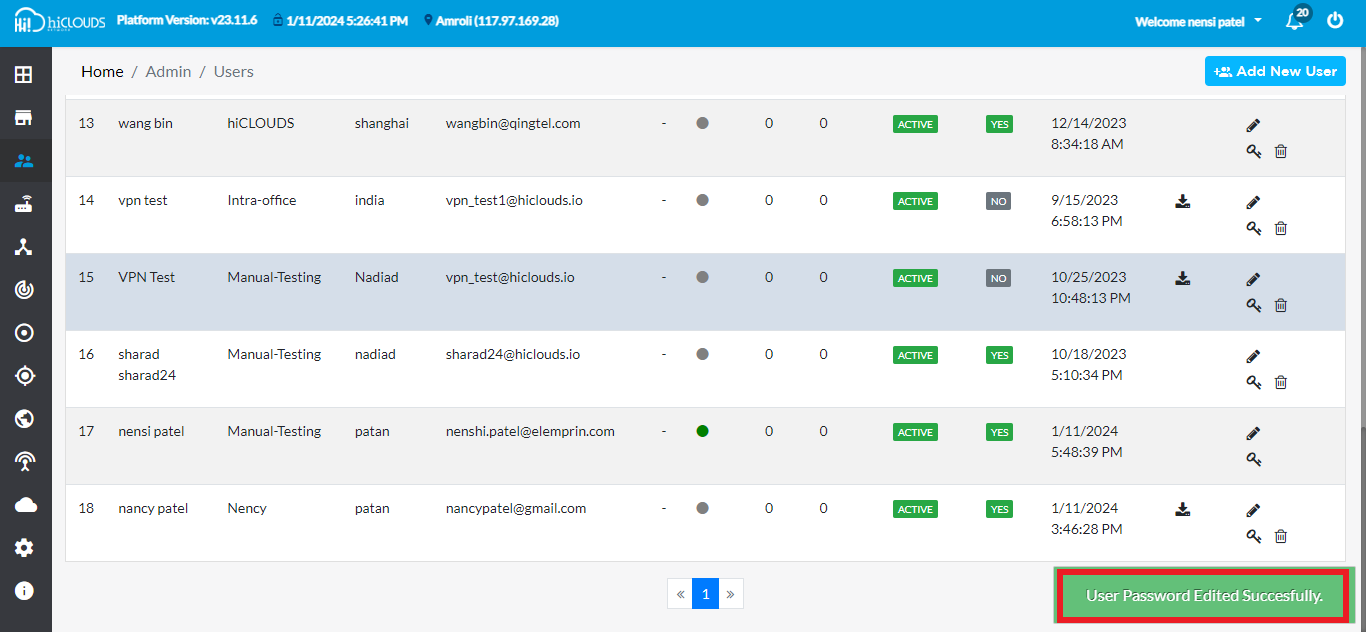
Enter the password in the Password field, and re-enter the same password in the Confirm Password field.
-
Now click on Save.

-
After clicking on Save you will get the message User Password Edited Successfully on the screen.
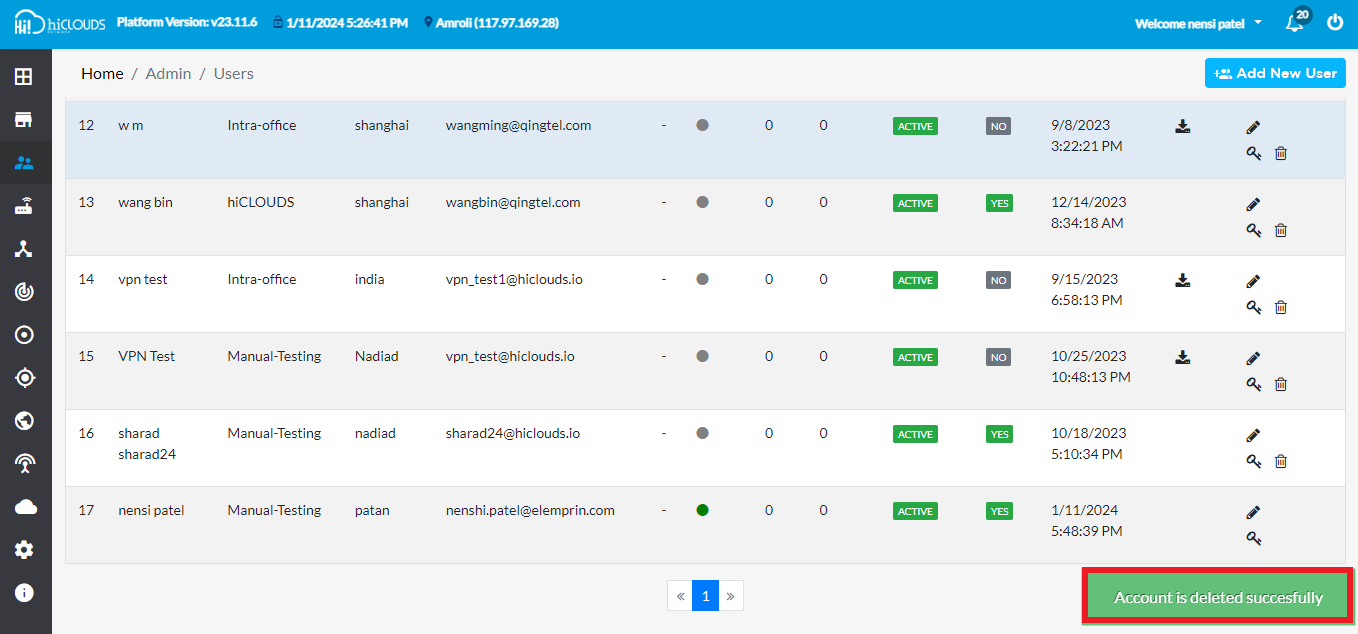
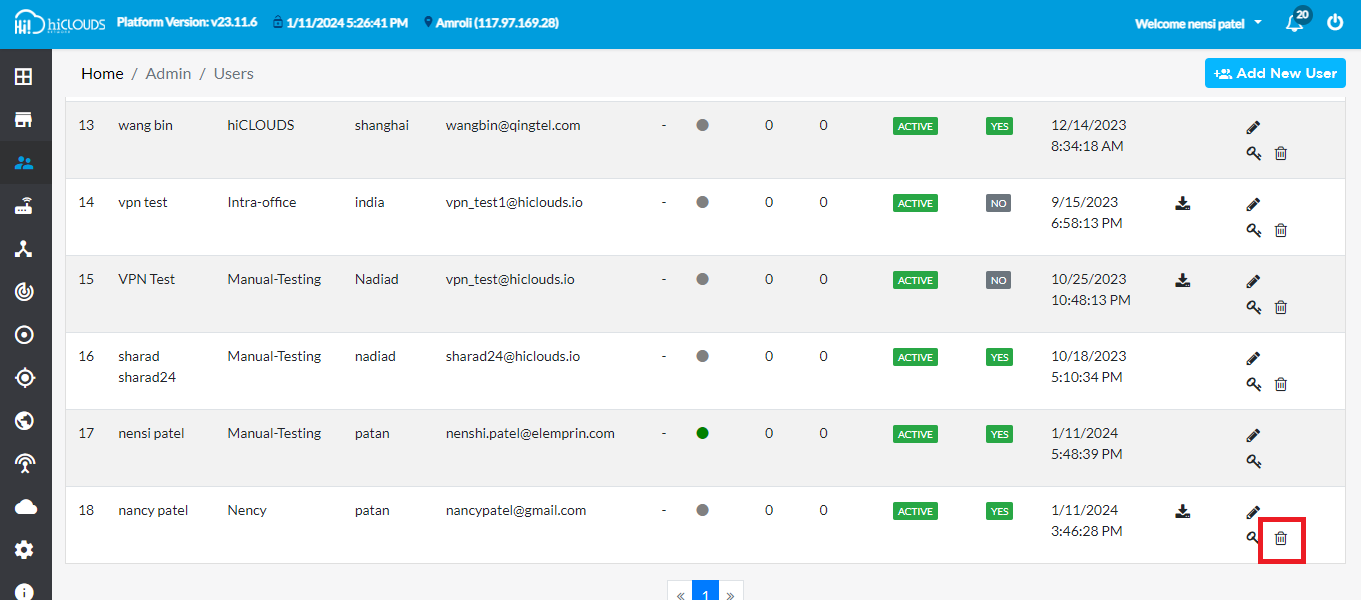
Deleting User
-
Click on the Delete Located on the right side of your User.
-
A confirmation window will appear. Click Yes to proceed.

-
As soon as you click on Yes, you will get a message on the screen that the Account is deleted successfully.