SNMP
This document provides detailed steps to configure SNMP for CE Devices, including SNMP versions v1, v2c, and v3. It explains every configuration field and option to help users configure SNMP effectively.
Common Configuration Fields
| Field | Description |
|---|---|
| Host Name | Enter the host name (e.g., apex.com) |
| Location | Enter the physical or logical location (e.g., Shanghai) |
| Version | Select SNMP version: v1, v2c, or v3 |
| Port | Enter the port number used for SNMP |
| Description | Add a description for reference |
| Contact | Enter valid contact email address (e.g., apex_connect.ltd1@gmail.com) |
Field Visibility Based on SNMP Version and Security Level
| Field | v1 / v2c | v3 – noAuthNoPriv | v3 – authNoPriv | v3 – authPriv |
|---|---|---|---|---|
| Community | Visible | Not Applicable | Not Applicable | Not Applicable |
| Username | Not Applicable | Visible | Visible | Visible |
| Auth Protocol | Not Applicable | Not Applicable | Visible | Visible |
| Auth Password | Not Applicable | Not Applicable | Visible | Visible |
| Privacy Protocol | Not Applicable | Not Applicable | Not Applicable | Visible |
| Privacy Password | Not Applicable | Not Applicable | Not Applicable | Visible |
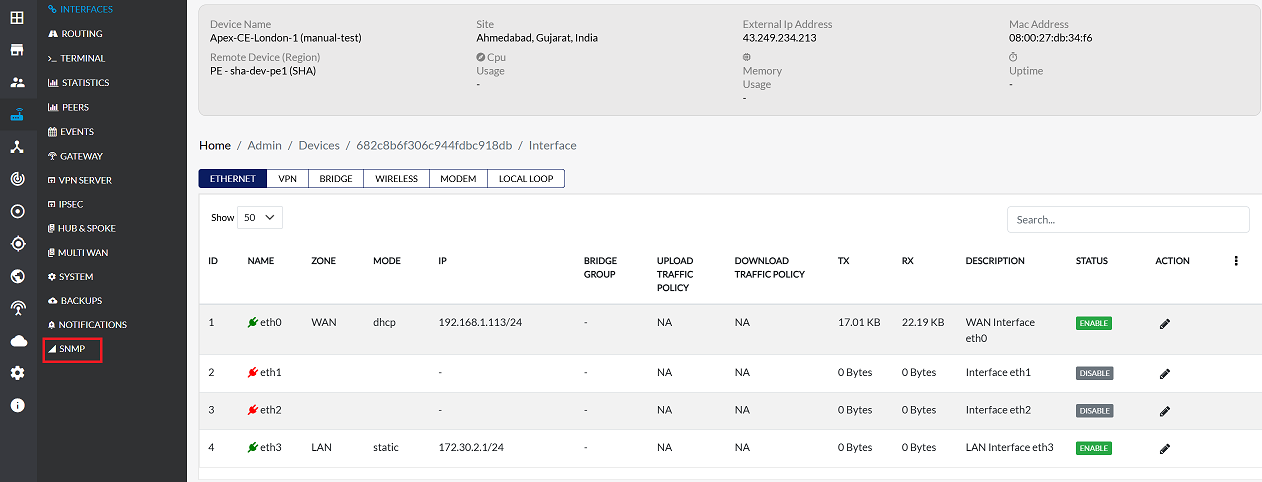
Accessing SNMP Configuration
-
Navigate to Login > CE Device > [Select CE] > SNMP.
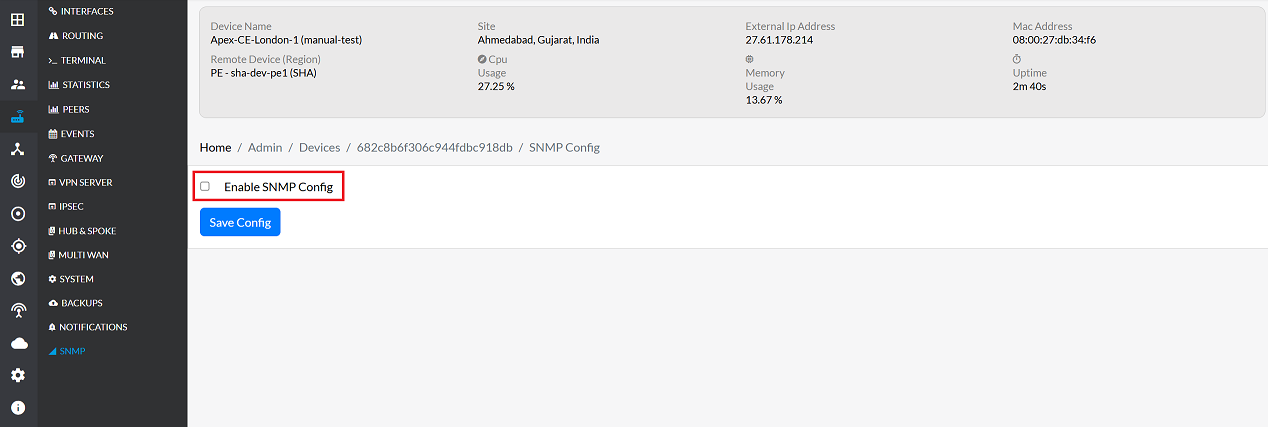
-
Enable the SNMP configuration by selecting the checkbox labeled Enable SNMP Config.
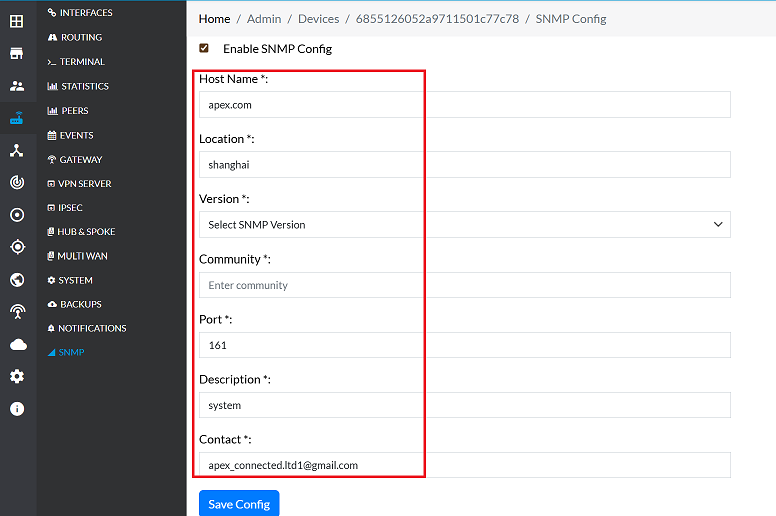
-
Fill in the following fields:
- Host Name: Enter the hostname of the device. (e.g., apex.com)
- Location: Specify the geographical location of the device. (e.g., Shanghai)
- Version: Select either v1 ,v2c or v3 from the dropdown menu.
- Port: Enter the port number for SNMP communication (e.g., 161)
- Description: Add a brief description for the SNMP configuration. (e.g., System)
- Contact: Enter valid contact email address. (e.g., apex_connect.ltd1@gmail.com)
These remain the same for all SNMP versions. Select the appropriate SNMP Version from the dropdown to proceed with version-specific settings.
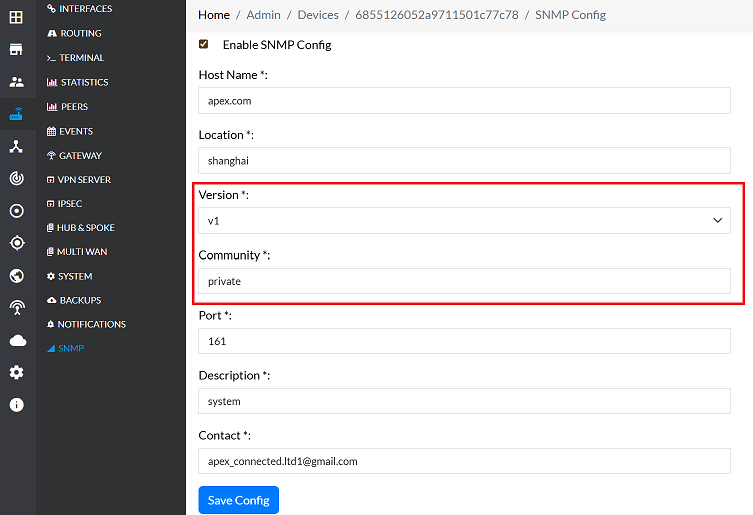
SNMP Version v1 and Version v2c Configuration
-
SNMP v1 and v2c follow the same process:
- Fill in the following fields:
- Version: Select either v1 or v2c from the dropdown menu.
- Community: Enter the community string (e.g., public, private). This string is used in SNMP v1/v2c to control access to SNMP data on the device.
- Fill in the following fields:
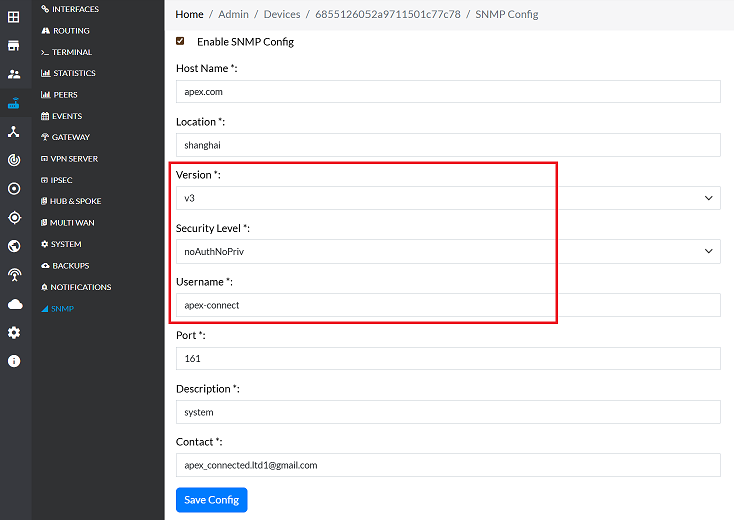
SNMP Version v3 Configuration
SNMP v3 supports multiple security levels. After selecting version v3, the following options appear based on the chosen Security Level.
SNMP v3 Security Levels
SNMP v3 provides three security levels:
1. noAuthNoPriv
This level offers no authentication and no privacy.
- Security Level: Select Security level. (e.g., noAuthNoPrivt)
- Username: Enter a username. (e.g., apex_connect)
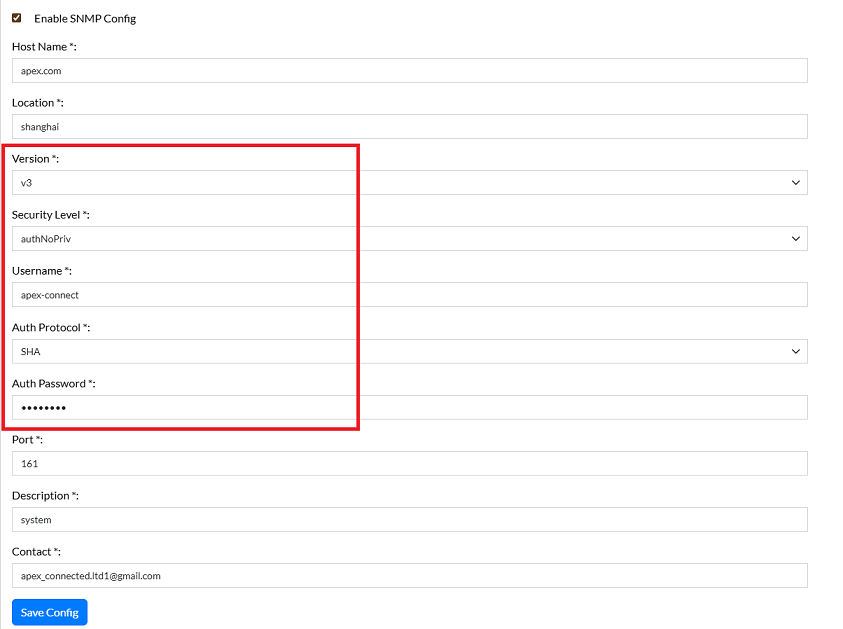
2. authNoPriv
This level provides authentication but no privacy (encryption).
- Security Level: Select Security level. (e.g., authNoPriv)
- Username: Enter a username. (e.g., apex_connect)
- Auth Protocol: Select the authentication protocol. (e.g., SHA, MD5)
- Auth Password: Enter the authentication password. (e.g., MySecretPwd)
3. authPriv
This is the highest security level, providing both authentication and privacy (encryption).
- Security Level: Select Security level. (e.g., authPriv)
- Username: Enter a username. (e.g., apex_connect)
- Auth Protocol: Select the authentication protocol. (e.g., SHA, MD5)
- Auth Password: Enter the authentication password. (e.g., MySecretPwd)
- Privacy Protocol: Select the privacy protocol. (e.g., AES, DES)
- Privacy Password: Enter the privacy password. (e.g., MySecretPwd)

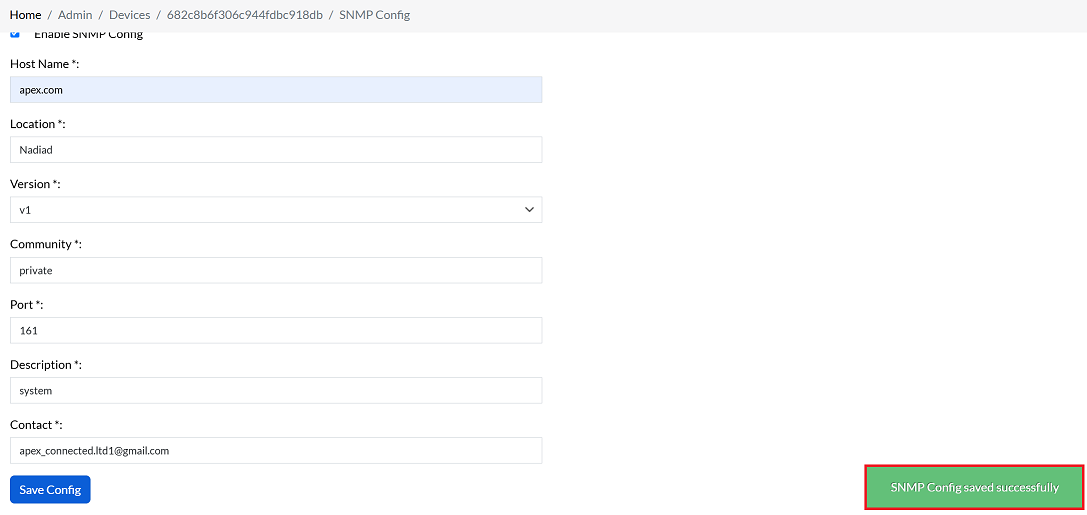
Saving Configuration
-
Once all the required SNMP information has been entered, click the Save Config button.
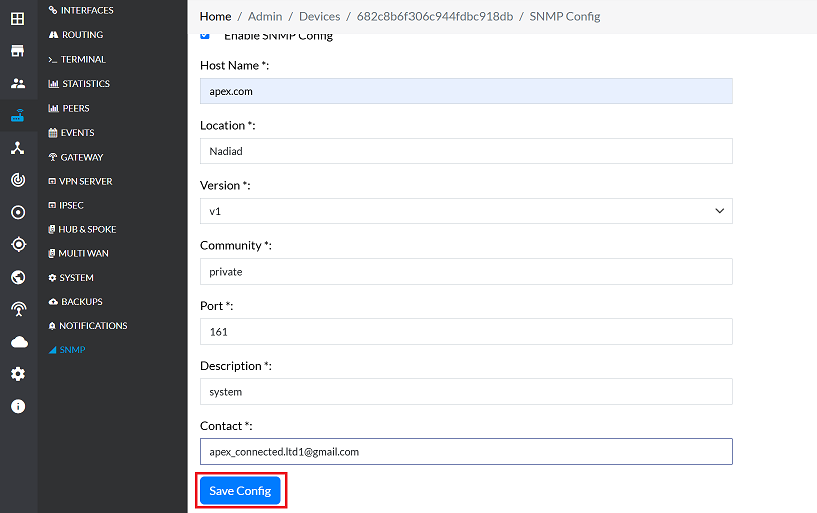
-
A success message, SNMP Config saved successfully will appear on the screen upon successful completion.