API Access Token
What is an API access token?
An access token is issued to grant access to 3rd party. Disabling ID requires an API token first, so an API token must be generated. It's called an API access token.
Why do we need an API token?
The API token is required to grant access to 3rd parties. When disabling one's device ID, an API token is required to create a compliance client profile for the first time. For that, an API token has to be generated. The API token is required for compliance with the client profile.
How to use an API token
The ID can be disabled using an API token and an API token for the ID needs to be generated. Following are the steps on how to generate an API token and how to use it.
Creating an API Access Token
-
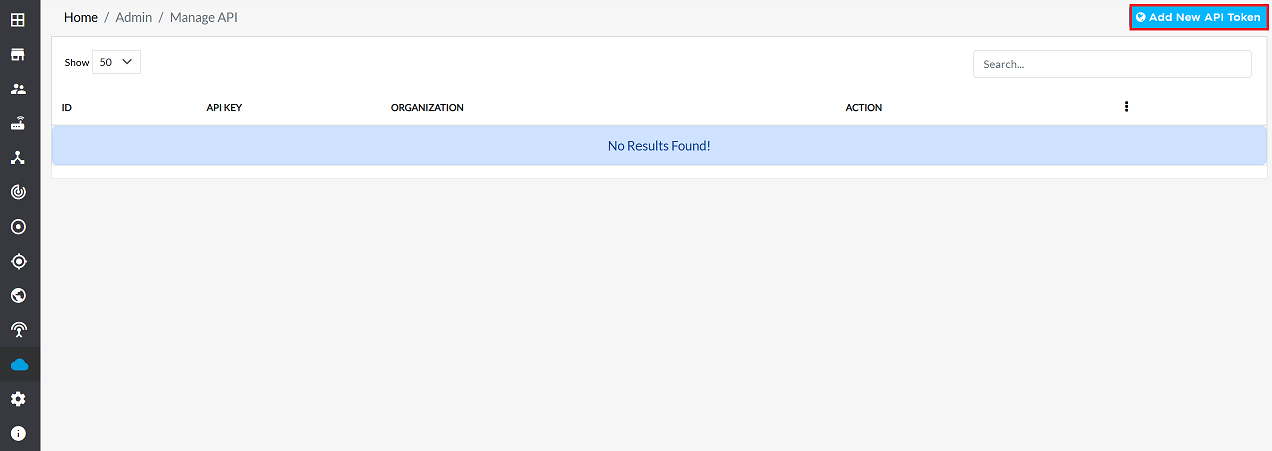
Go to the Login page and navigate to Manage API.
-
Click on Add New API Token.
-
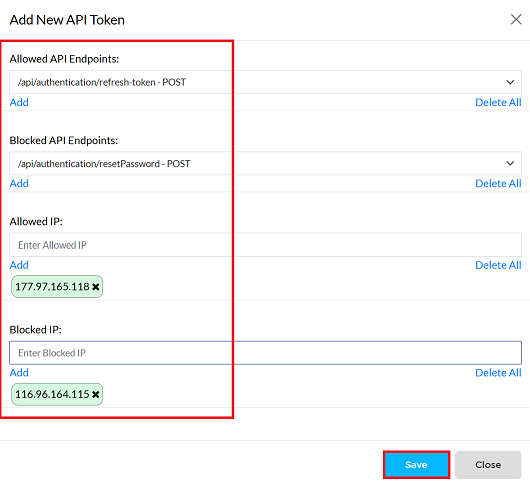
Fill in the following details:
- Allowed API Endpoints: Specify the API endpoints that are permitted.
- Blocked API Endpoints: List any API endpoints that should be blocked.
- Allowed IP: Enter the IP addresses that are allowed to use this token.
- Blocked IP: Enter the IP addresses that are blocked from using this token.
-
Click the Save button.
-
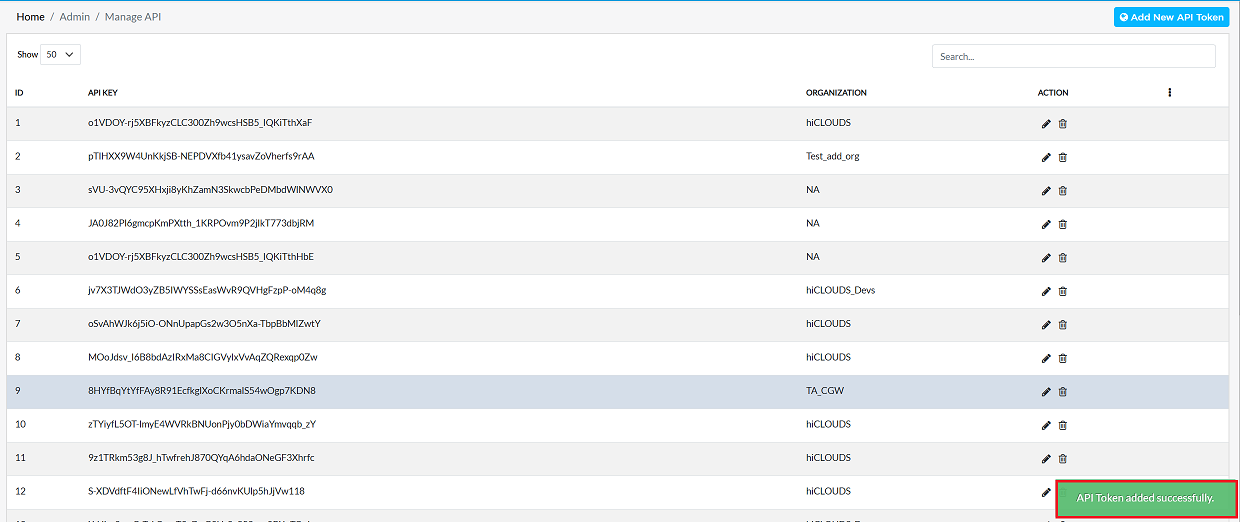
A message will appear on the screen confirming that the API token added successfully.
Note: You can fill in any combination of the four fields (Allowed/Blocked API Endpoints and Allowed/Blocked IP) to save the token. For example, you can add only a blocked IP address and save, and that blocked IP will then be shown in the grid. If you fill in all four fields, they will all be displayed in the grid at the same time.
Checking API Token Expiry
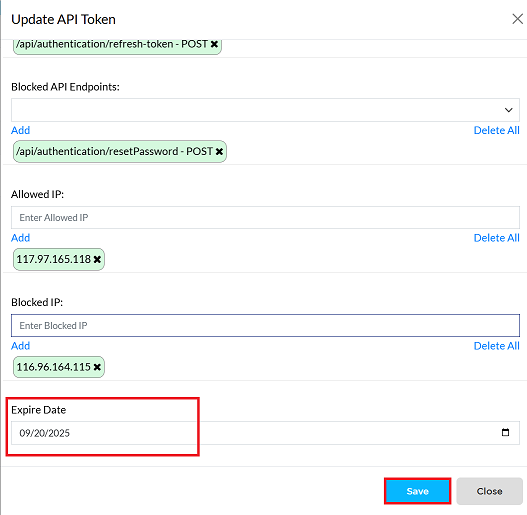
An API token becomes invalid and expires if its expiration date has passed. To check the expiration date and update it:
-
In the token list, click the Edit button next to the token you want to check.
-
Scroll down to see the Expire Date.
-
You can change the date and then click the Save button to update the expiry date.
Editing an API Token
To update the details of any API Token, follow these steps:
-
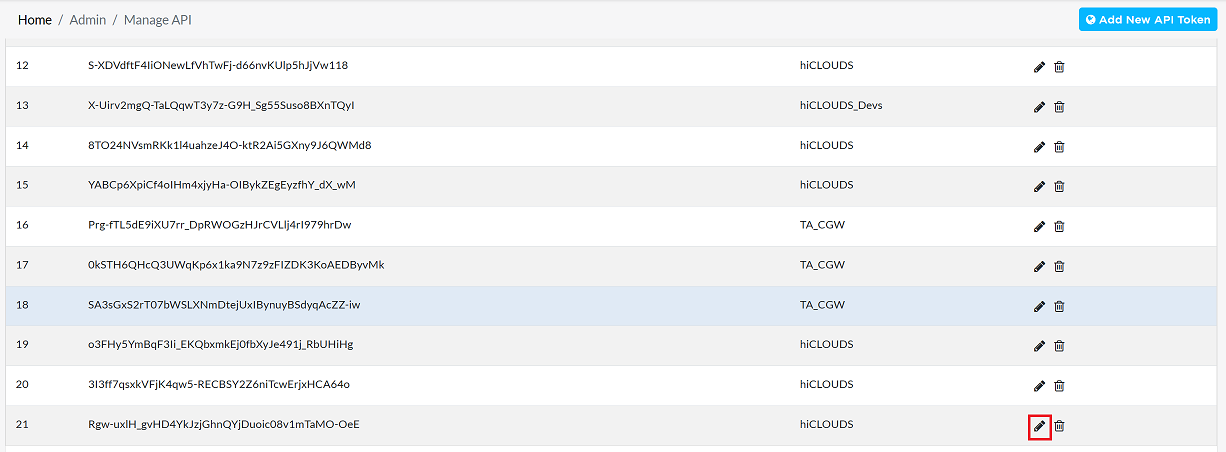
Click on the Edit option in the 'Action' column on the right side of the row of the API Key to be edited.
-
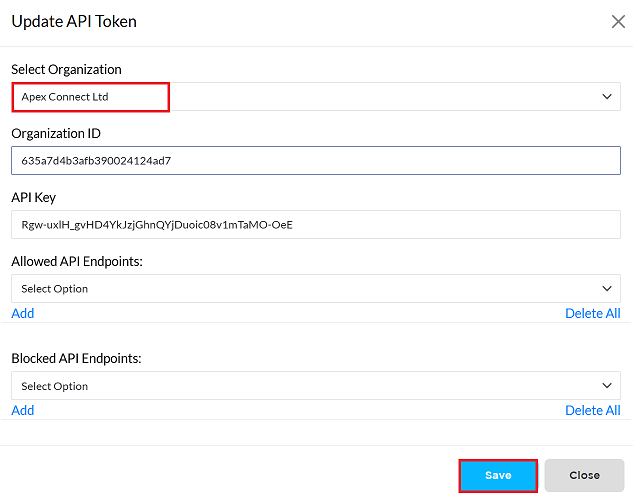
Edit the API Key details as needed. The following details can be updated:
- Organization Name: Change the current organization name (e.g., from Hiclouds to Apex Connect Ltd.).
- Organization ID: Update the unique identifier for the organization.
- API Key: Generate or change the security key used for API access.
- Allowed API Endpoints: Select or modify the list of API services that this organization is permitted to access via a dropdown menu.
- Blocked API Endpoints: Select or modify the list of API services that this organization is restricted from accessing via a dropdown menu.
- Allowed IP: Update the list of permitted IP addresses for accessing the API.
- Blocked IP : Update the list of restricted IP addresses that are denied API access.
- Expire Date: Change the validity or expiration date for the organization's API access or configuration.
-
Click the Save button.
-
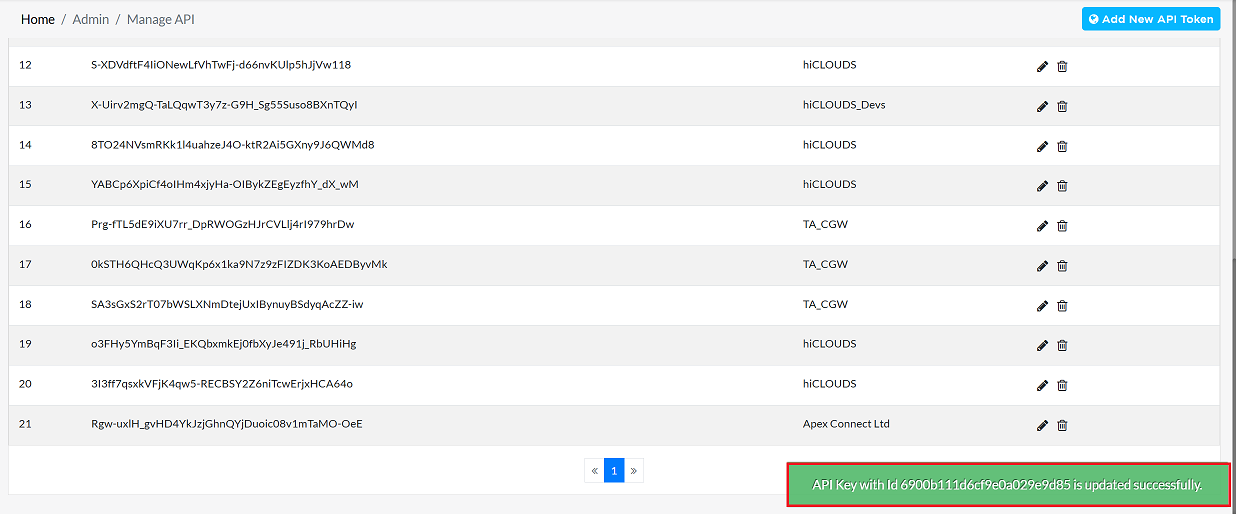
A confirmation message will appear on the screen stating that the API Key with id is updated successfully.
Deleting an API Token
To delete any API Token, follow these steps:
-
Click on the Delete option in the 'Action' column in the row of the API Token to be deleted.
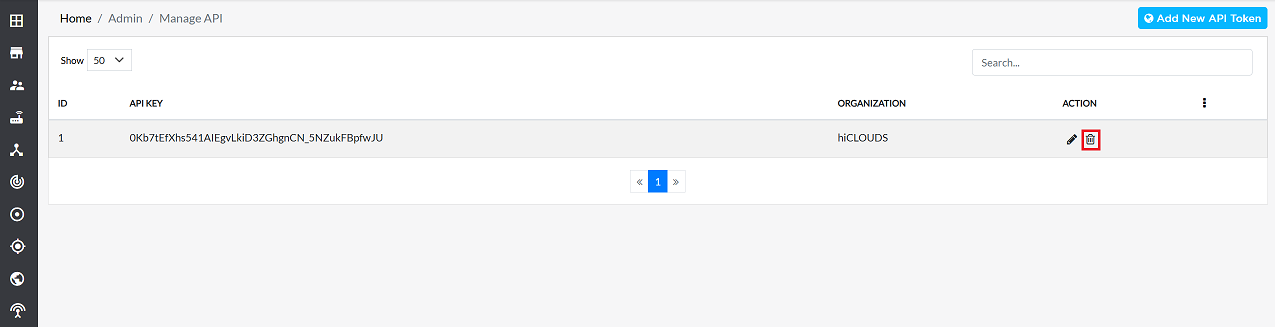
-
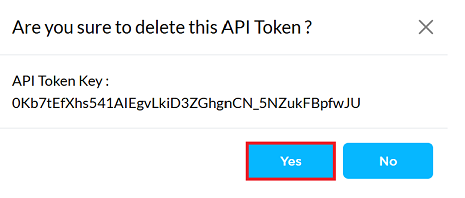
By clicking on the Delete option, a confirmation message popup will open on the screen. This popup asks to confirm the deletion action again, which prevents accidental deletion.
- The API Token has two options available:
- Confirm Delete: If the API Token really wants to delete the information, click on the Yes button in the popup.
- Cancel Delete: If not intended to delete or clicked by mistake, click on the No button to cancel the action and keep the information safe.
- The API Token has two options available:
-
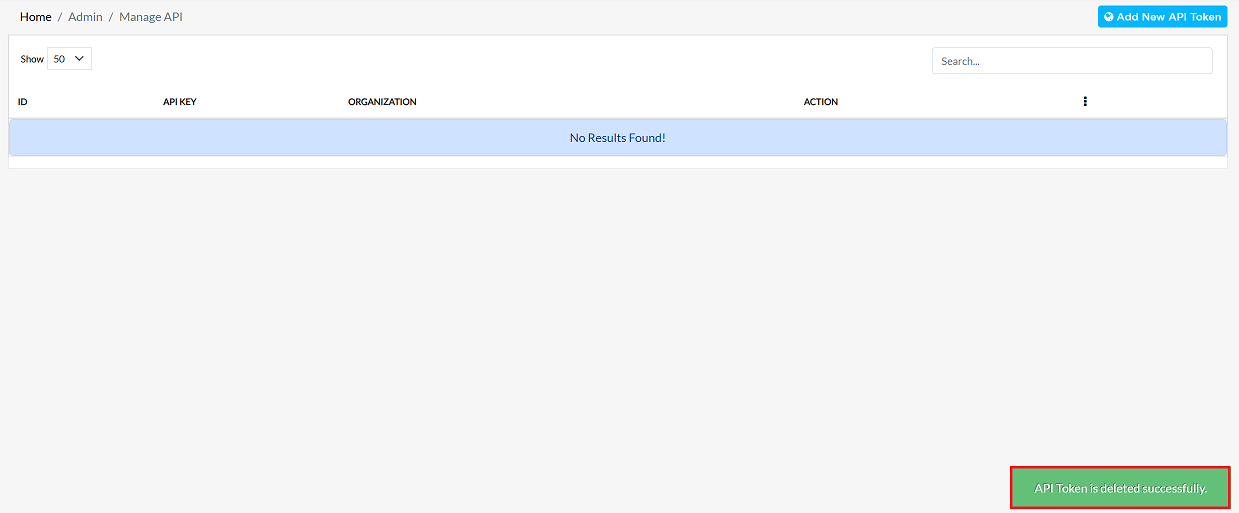
A success message will be displayed on the screen, confirming that the API Token is Deleted.
How to use API access token with compliance client
How to generate API token should be generated as shown in "how to new API token".
-
How to use API access token with compliance client
-
Installing the compliance client application as explained in "How to install compliance client app in windows."
-
The generated API has to be added inside the compliance client.
-
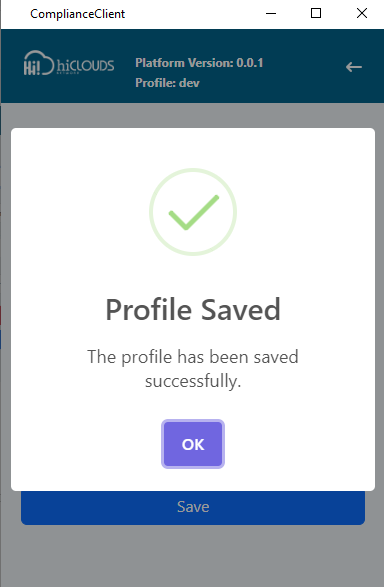
When you go to the compliance client's profile and go to the setting as shown in "How to configure the profile", you will see something as shown in the image,
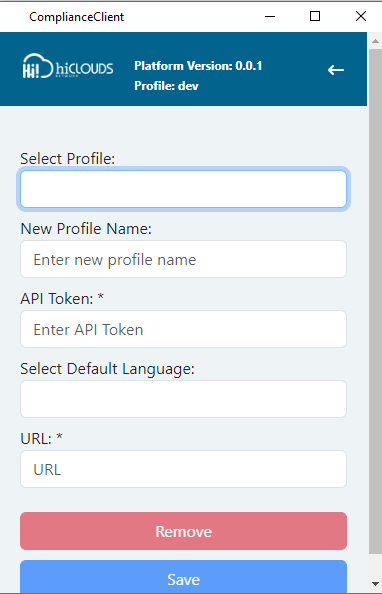
-
There you need an API token, name, language, and URL as explained in "How to configure the profile". Also, the newly generated API token will be added here.
-
After that click on "save" button.
-
There you will see a message on the screen as shown in the image that your profile is saved, click on "ok".