VPN Clients
A VPN client establishes a secure and encrypted connection to a remote network or server, ensuring data security. This guide provides step-by-step instructions for configuring and connecting vpn clients using openvpn. The process involves downloading a configuration file, importing it into the openvpn application, entering credentials, and establishing a connection.
Connecting a VPN Client
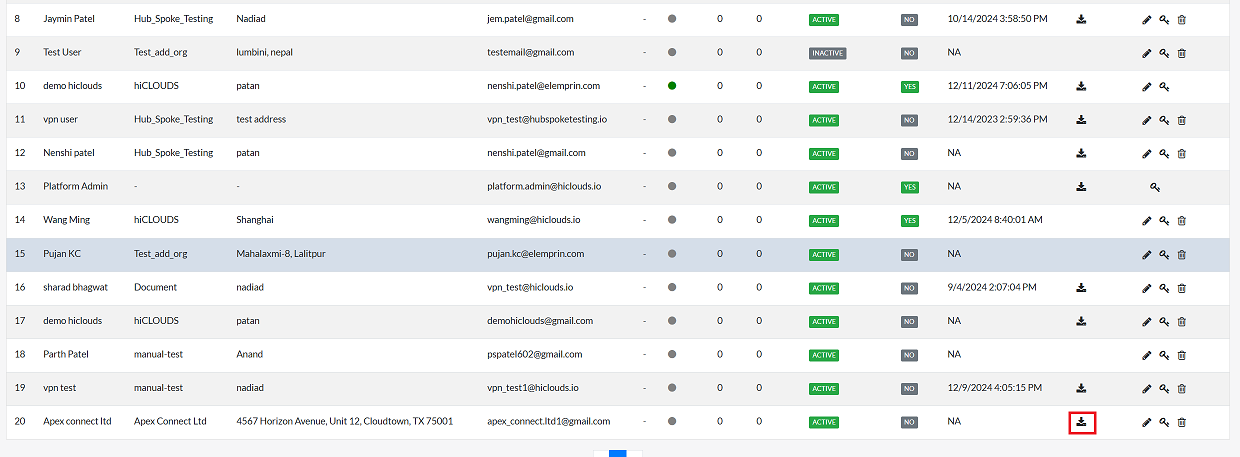
Download Configuration File
-
Download the VPN client configuration file from the designated source to the local device.
vpn-userIt is necessary to create the first VPN user. To learn how to create a VPN user, please visit this link: vpn user
Launch OpenVPN Applicatio
- Visit the official OpenVPN client download page to download the OpenVPN Connect application for Windows.
- Open the OpenVPN client on the system. By default, the application opens the Import Profile menu.
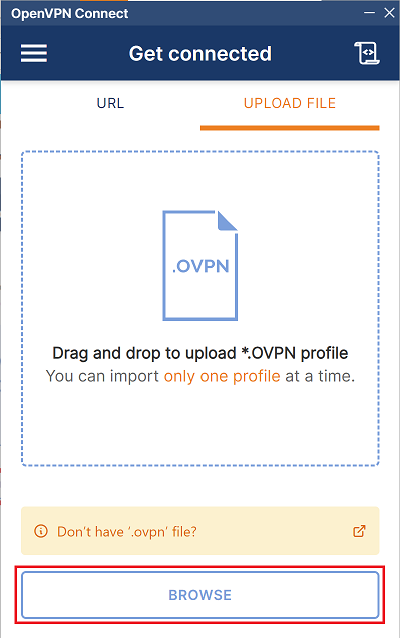
Import Configuration File
-
Click on the Upload File button.
-
Select the Browse option and locate the previously downloaded configuration file.
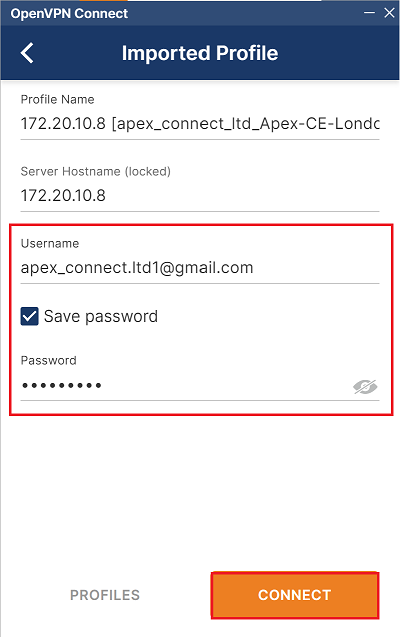
Enter Credentials
-
Provide the following details in the respective fields:
- Username: Enter your assigned username (i.g: apex_connect.ltd1@gmail.com).
- Password: Enter your password.
-
Check the Save Password option to avoid entering credentials repeatedly.
-
Click on the Connect button to initiate the VPN connection.
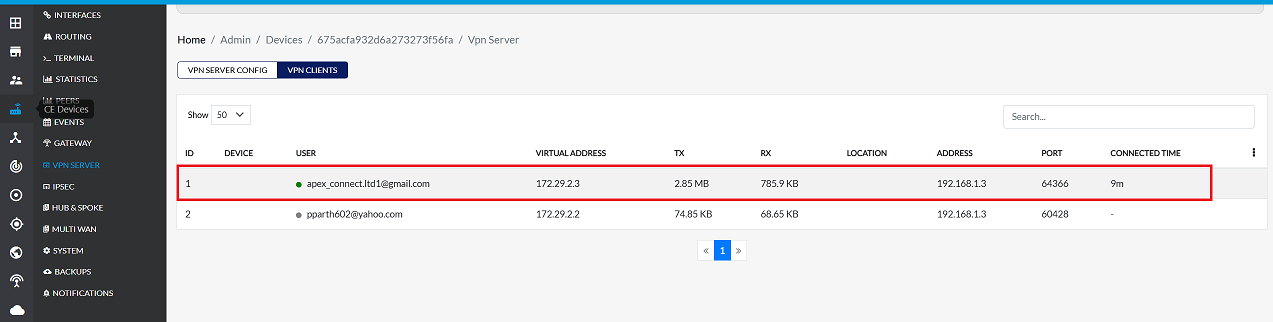
Establish Connection
-
VPN will be Connected.

-
Once connected, the VPN status will display as Connected in the OpenVPN client interface.
hiCLOUDS VPN Client
- Alternatively, the hiCLOUDS Client application can be utilized. For detailed instructions and comprehensive guidance, refer to the hiCLOUDS Client documentation